How to Delete Duplicate Photos in Windows?
Be it professionals or an individual, everyone uses a computer or laptop to store their images. Unlike smartphones which have limited storage and difficulty in managing thousands of photos. Many of us prefer PCs to save our precious photos.
Using the computer makes it easier for you to organize batch photos, but if we are not careful, issues like duplicate photos will arise. Although identical photo issues are not a serious problem. But if you don’t pay attention to it, your local hard drive will be full and also affect the performance of your computer. So, it is better to delete duplicate photos as soon as possible.
Cause of Duplicate Images in your Computer
Before we go through the solutions for removing duplicate photos in the laptop. It is important to know how duplicate images are stored in your hard drive. Below we have provided all the possible reasons that cause this problem.
- You transfer your images from camera to computer or phone to PC many times.
- Save the edited version of the photos in different names.
- When you are syncing your photos from different devices, there are chances of saving duplicate files.
- You manually copy and paste the photos into different folders without knowing.
- Taking a regular backup of your photos also generates duplicate images.
These are the common reasons for the creation of duplicate images. So, if you have few images you can easily find and delete them. However, finding duplicate images from thousands of photos is time-consuming and hard. But don’t worry there are methods that you can easily find and delete duplicate photos in Windows 11, 10, 8, and other versions.
Find and Remove Duplicate Images using File Explorer
From the File Explorer of the Windows computer, you can find your similar-looking photos and delete them. It is available in all the Windows OS, then it is free and easily available. However, this method is hard to solve decluttering issues. So, if you want to use this method, follow the steps below.
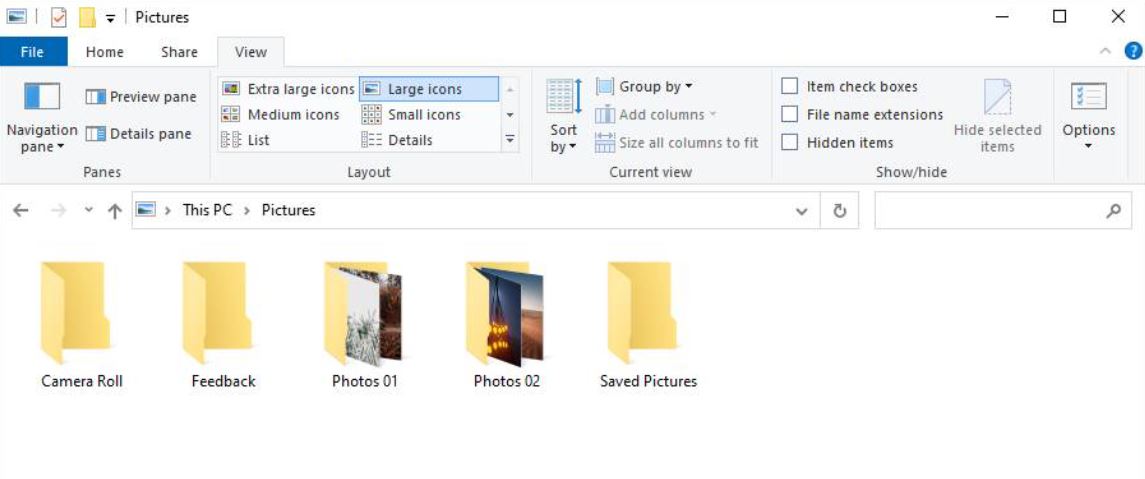
- In your Windows OS device. Open the File Explorer.
- Go to the Pictures folder or any folder where you think your images are located.

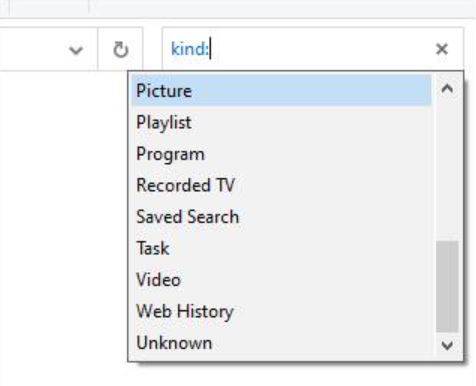
- If the folders you chose contain other types of files than the pictures. Then, in the search bar at the above of the folder. Type Kind:.
- Select the Pictures option from the drop-down list. To find specific files, enter: kind:=picture type:jpg.

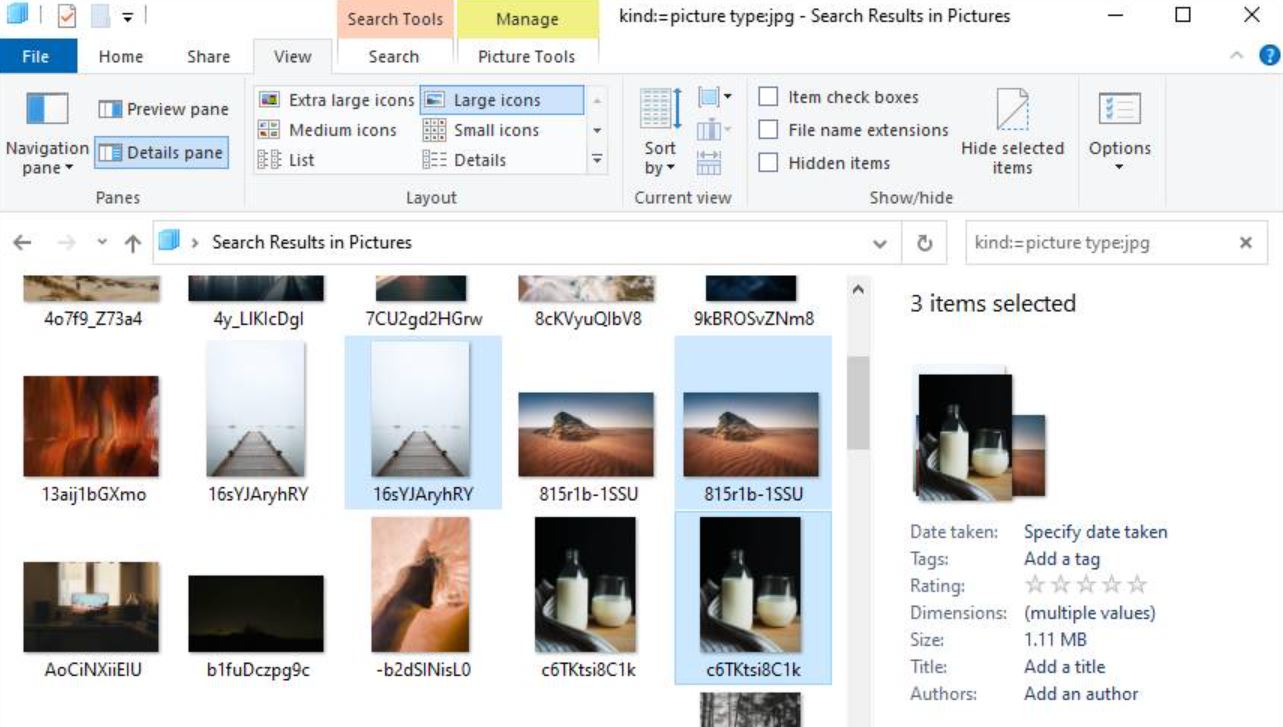
- After this, all the photos will be displayed in front of you. You can sort out your images, by clicking the View tab at the top.
- Select Extra Large icons or Large icons. Then, the Details Pane button.

- Now, align your images by Name, Size, or Date to identify the duplicate photos.
- Manually open each photo and check if the images are the same or not.
- If you find one identical photo. Simply click on the delete button. Or Ctrl+Right-click to delete multiple photos.
Note: You can also search for your duplicate photos by typing the “~”*copy*” in the search bar. Those who have the name with this “~”*copy*” will present in front of you.
Delete Duplicate Photos in Windows OS by CMD
For advanced solutions, the Command prompt or CMD can also be used. In this, we find and remove duplicate images using the command that we have provided. This method would be difficult for non-technical users but it is free to use.
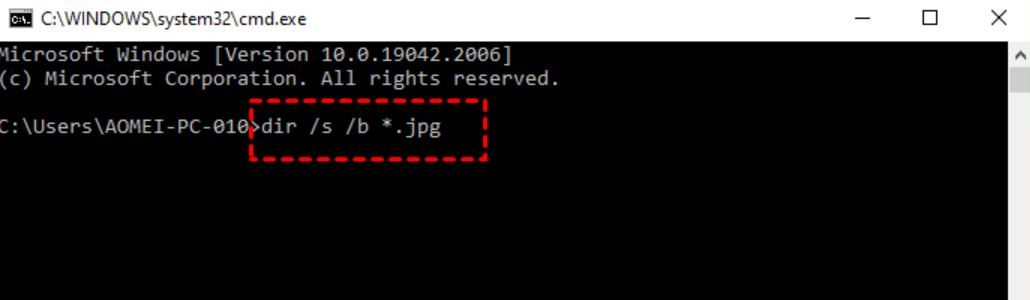
- First, press Windows+R keys to open the Run window. Type the cmd and search it.
- Using the cd command: cd C:/Users/your user name/Pictures, we browse the folders where your images are stored.
- After that, run this command: dir /b /s *.name. Replace the name with the file type you want to find. For example (.jpg). This command lists the files that have duplicate names. So, if there are duplicate images you will find them.

- Now, we delete duplicate photos by typing: del /s /f *.duplicate.


Remove Similar Photos with Microsoft Photos
If you are having trouble using the above solution, then try this method. Microsoft Photos is an application where you view and manage your photos. It runs on Windows 8 and the latest version. The software has a feature that detects similar images. So, it is a good way to find and delete duplicate images. Here are the steps to do that.
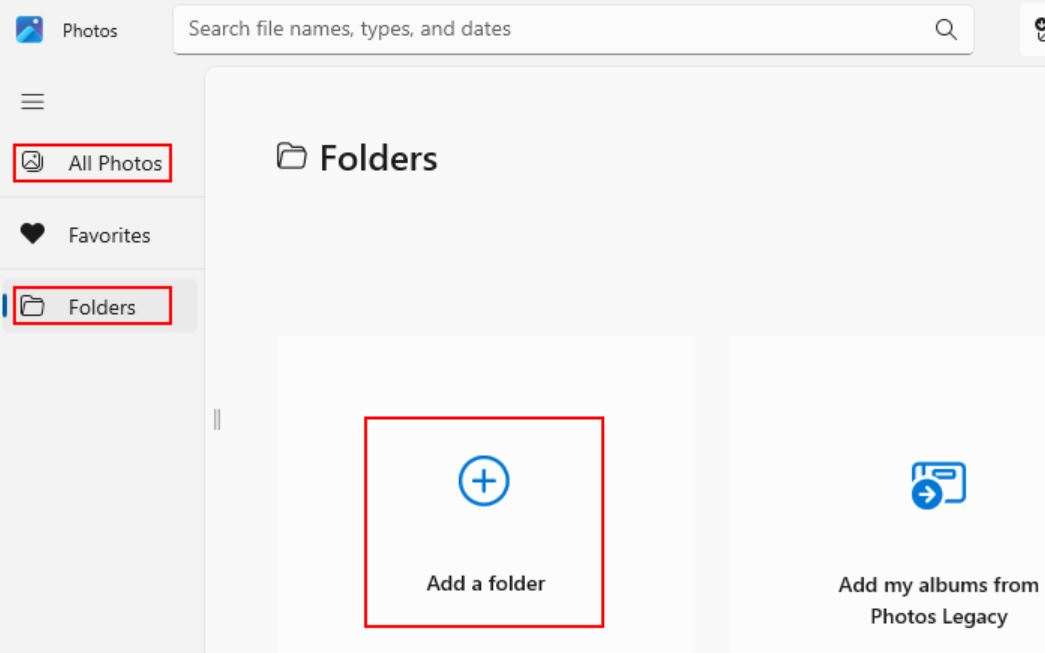
- First, open the Microsoft Photos on your computer. On the left panel, go to the Folders option.
- Click on the Add Folder. The purpose of this is to move all the duplicate images into one folder and delete them at once.

- The software automatically detects your duplicate images. If it finds a similar file, a duplicate icon will be visible. So, go to All Photos and click on the duplicate icon.

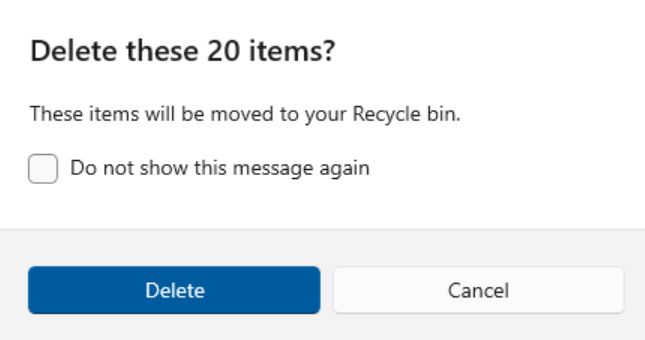
- Select the images and move them to the folder. After that, click the Trash button and delete the duplicate.

In the earlier version there is no feature for detecting duplicates, so make sure you use the latest version. Here are the three solutions that you can use to delete duplicate photos in Windows 11, 10, and other versions. They are free to use, however, you may have difficulties in following the methods.
Limitations of Using these Manual Methods
The manual solutions are free to use and remove duplicate images. However, they are not reliable solutions as you may have the problems that we mentioned below.
- The first issue is that it is a time-consuming process. Finding duplicate images and removing them from multiple pictures takes a lot of time.
- All the process is done by hand, so there are chances of human error.
- There is no guarantee that you will find all the duplicate images and erase them.
- In some cases, users delete non-duplicate images by accident.
Thus, manual solutions are not an efficient way to find and remove similar-looking images. But, don’t worry there is a professional tool that will help you remove the identical pictures accurately.
Remove Duplicate Images in Windows using the Professional Software
In the above methods, we manually find and remove the duplicate images by ourselves. But this method automatically finds your duplicate files. Corbett Duplicate Cleaner is a specialized software that scans your device’s hard drive and selects the duplicate data on its own. You need to just give the instructions, that’s it!
This software is a perfect solution as users can delete their duplicate images in just a few minutes. Also, you can preview the files before deleting them. Below are the working steps of this method, so follow them carefully.
Steps to Delete Duplicate Photos in Windows OS
- Start the process by downloading and installing the software.

- From the Filters option. Type the image file extensions like .png or .jpg.

- Below, select a Location to scan the option where your duplicate files are located. Click on the Scan Duplicates option.
- After scanning the tool automatically selects duplicate files. Right-click on the files to preview them.
- Lastly, click on the Remove button to delete the duplicate files.


These are the simple and accurate steps to find and remove your duplicate images in your Windows 11, 10, and other versions. Properly follow them and your similar-looking images will be deleted.
Final Words
If Duplicate images increase on your computer, you have to face many issues. That’s why it is best to delete them. So, in this article, we will explain four solutions to delete duplicate photos in Windows OS. These methods include both manual and professional methods. Users may have problems with the Manual solutions due to their many limitations. However, Professional software is a better option because of how easy it is to remove duplicates accurately.