Corbett IMAP Emails Migration: Know How it Works!
-
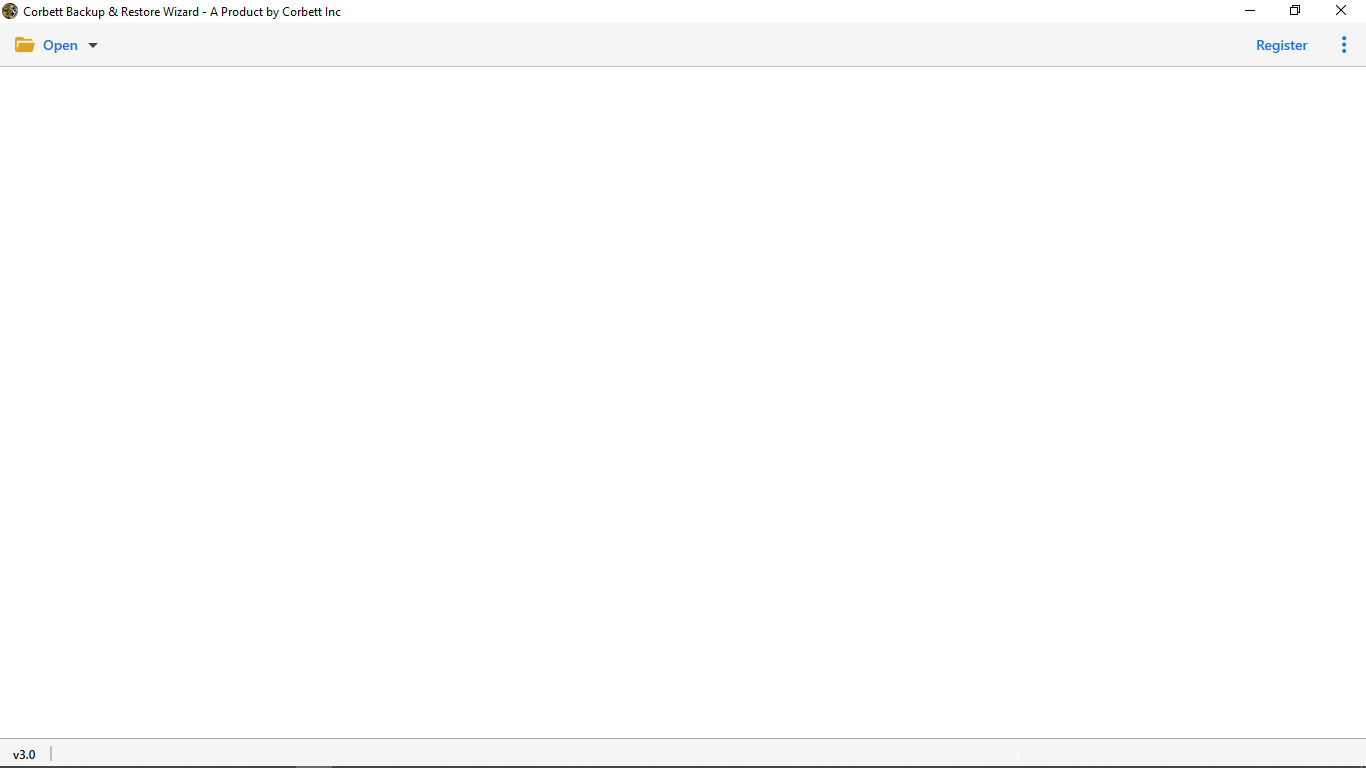
Download Corbett IMAP Emails Migrator Software and Install on Your Windows 10, 8, 7, versions.
-
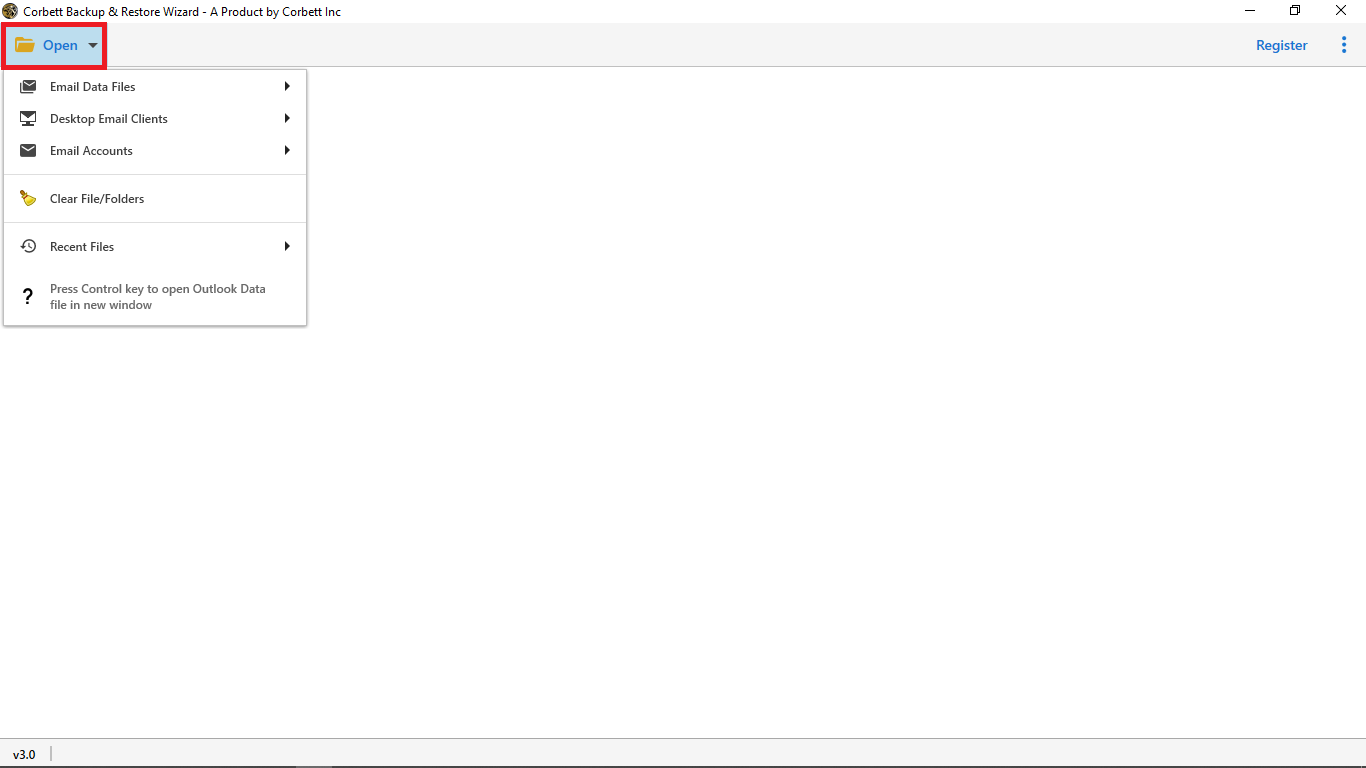
In the top left menu bar, click Open Button.
-
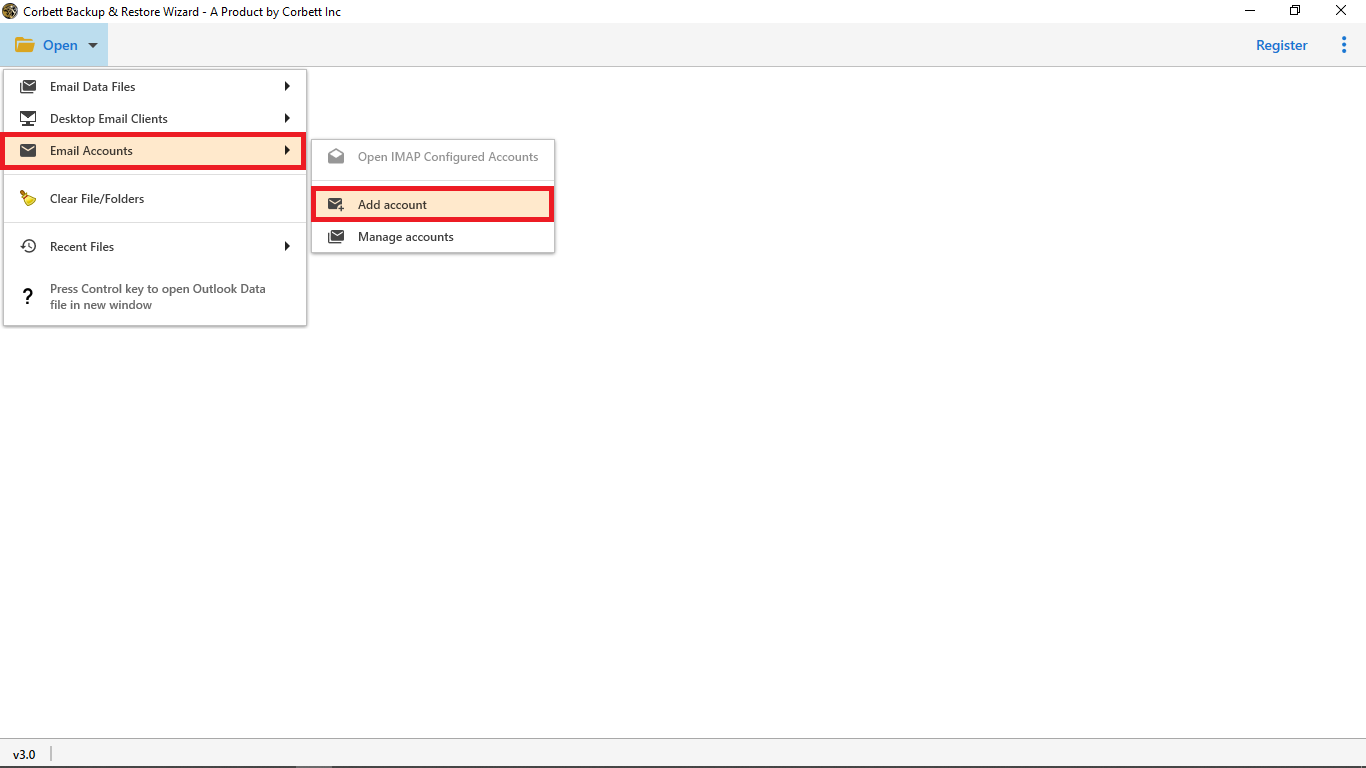
Select Email Accounts then click Add Account from pop-up window tab.
-
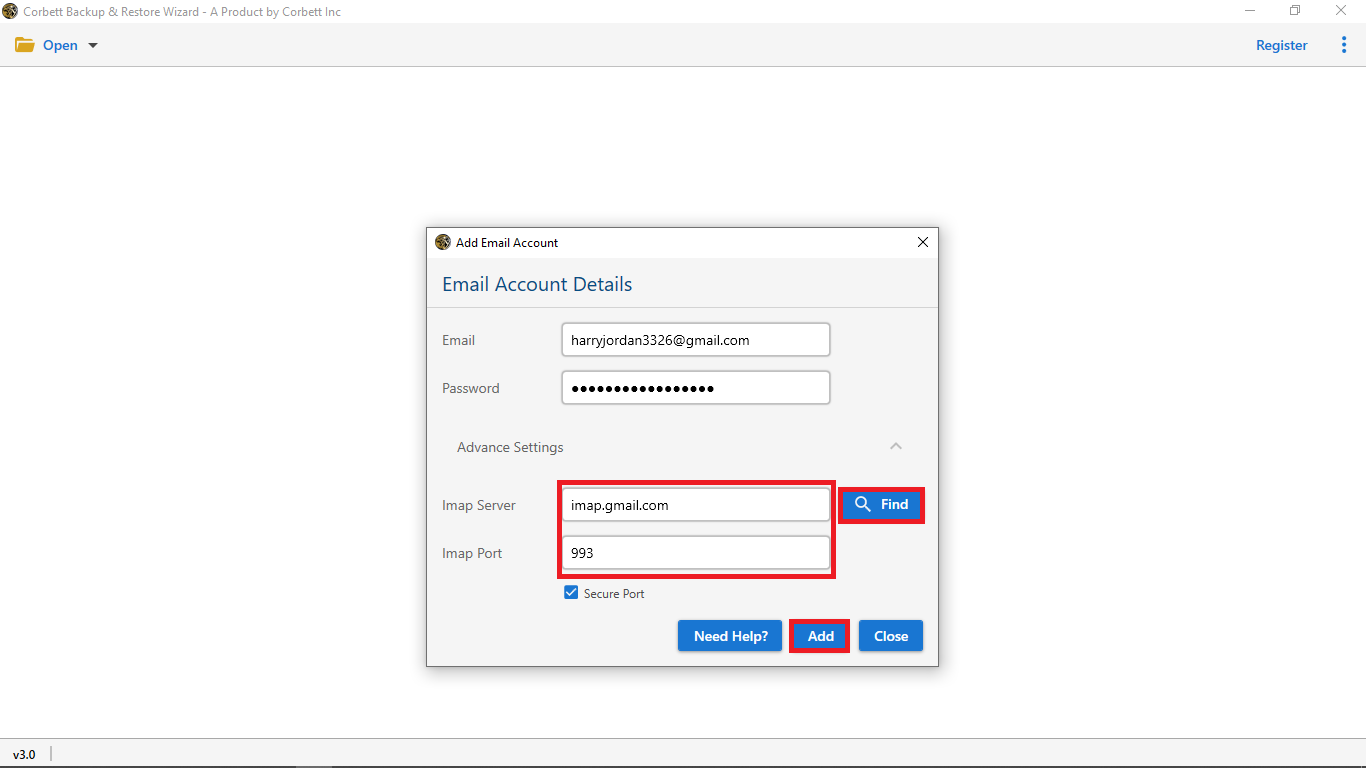
Add your IMAP Email Address & Password to take your IMAP Account log on to the Software in case you are not able to log in with credentials please select the advanced settings option.

-
Select Find Button to add the IMAP server then click on Add Button.
-
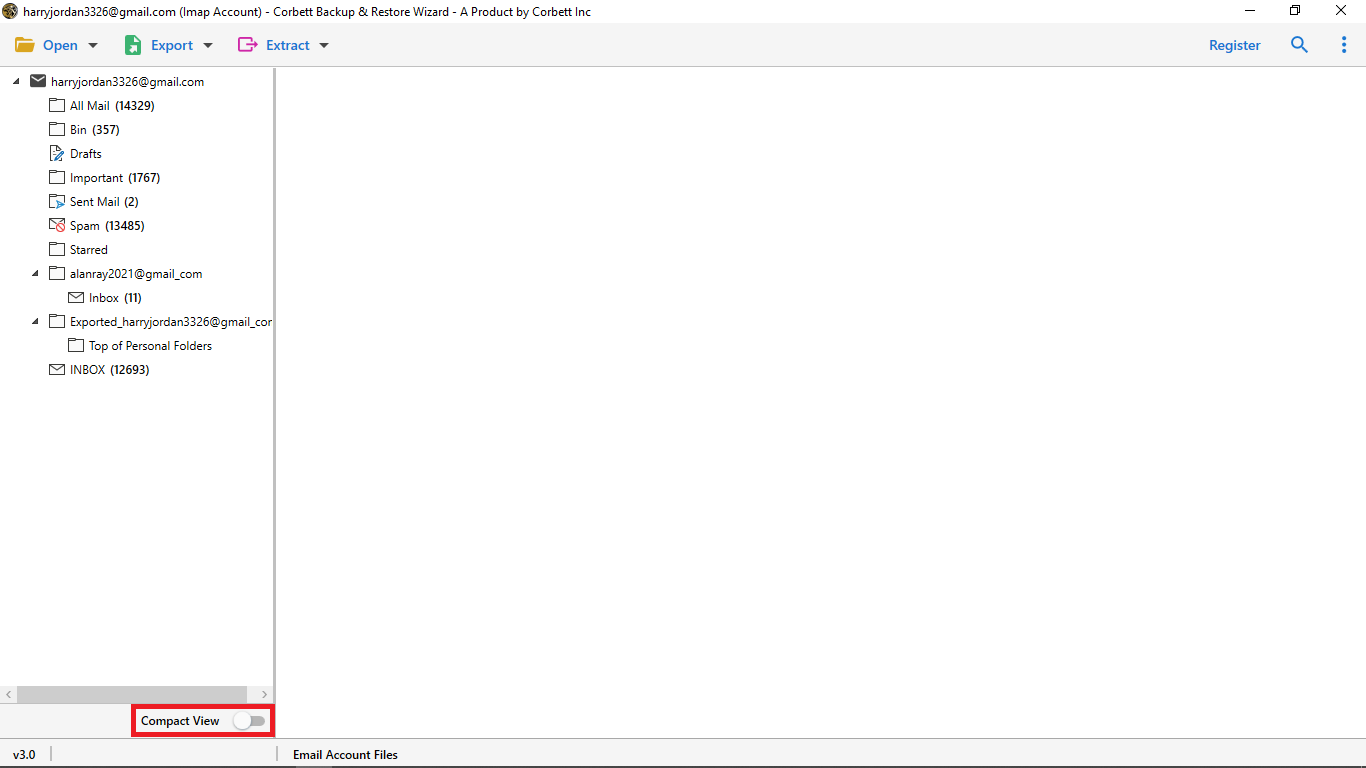
The software is loaded files and folders from your account you can enable the compact view button to view the important folder for the Migration process.
-
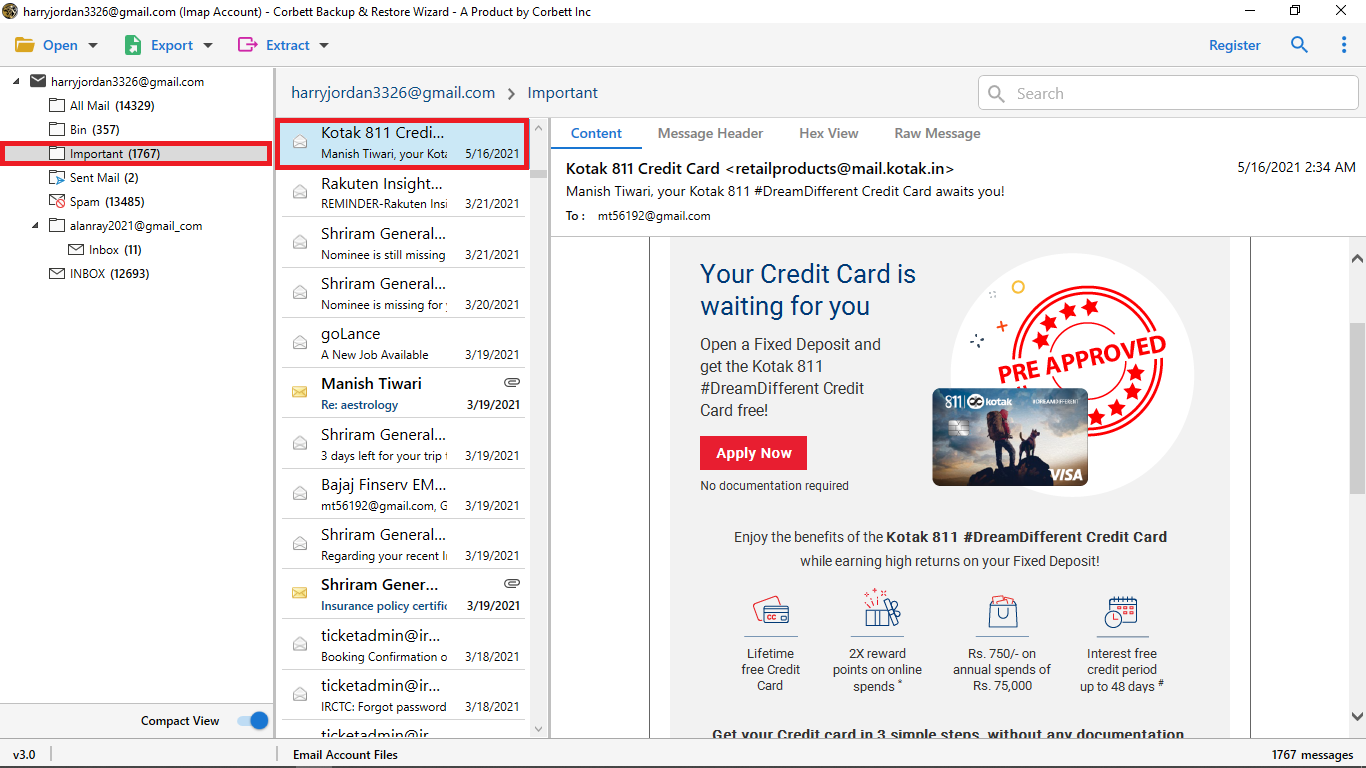
Click The Email to view the Message Preview with all the elements such as Email Properties, Signature, Sender, Information, and more.
-
Select Content Option: for you see the full body content of the email message.

-
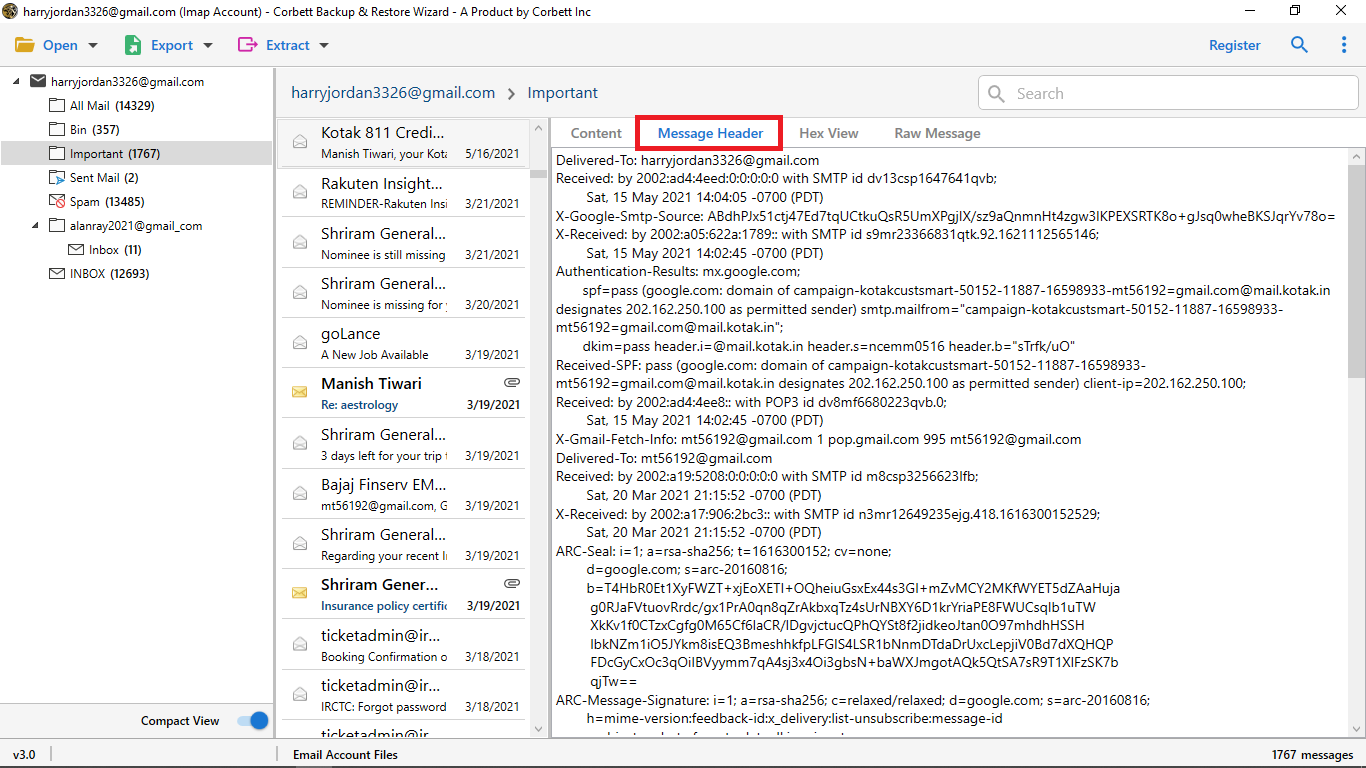
Select Message Header Option: message header helps you view the detailed routing information of the message such as sender recipient date and more.
-
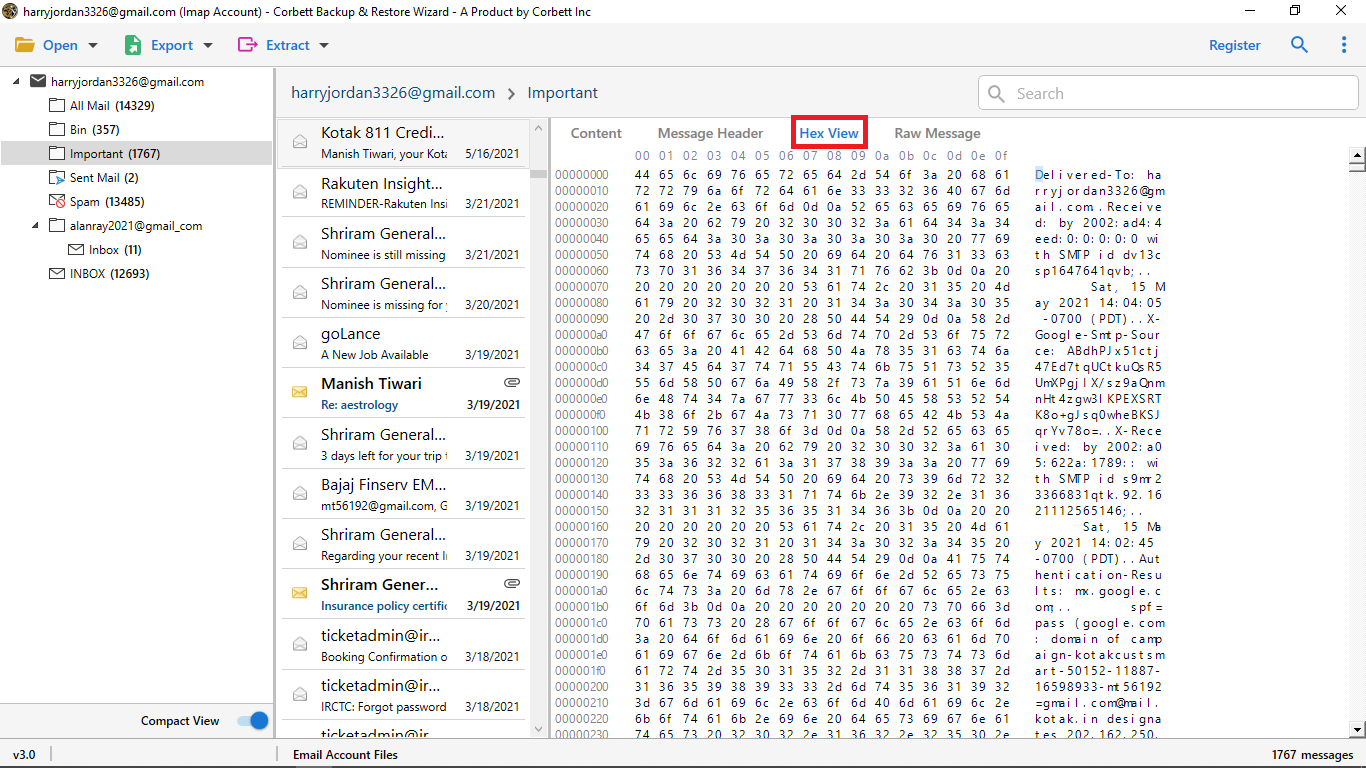
Select Hex View Option: for you see hexadecimal digit of an email.
-
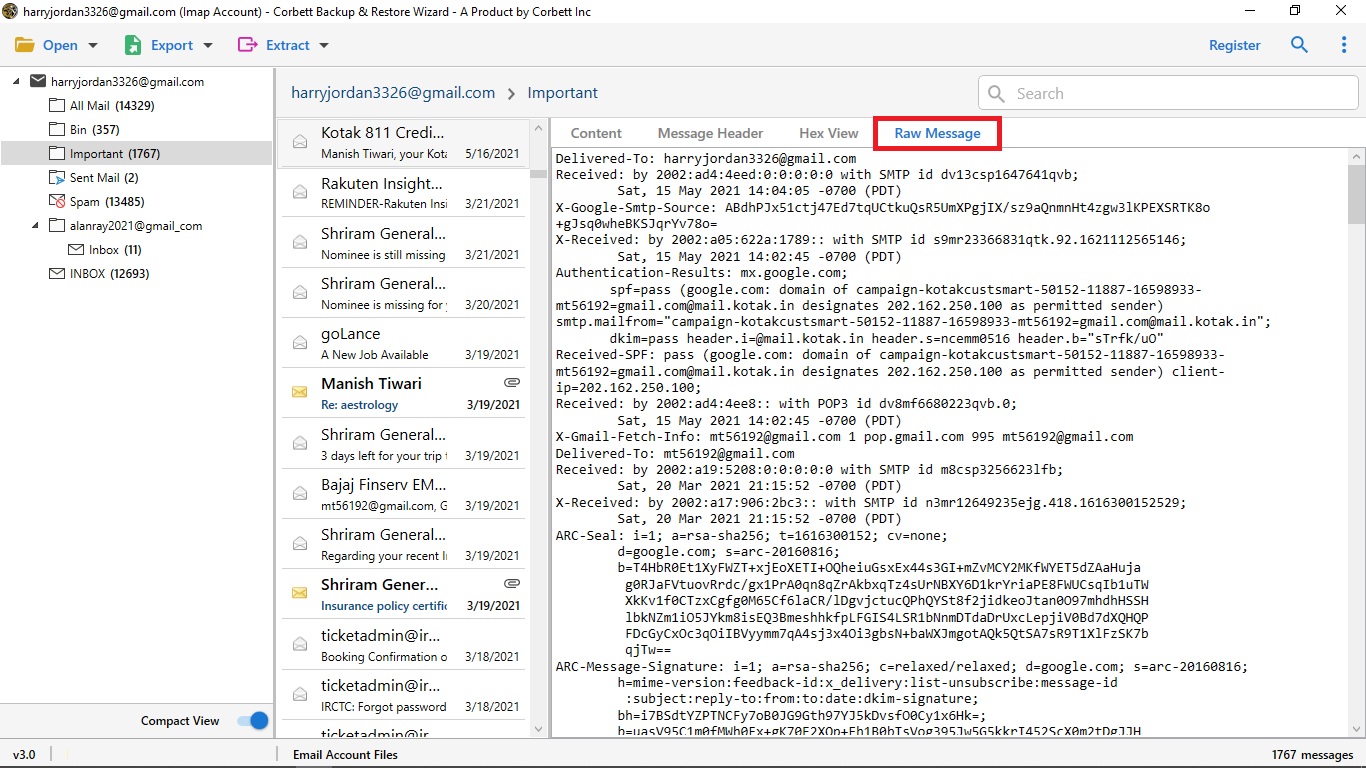
Select Raw Message Option: for you see preview selected email in raw message file format.
-
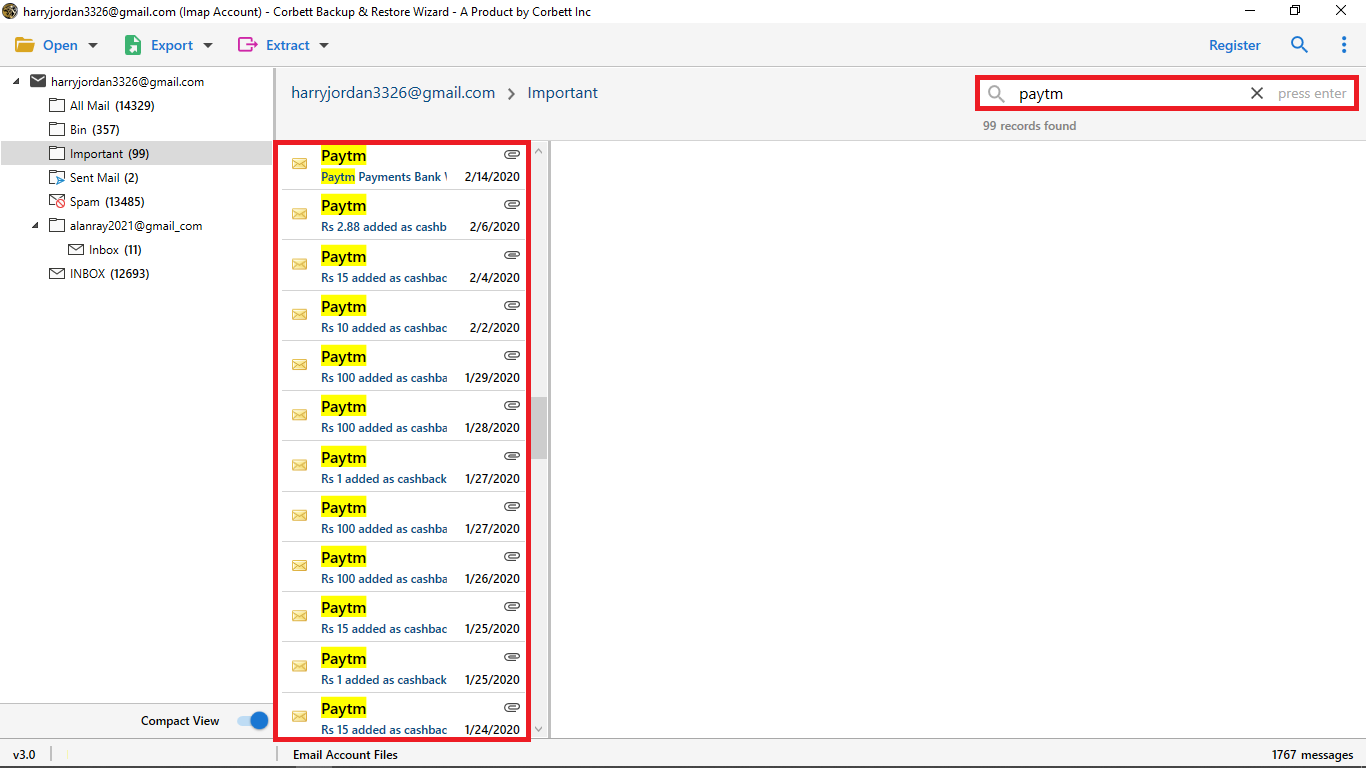
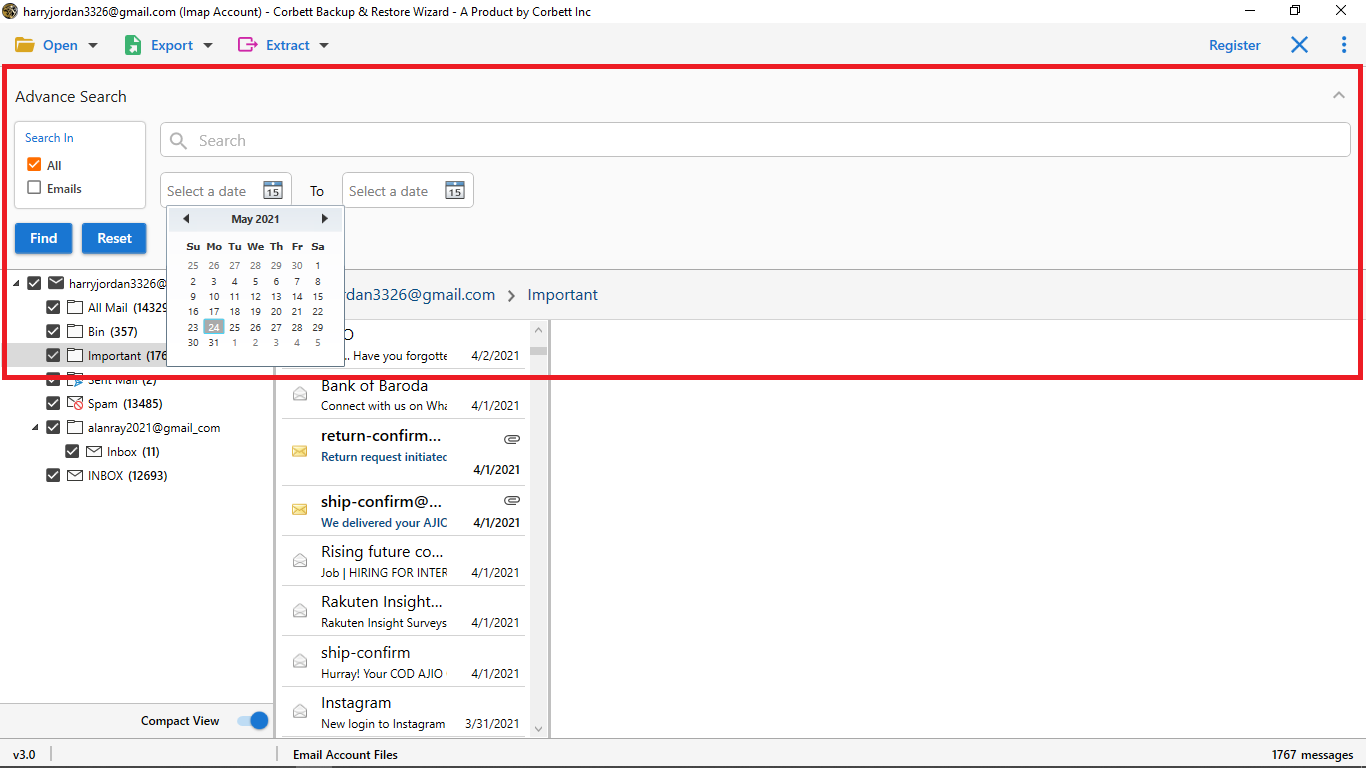
As you can see here is a search option that's called Quick Search it searches keywords within the emails you can enter a keyword in Search Bar and press enter to see the results highlighted in yellow color.
-
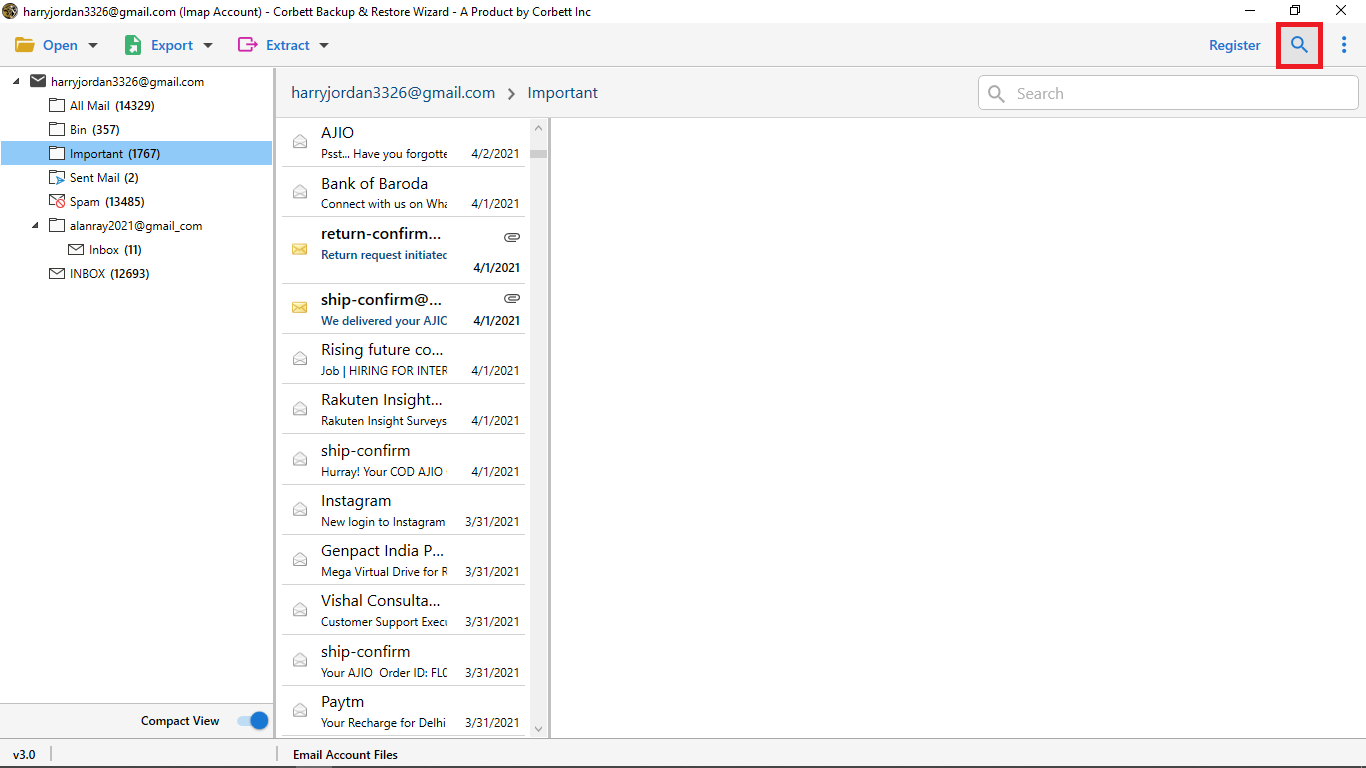
Advance Search Option: one of the most beneficial features of the software it has two searches fields.
-
All Search Option: it's find the information within the email you can search in all field like calendar and date.
-
Emails Search Option: search for information from such name, subject, to, cc, content, and more.

-
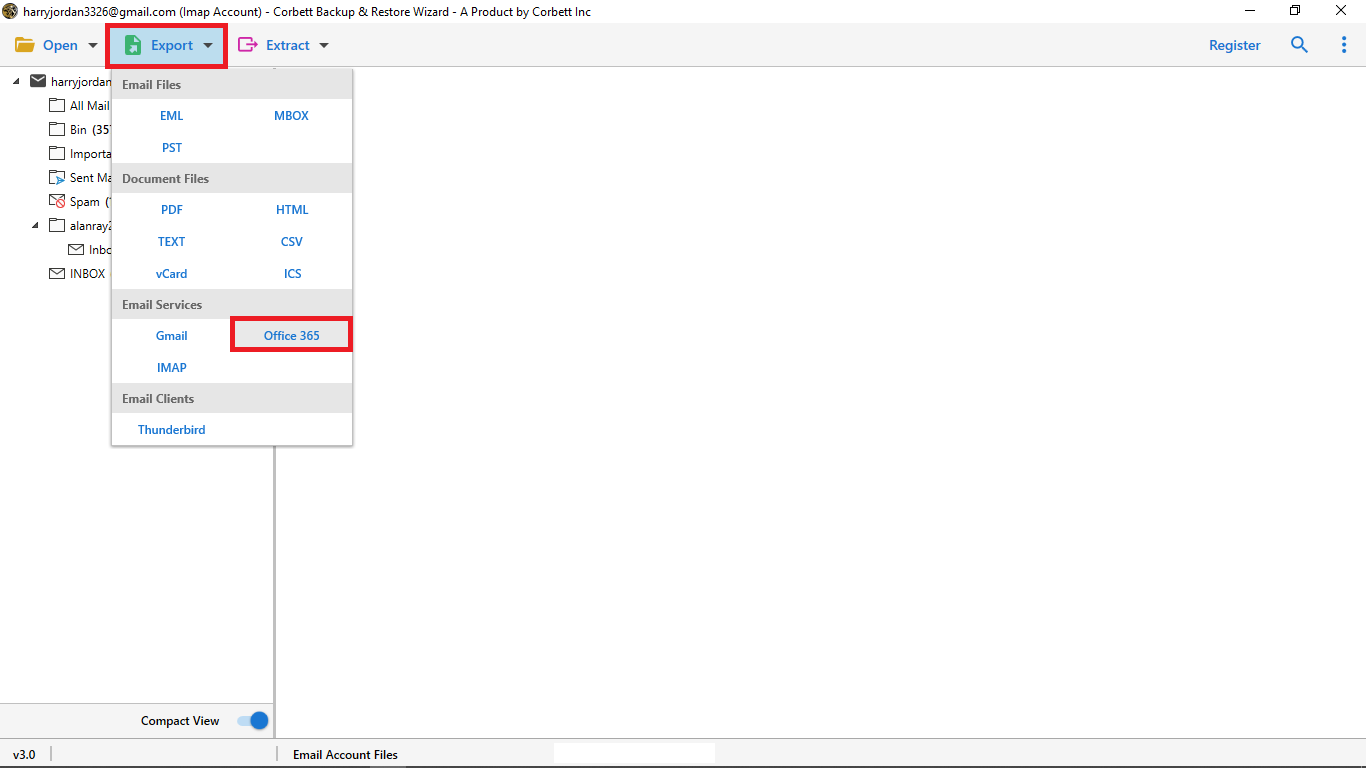
Now click on Export Button select Office 365 Option from dropdown menu for Migration Process.
-
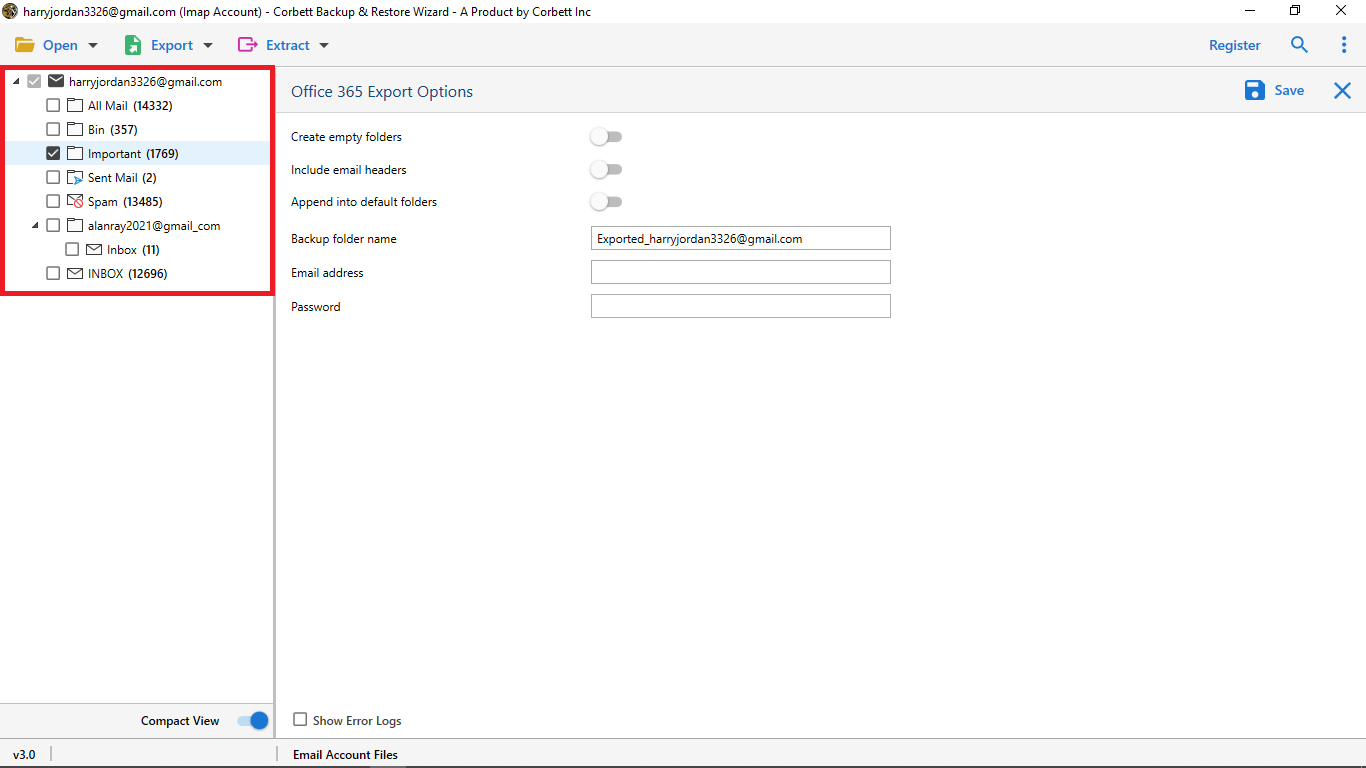
Now you can Mark The Important Folder For Migration Process.
-
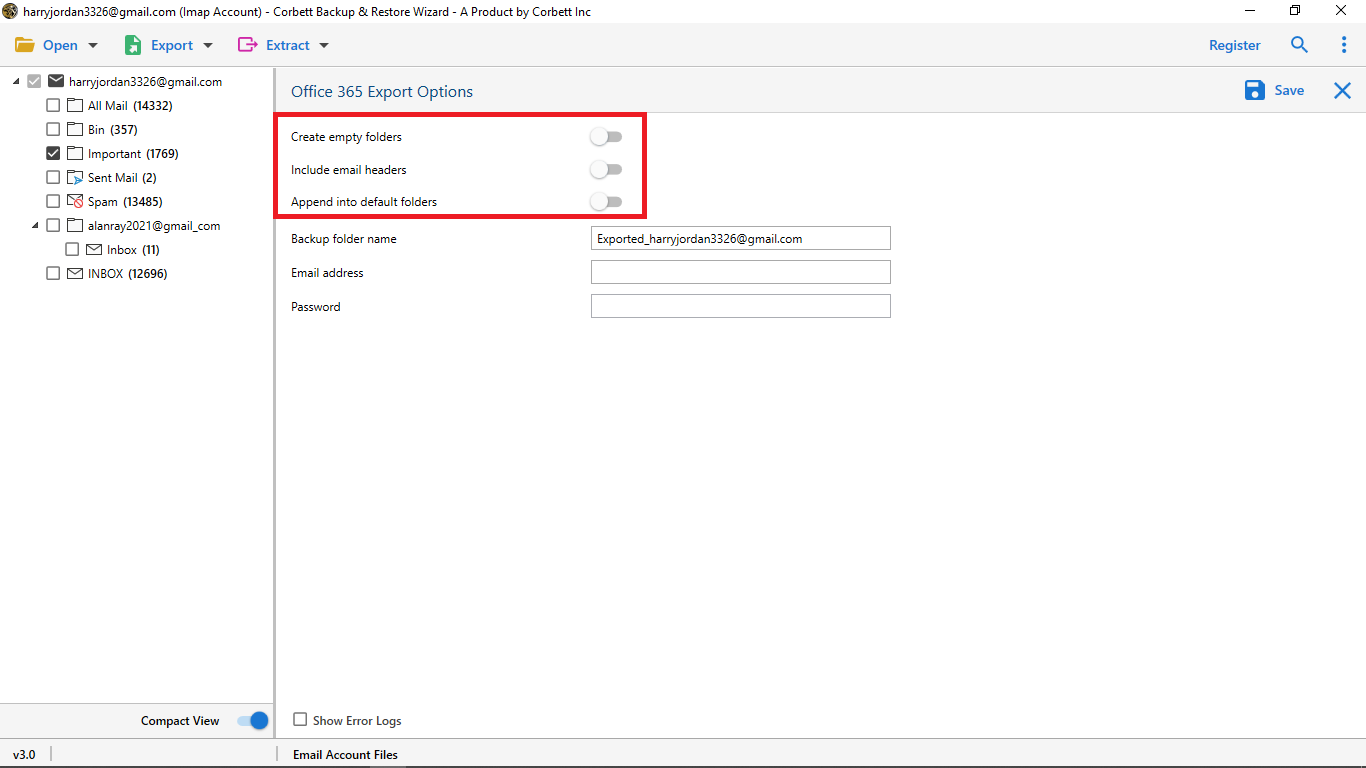
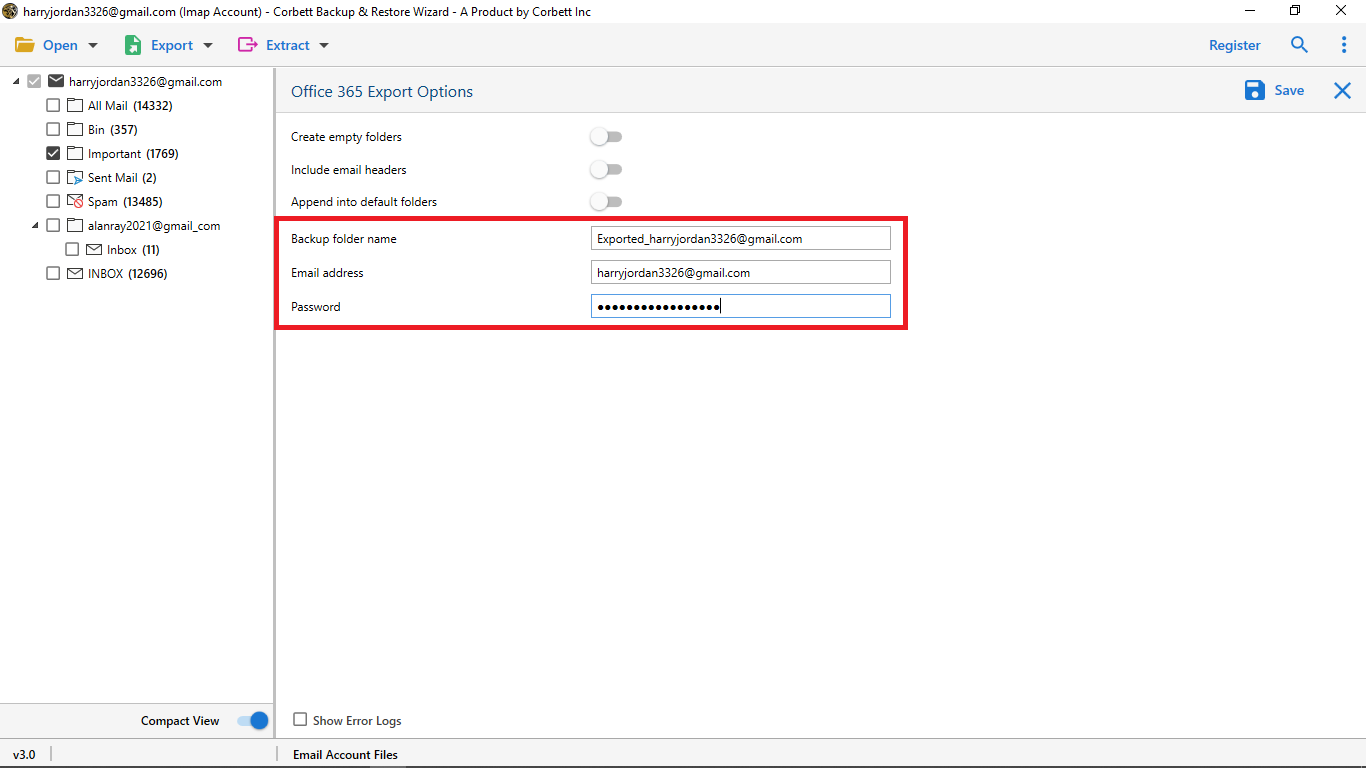
Apply advance option of the software Create empty folders, Include email headers, Append into default folders, enable these option as per your requirement.
-
Add your Office 365 Account Email Address & Password.
-
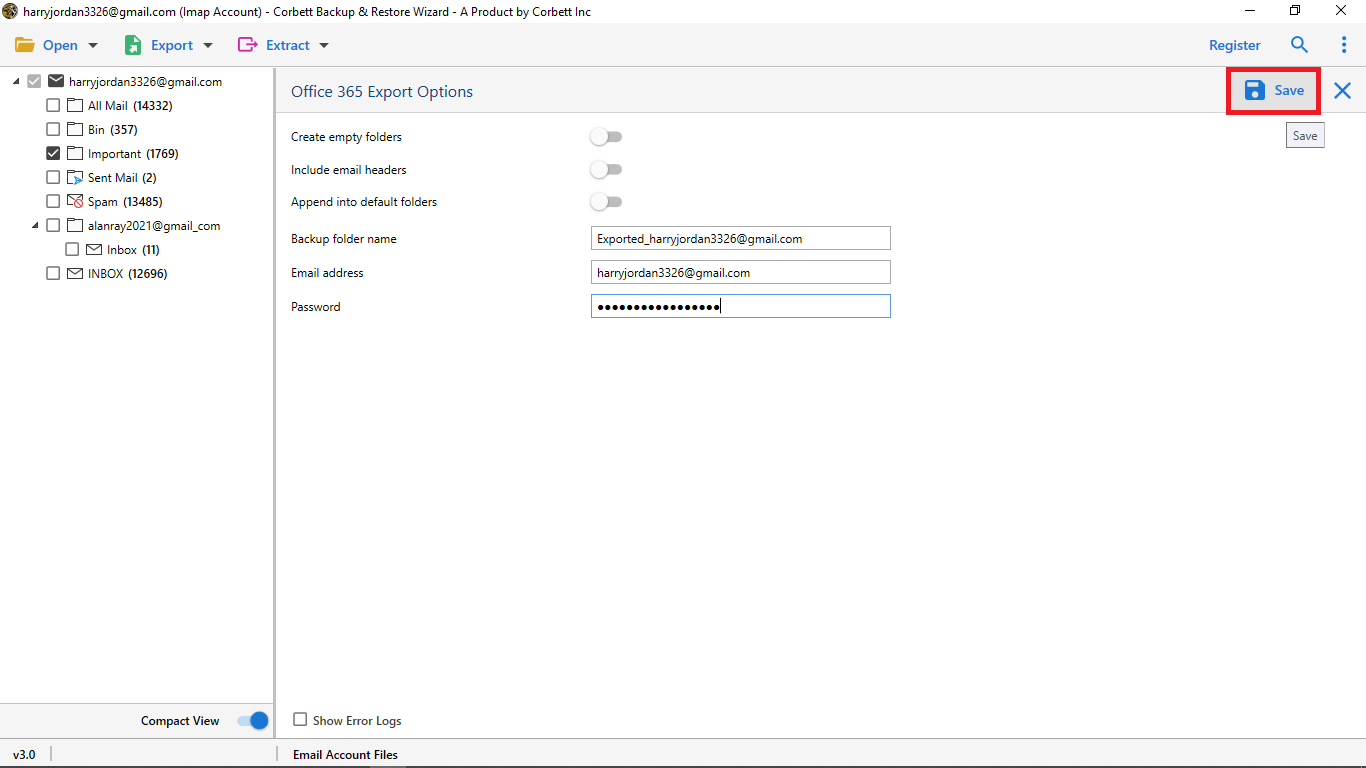
Select the Save Button to start the Migration process.
-
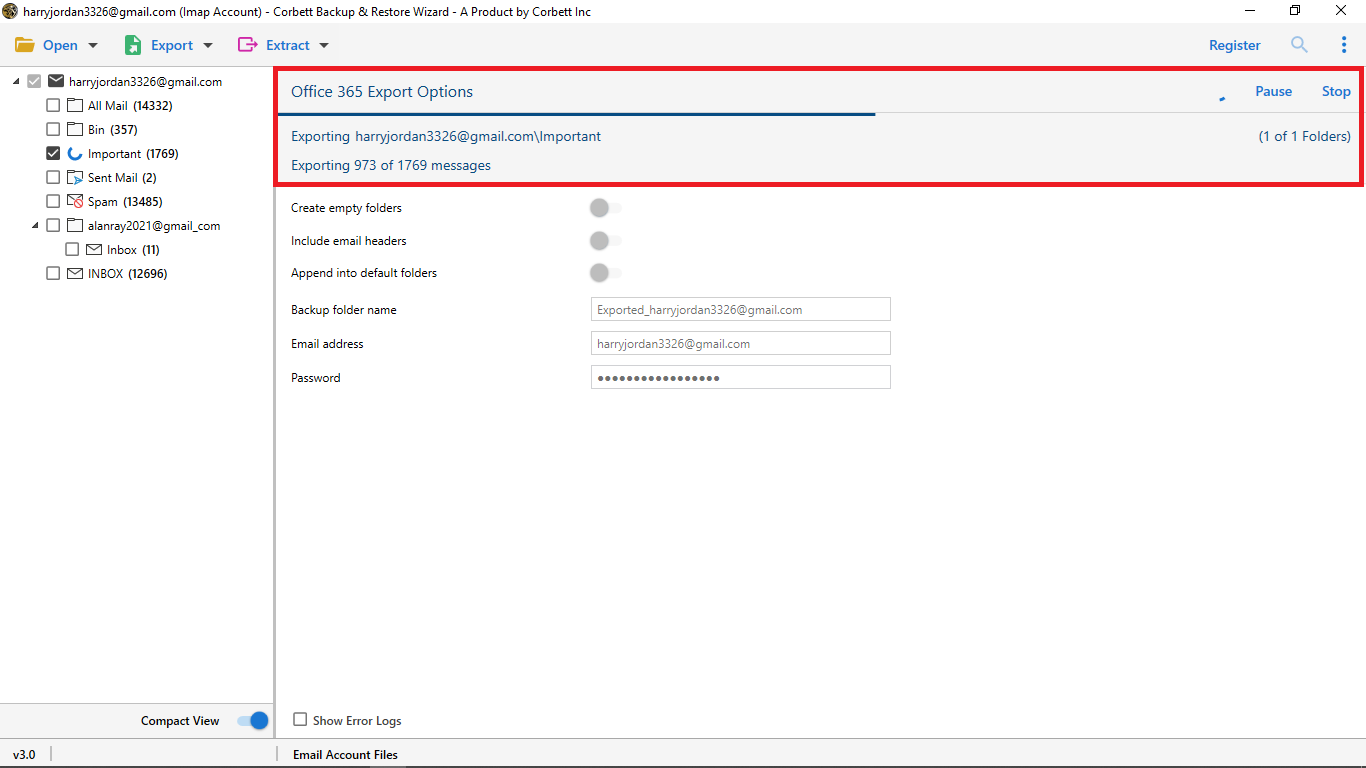
Now you can also see the live process of IMAP Account Migration Process to Office 365.
-
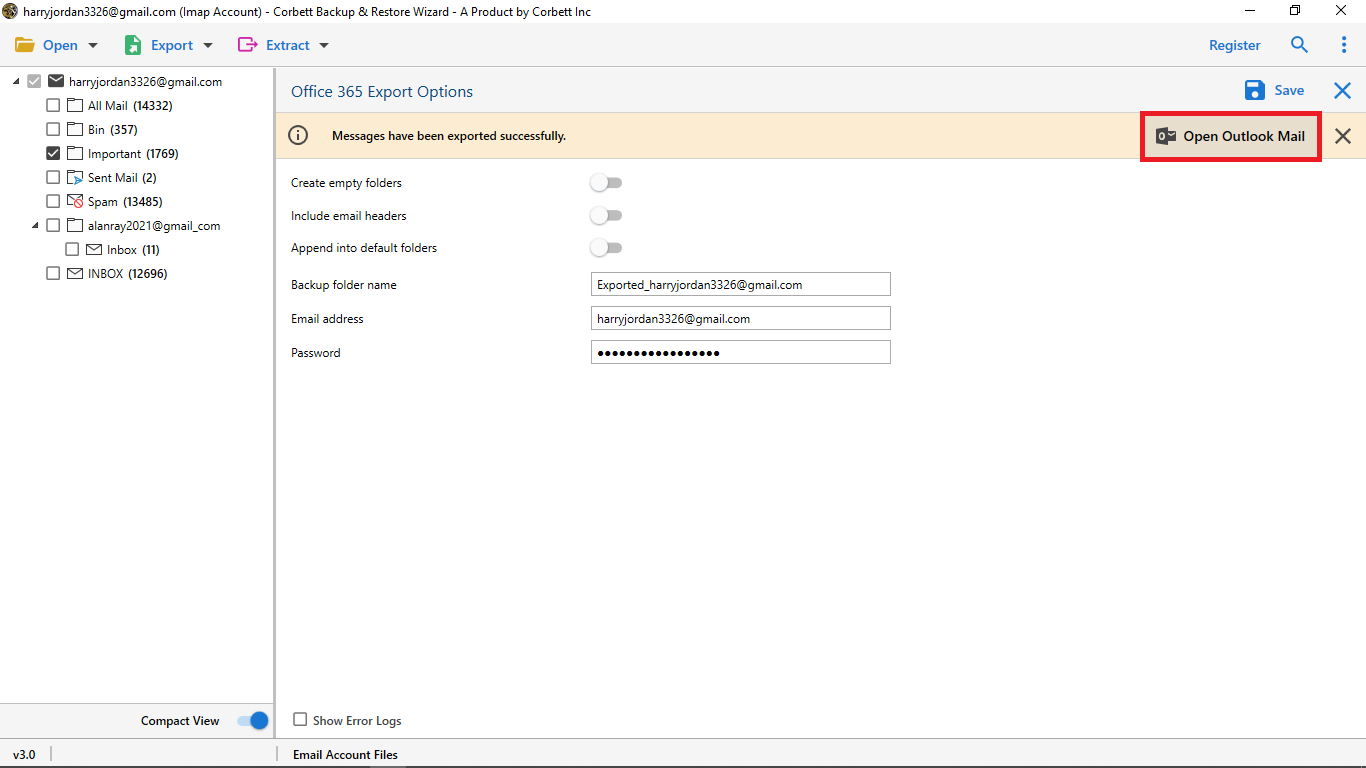
After restore is done click on Open Outlook Mail option to view the output.
-
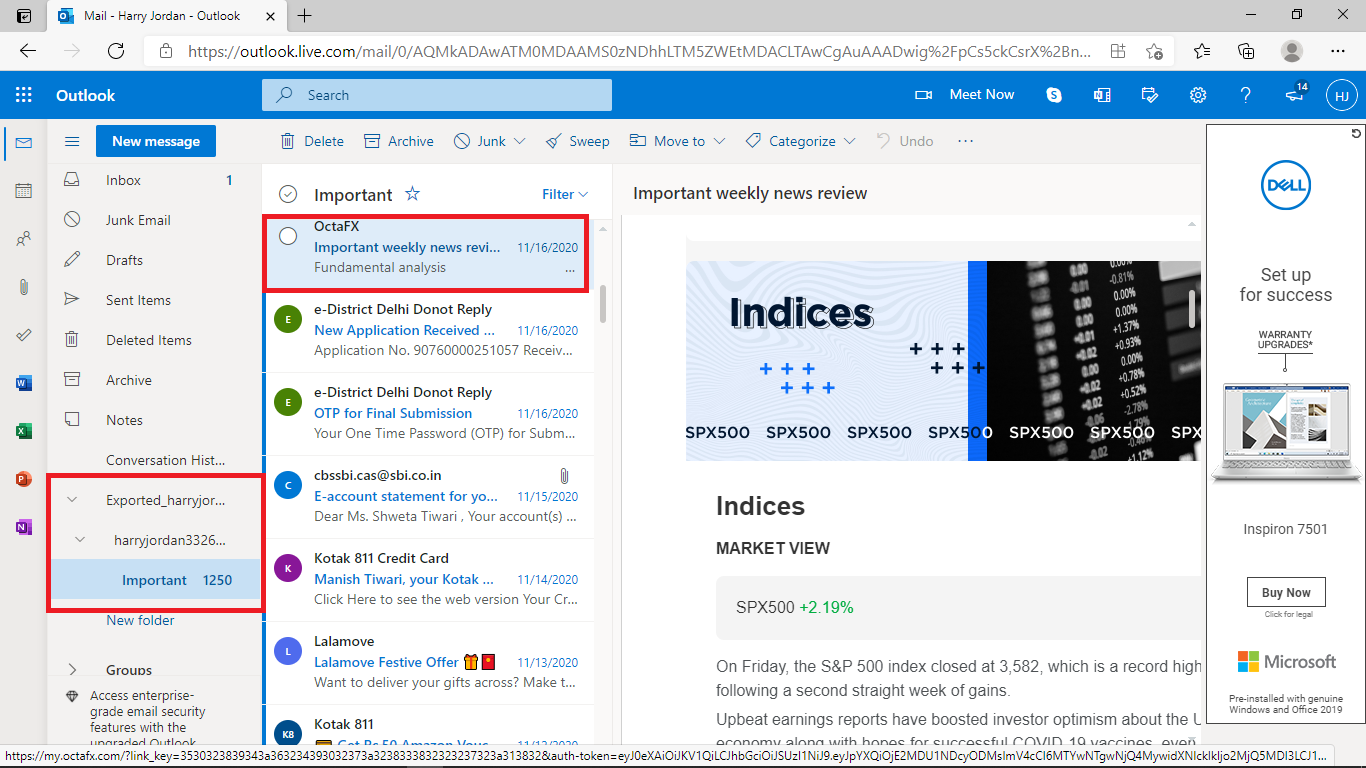
Open your Office 365 account and explore the exported folder and then select your Migrated folder to check your Migrated emails.