Corbett Gmail Backup: Know How it Works!
-
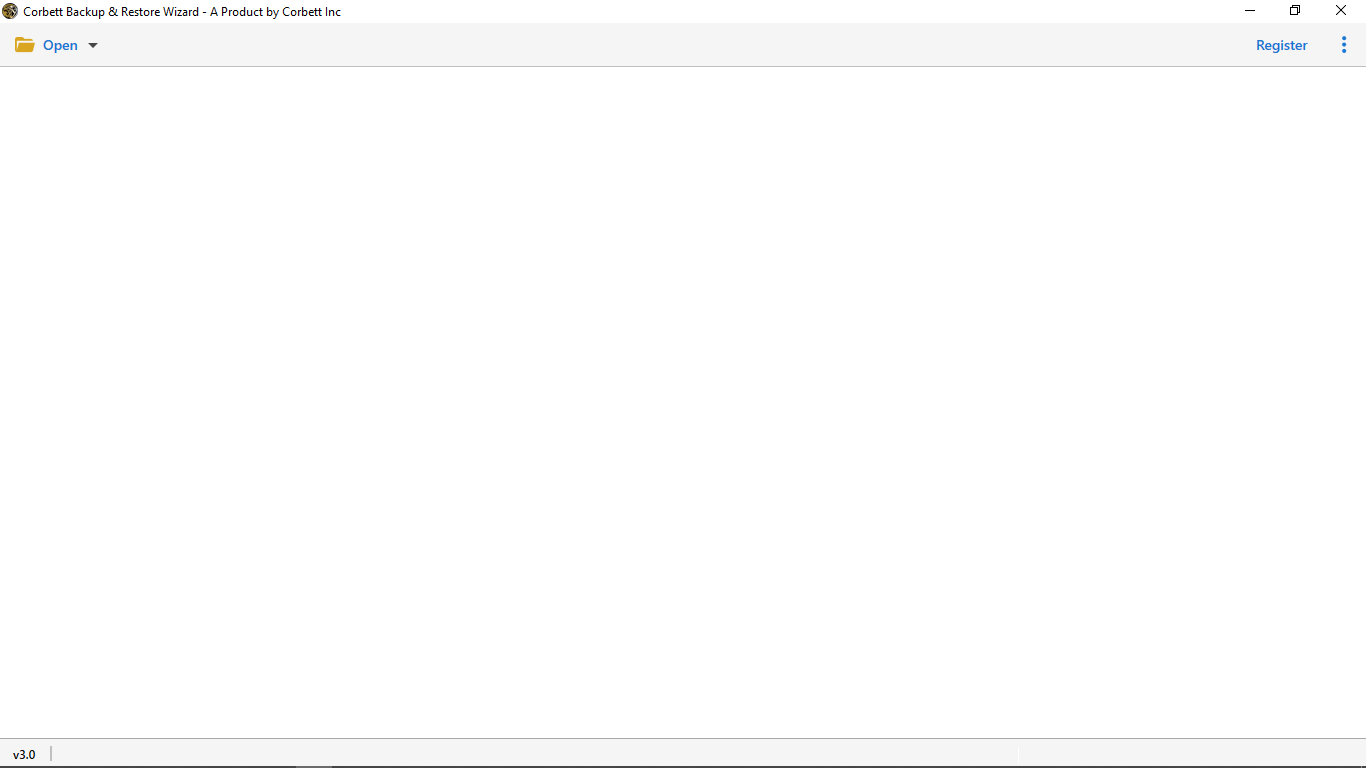
Download Corbett Gmail Backup Software and Install on Your Windows 10, 8, 7, versions.
-
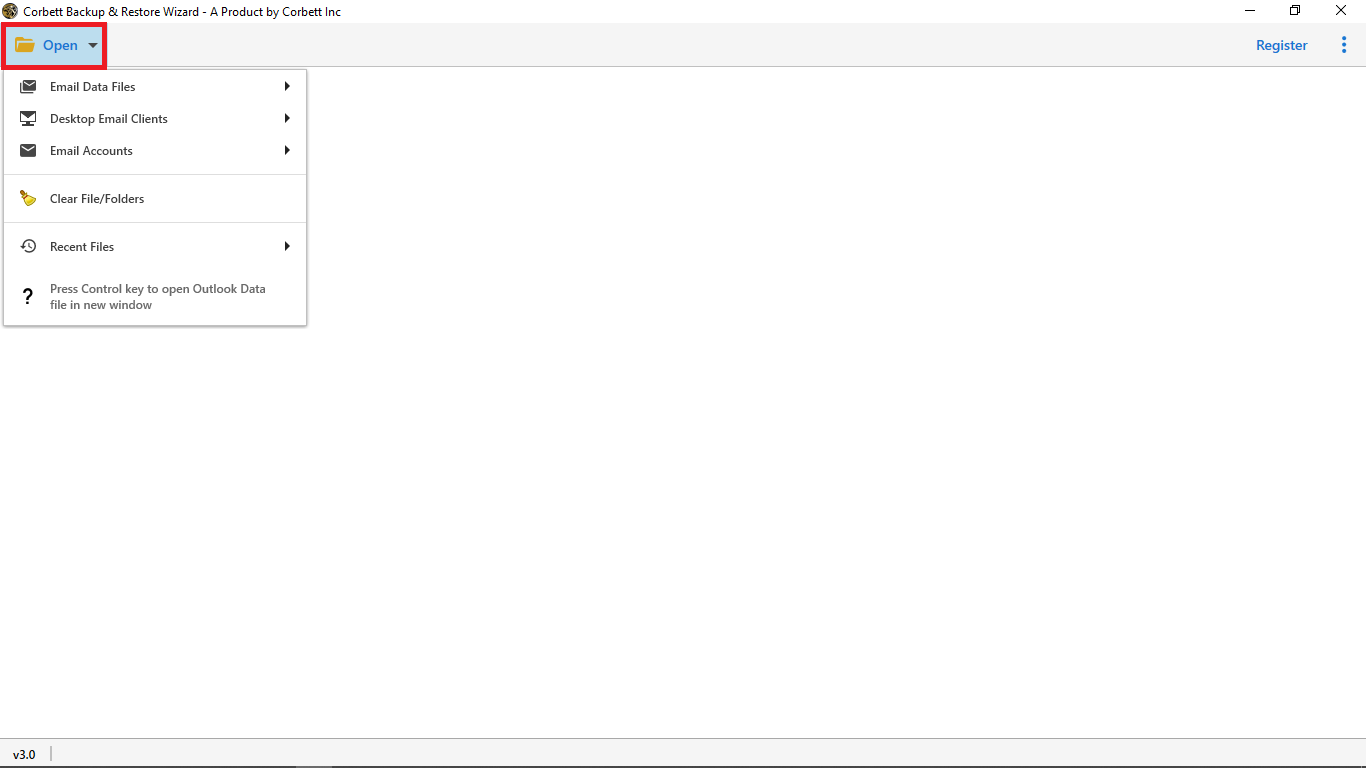
In the top left menu bar, click Open Button.
-
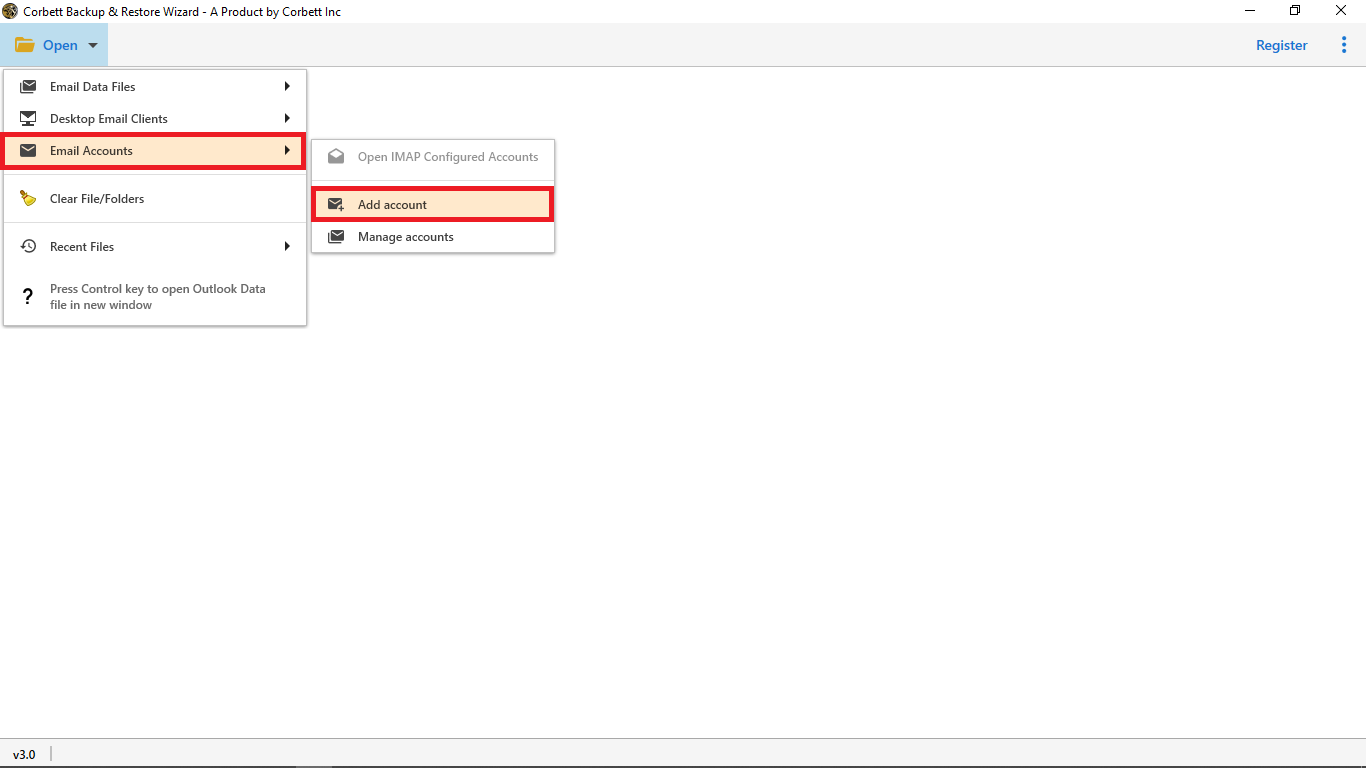
Select Email Accounts then click Add Account from pop-up window tab.
-
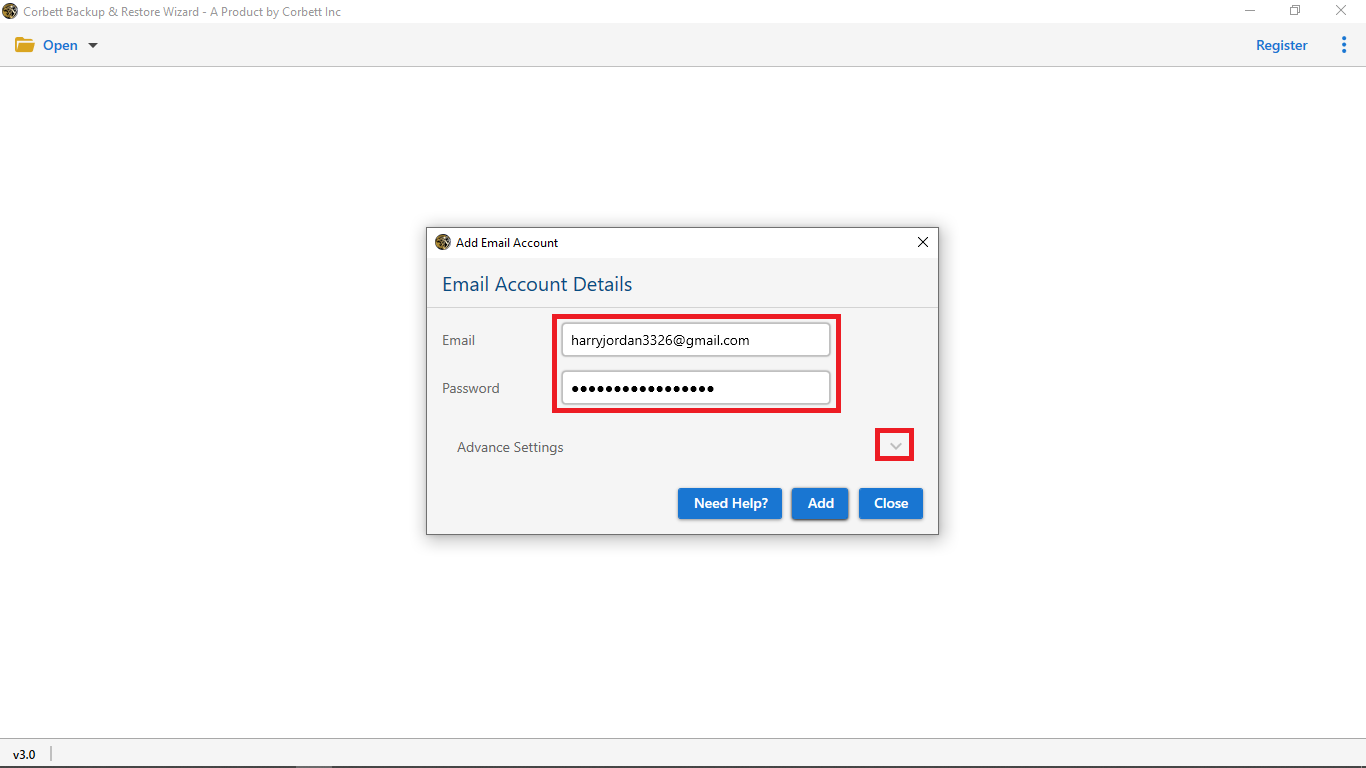
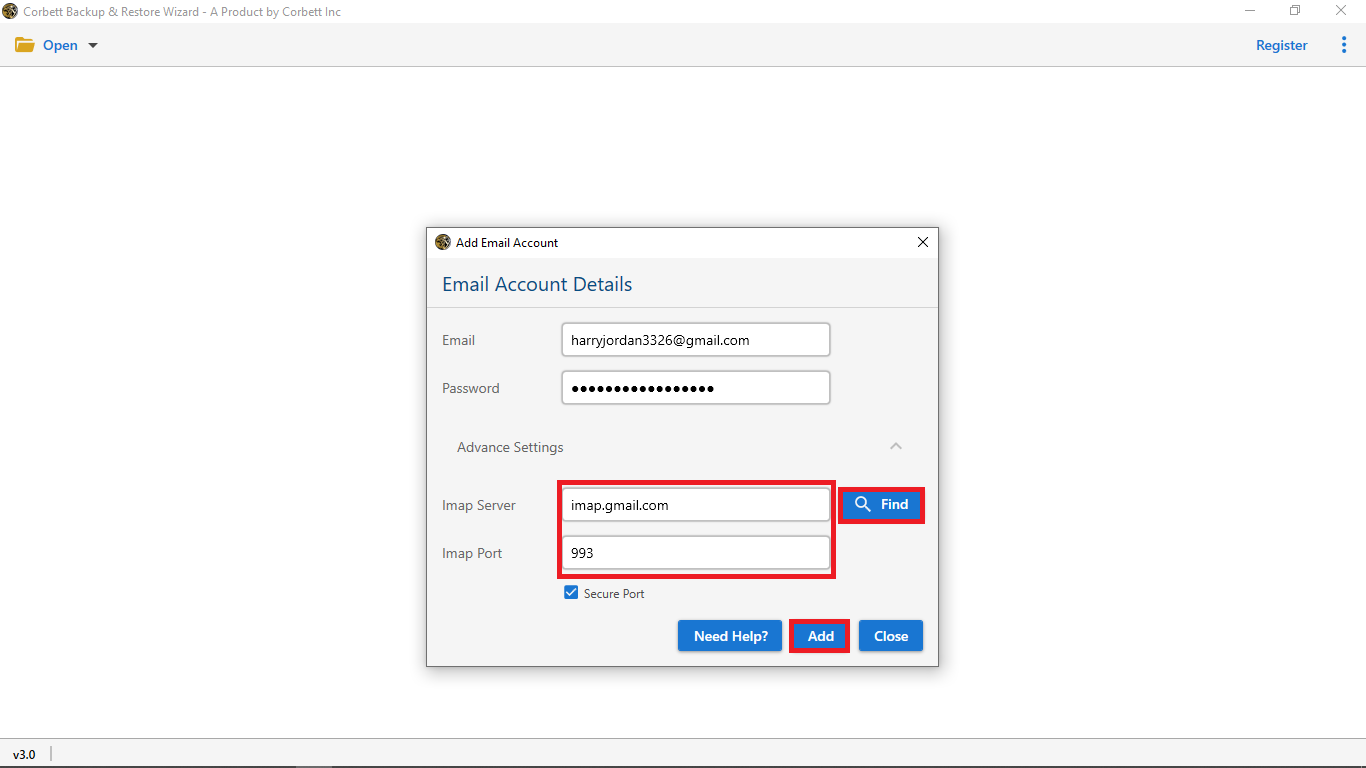
Add your Email Address & Password to take backup in case you are not able to log in with credentials please select the advanced settings option.
-
Select Find Button to add the IMAP server then click on Add Button.
-
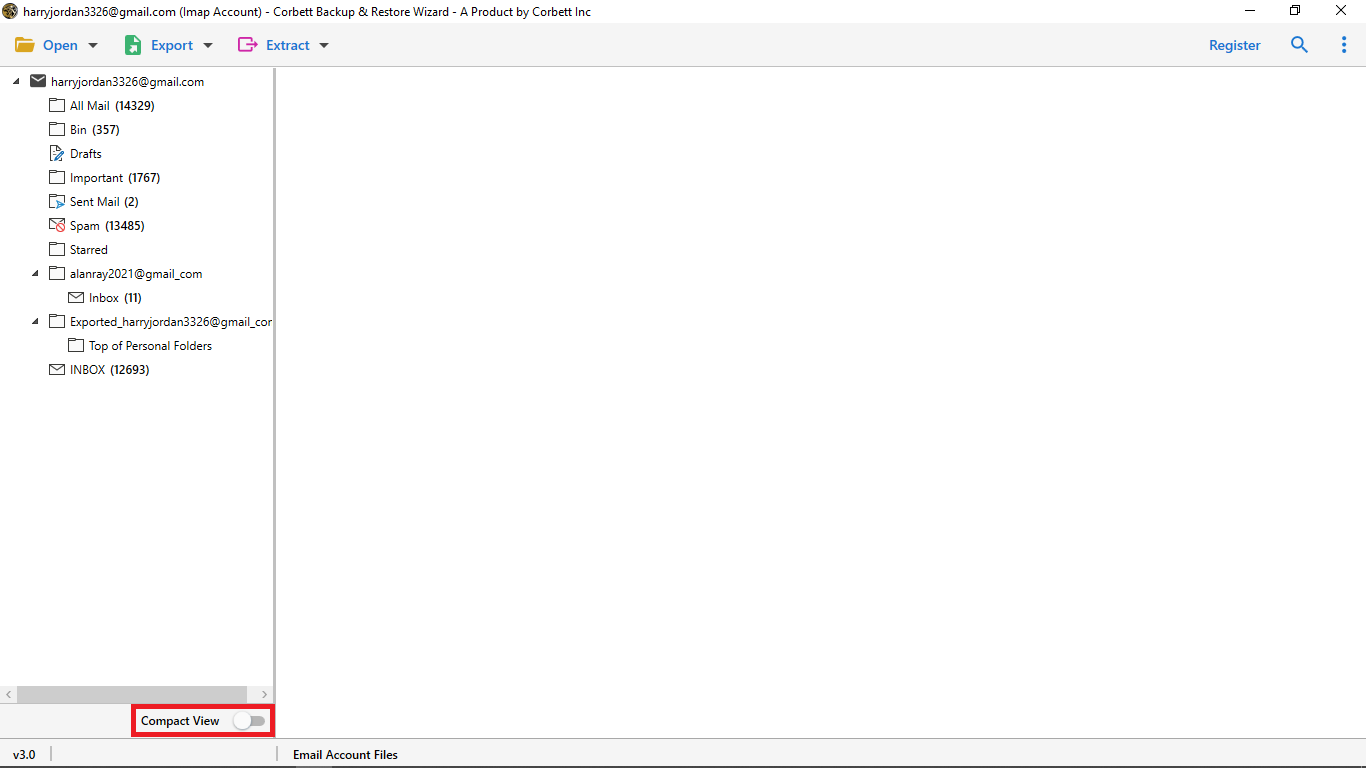
The software is loaded files and folders from your account you can enable the compact view button to view the important folder for the backup process.
-
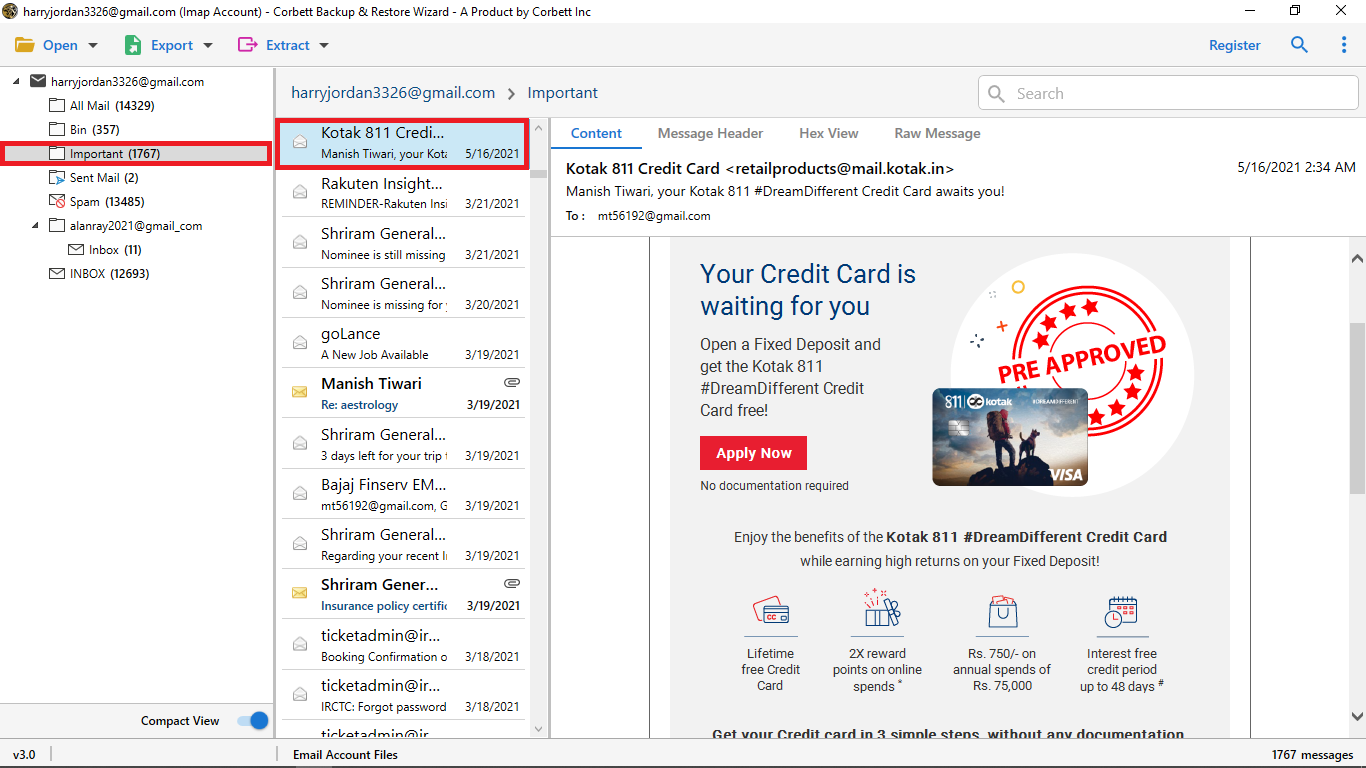
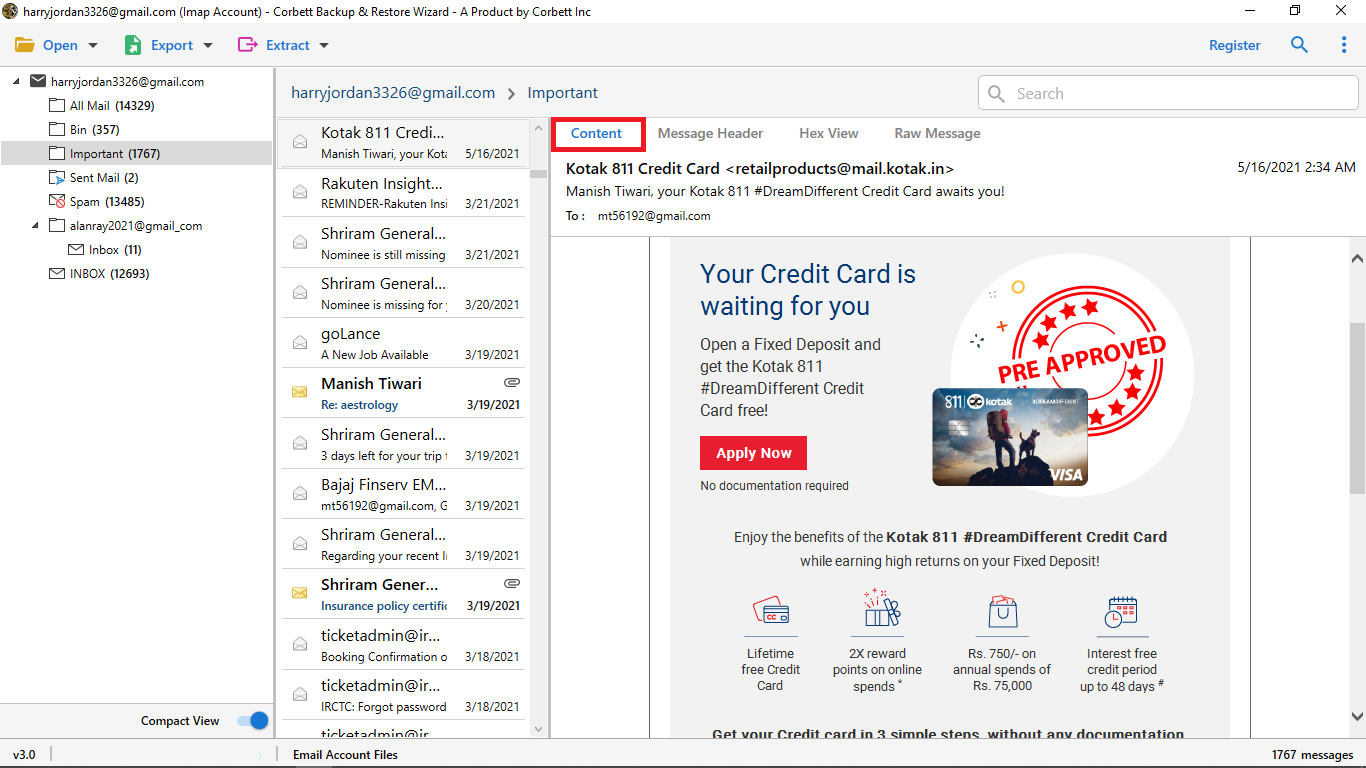
Click The Email to view the Message Preview with all the elements such as Email Properties, Signature, Sender, Information, and more.
-
Select Content Option: for you see the full body content of the email message.
-
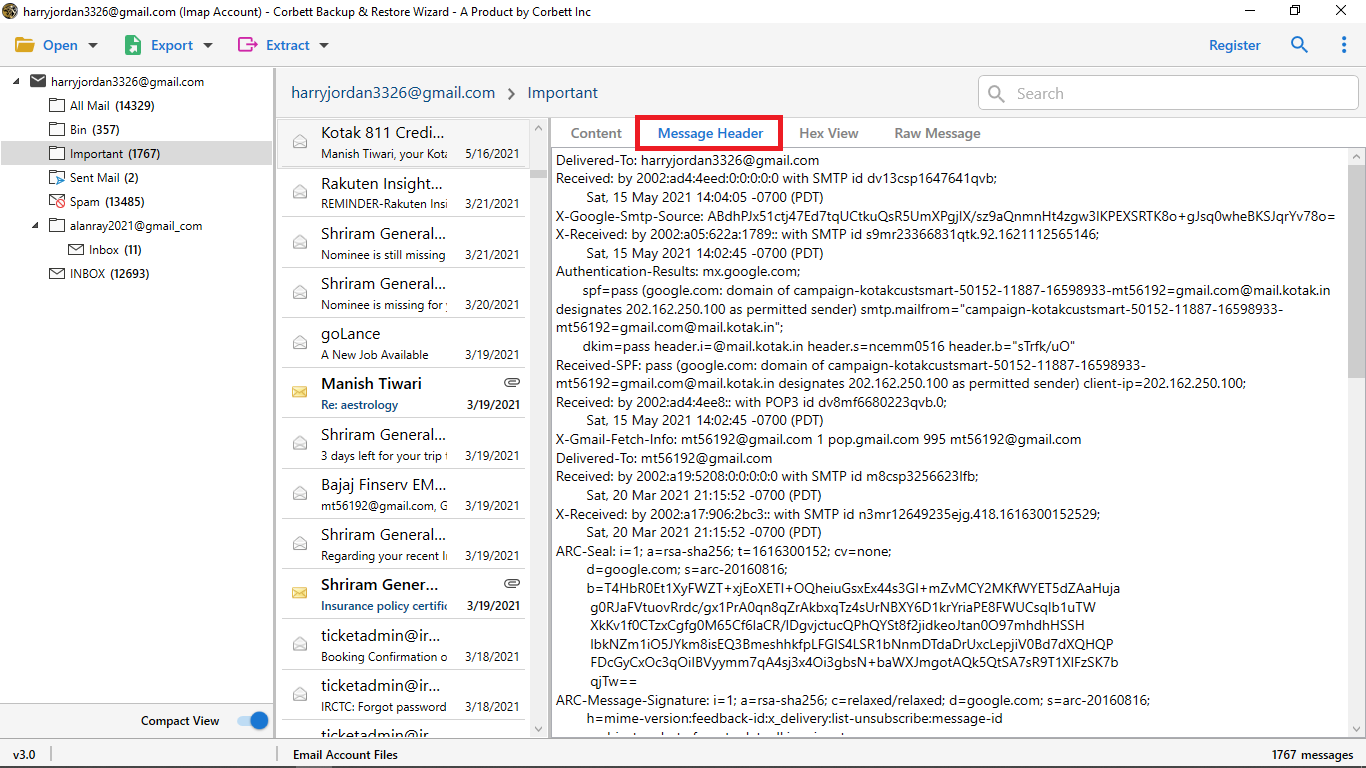
Select Message Header Option: message header helps you view the detailed routing information of the message such as sender recipient date and more.
-
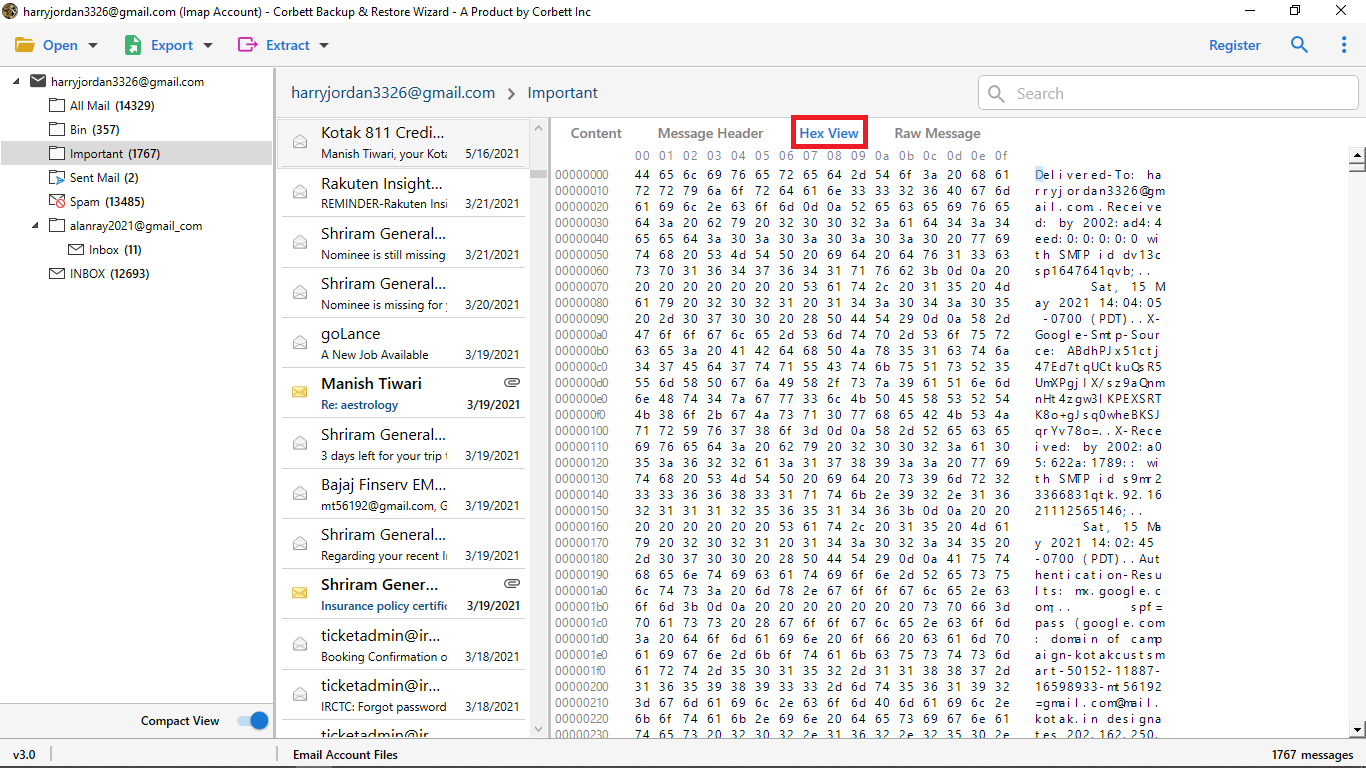
Select Hex View Option: for you see hexadecimal digit of an email.
-
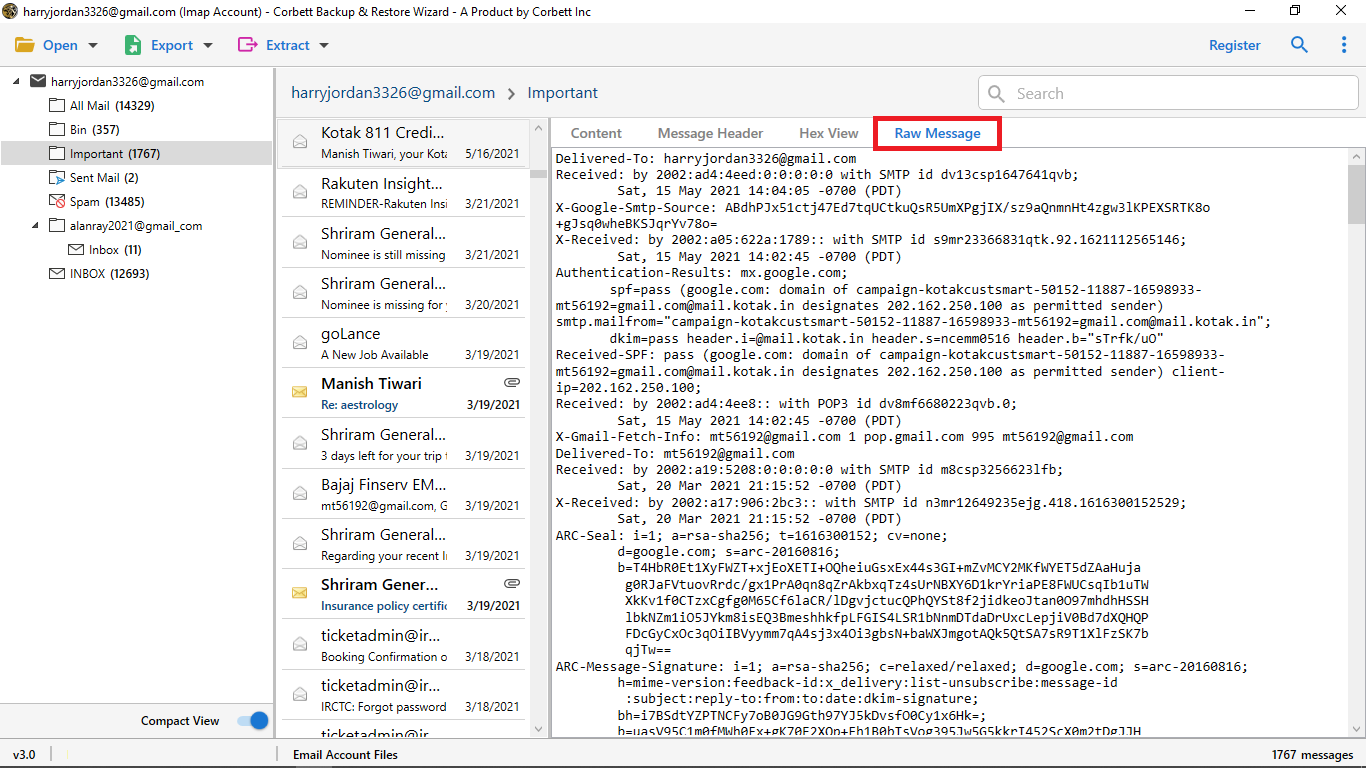
Select Raw Message Option: for you see preview selected email in raw message file format.
-
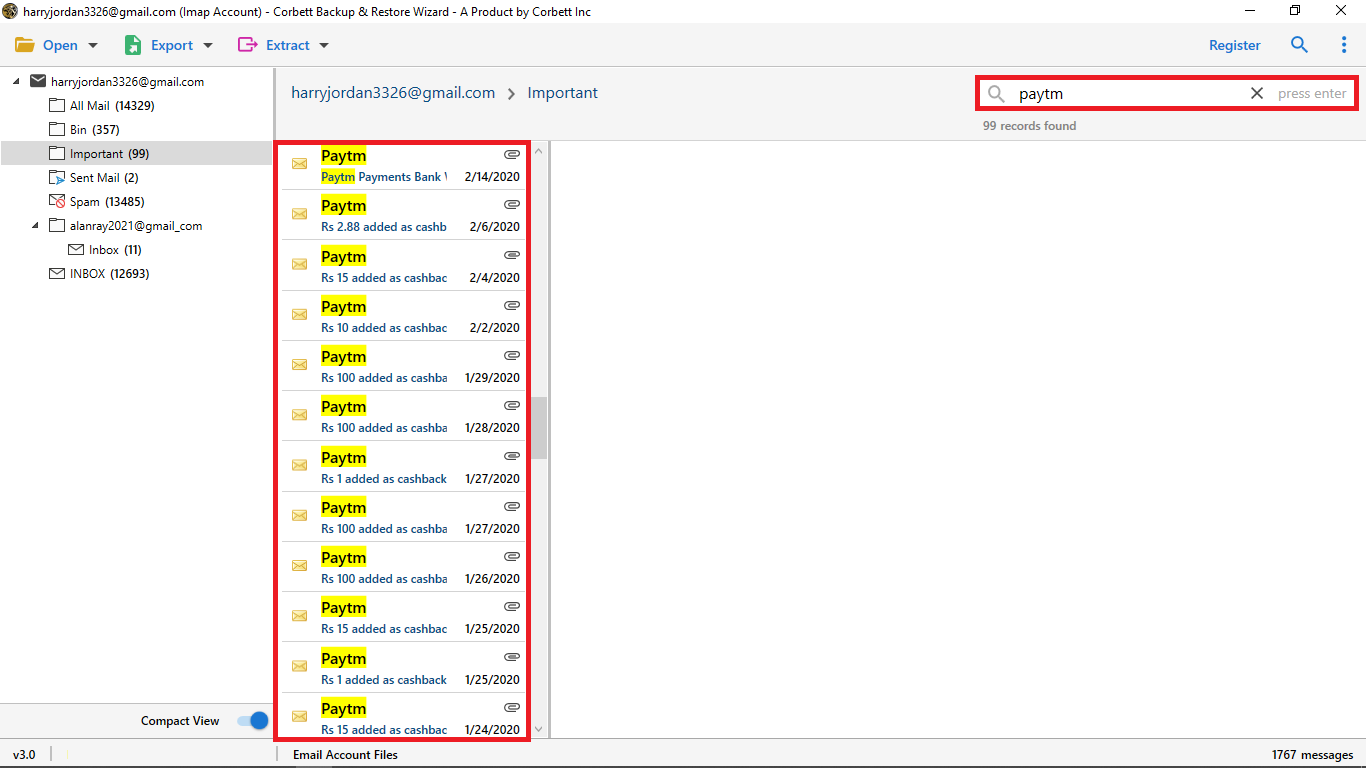
As you can see here is a search option that's called Quick Search it searches keywords within the emails you can enter a keyword in Search Bar and press enter to see the results highlighted in yellow color.
-
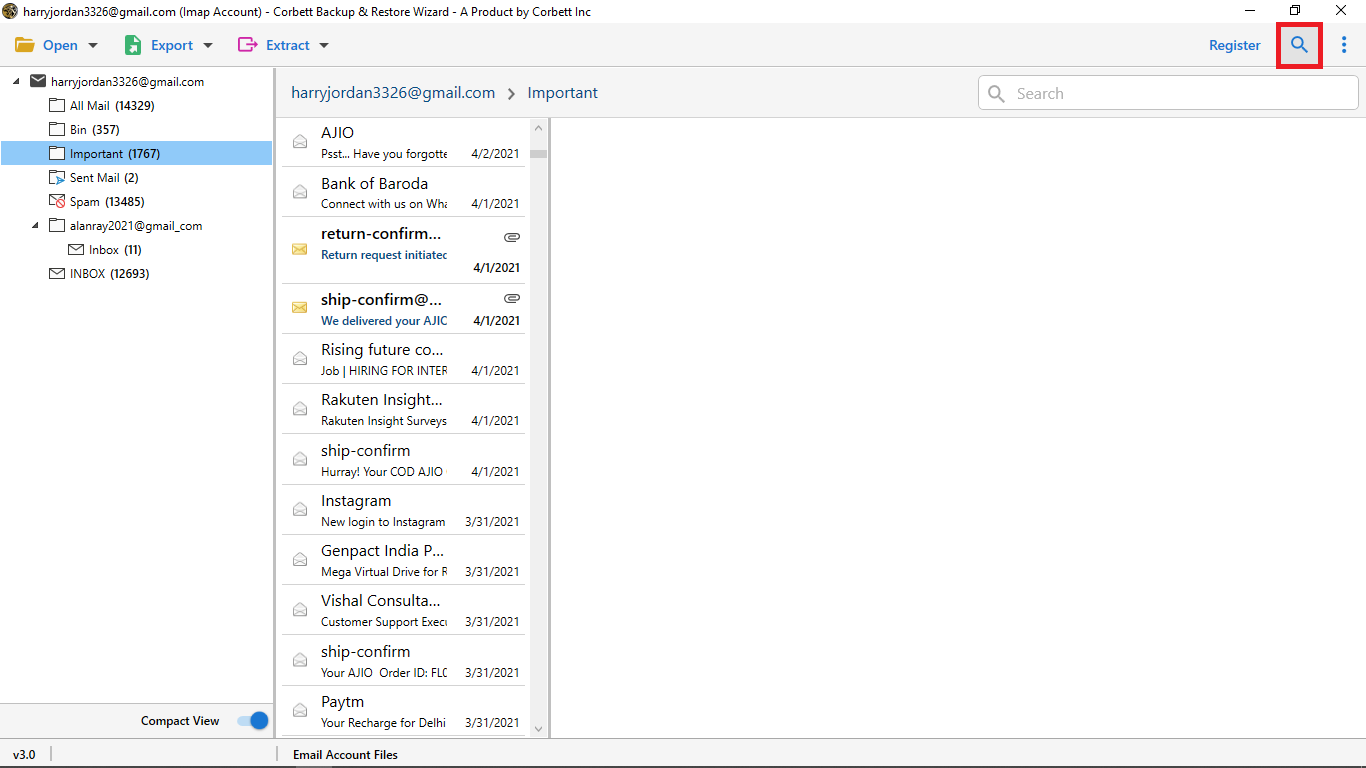
Advance Search Option: one of the most beneficial features of the software it has two searches fields.
-
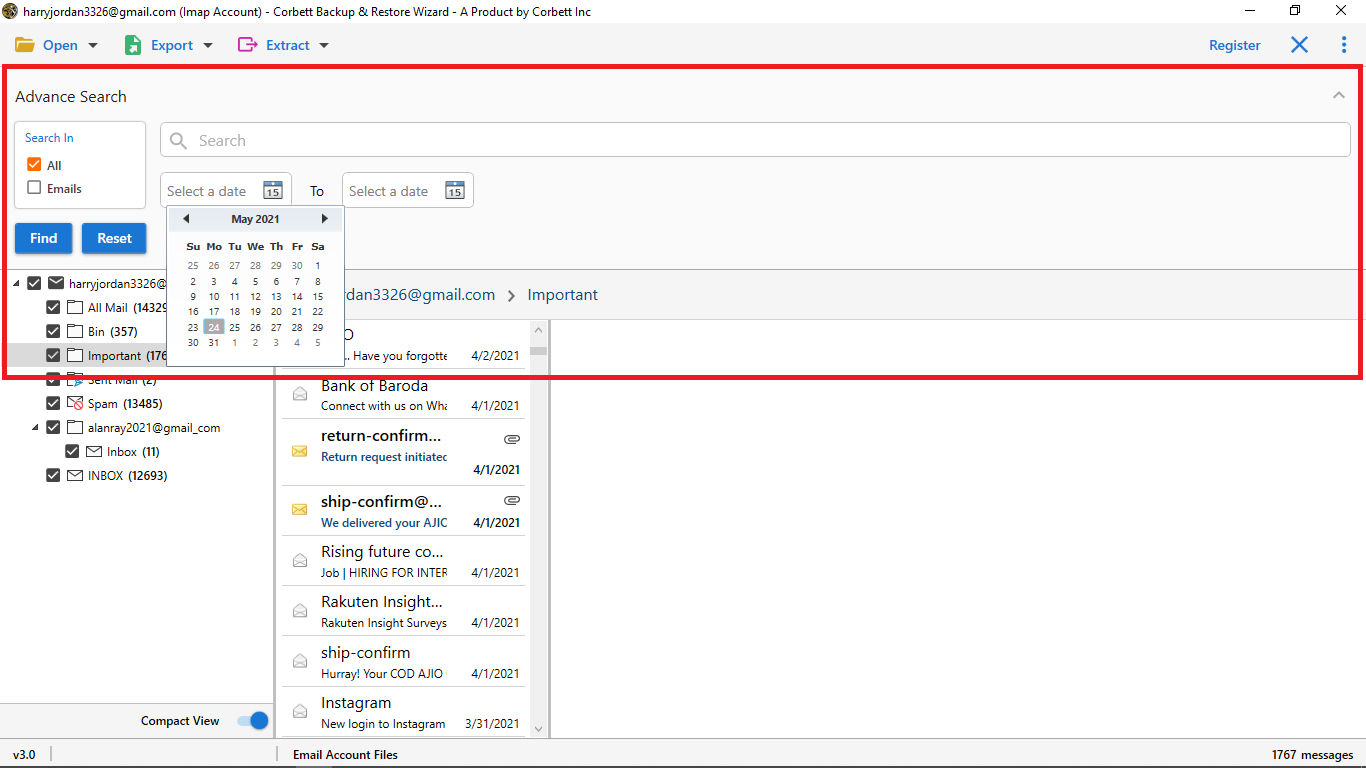
All Search Option: it's find the information within the email you can search in all field like calendar and date.
-
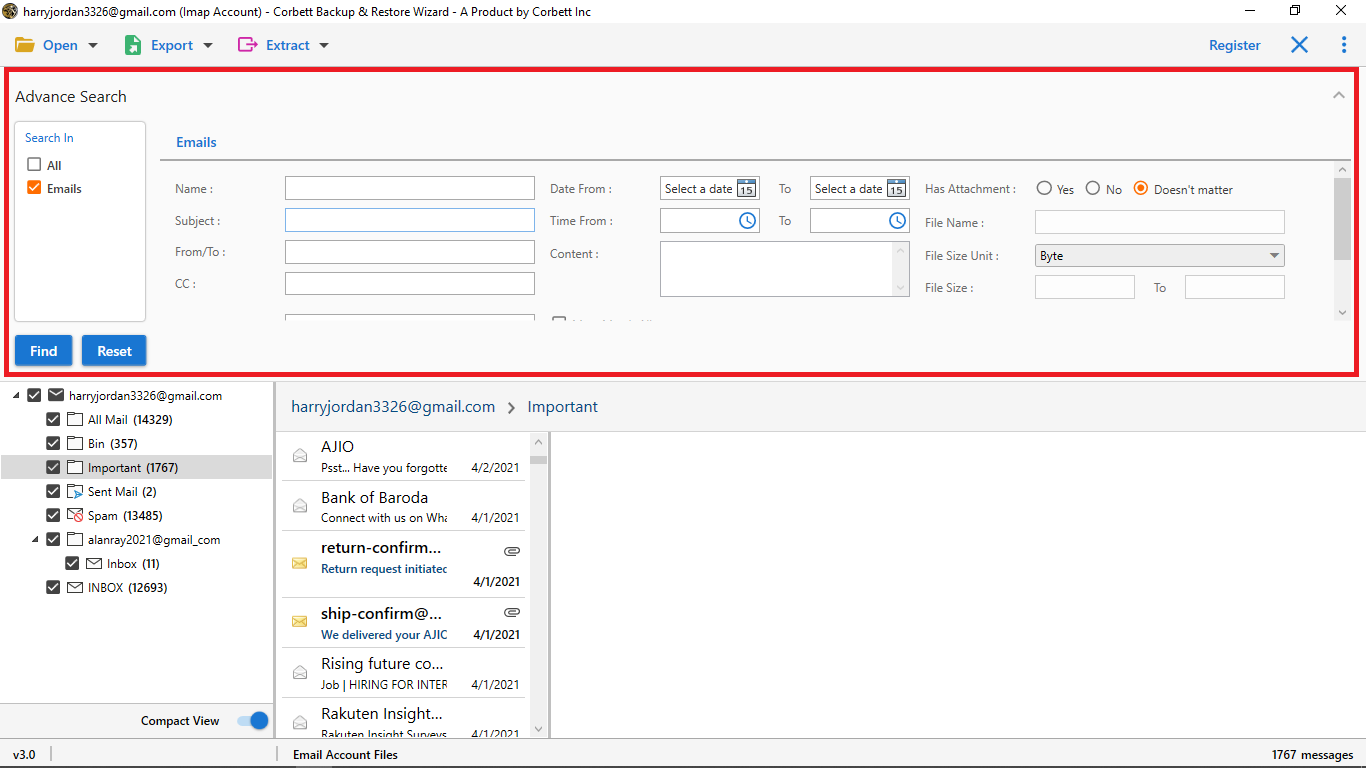
Emails Search Option: search for information from such name, subject, to, cc, content, and more.
-
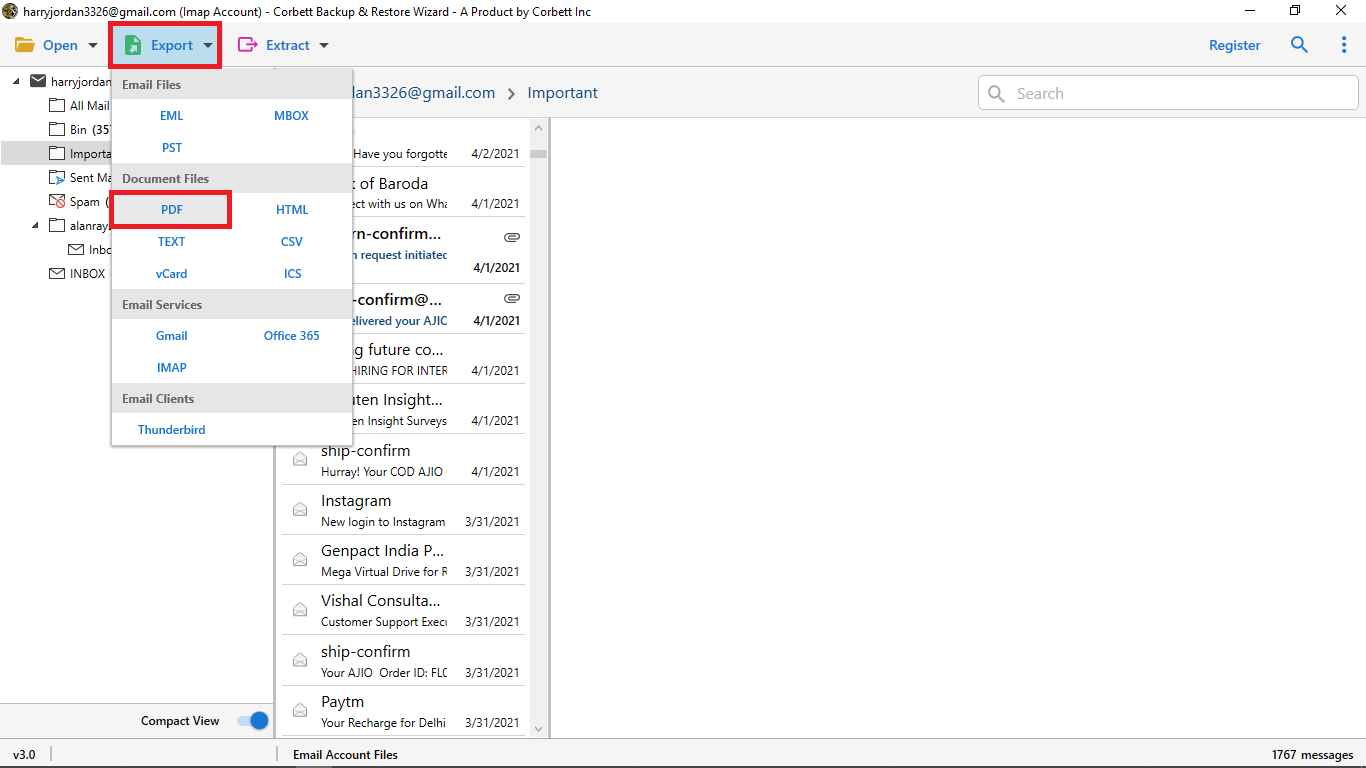
Now click on Export Button it gives you multiple options to backup emails accounts such as EML, MBOX, PST, PDF, TEXT, vCard,HTML,CSV and more you can pick anyone from the list as per your requirement select PDF Option from dropdown menu for Backup Process.
-
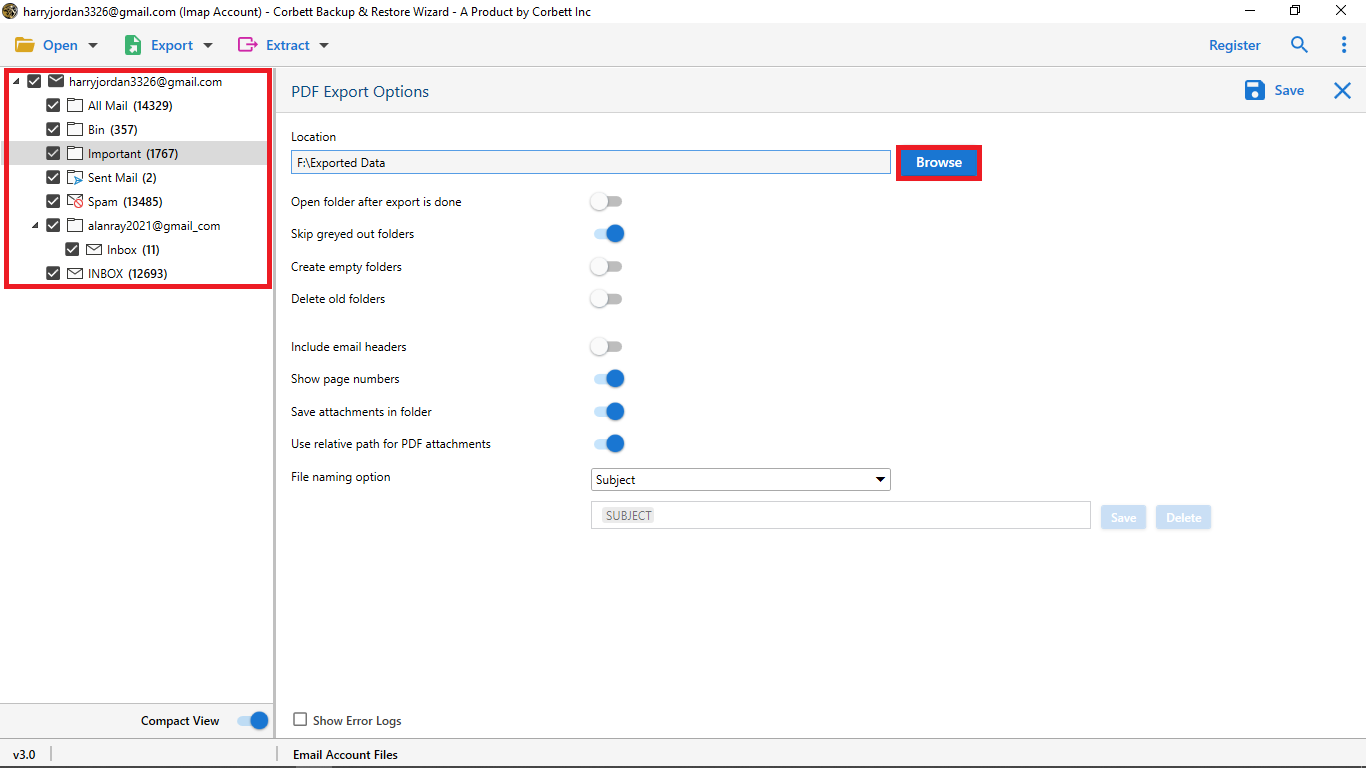
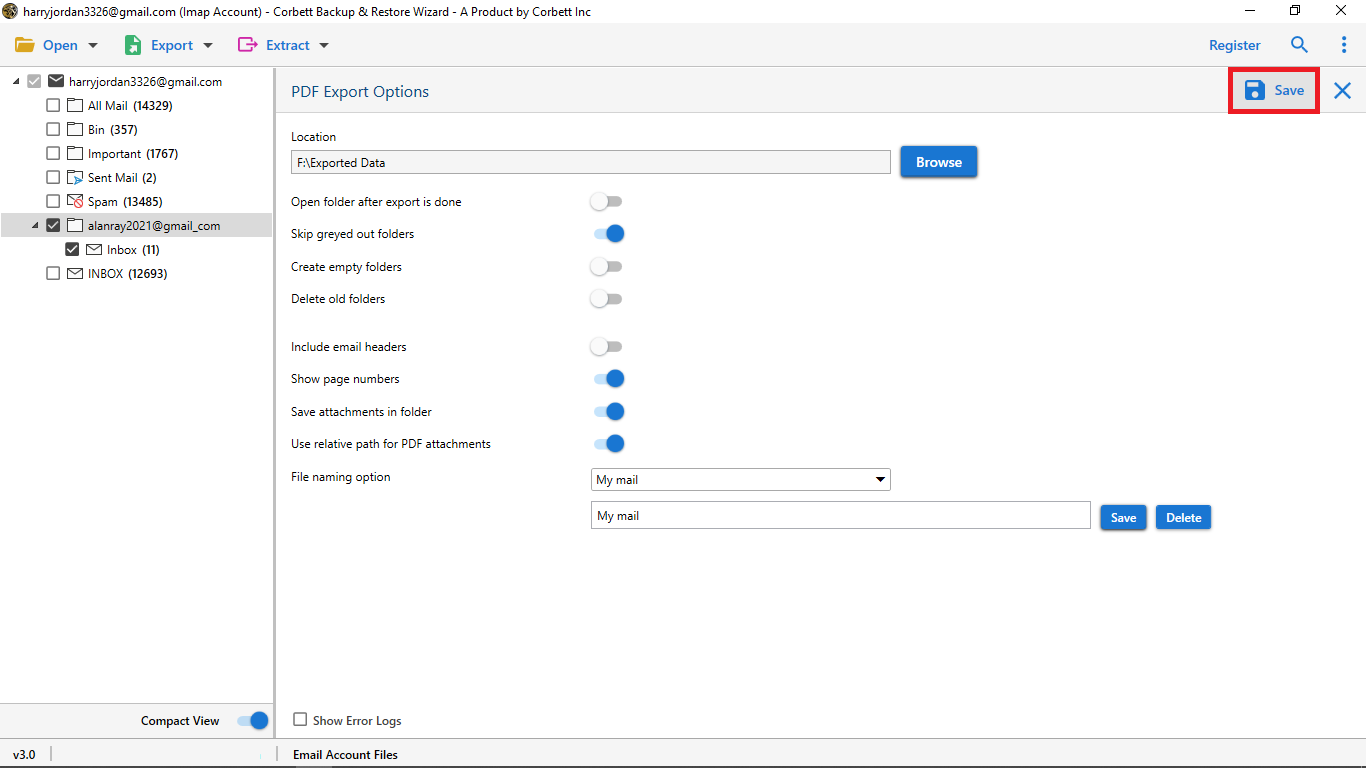
Now you can Mark The Important Folder For Backup Process then click on Browse Option: for pick a location to save the output.
-
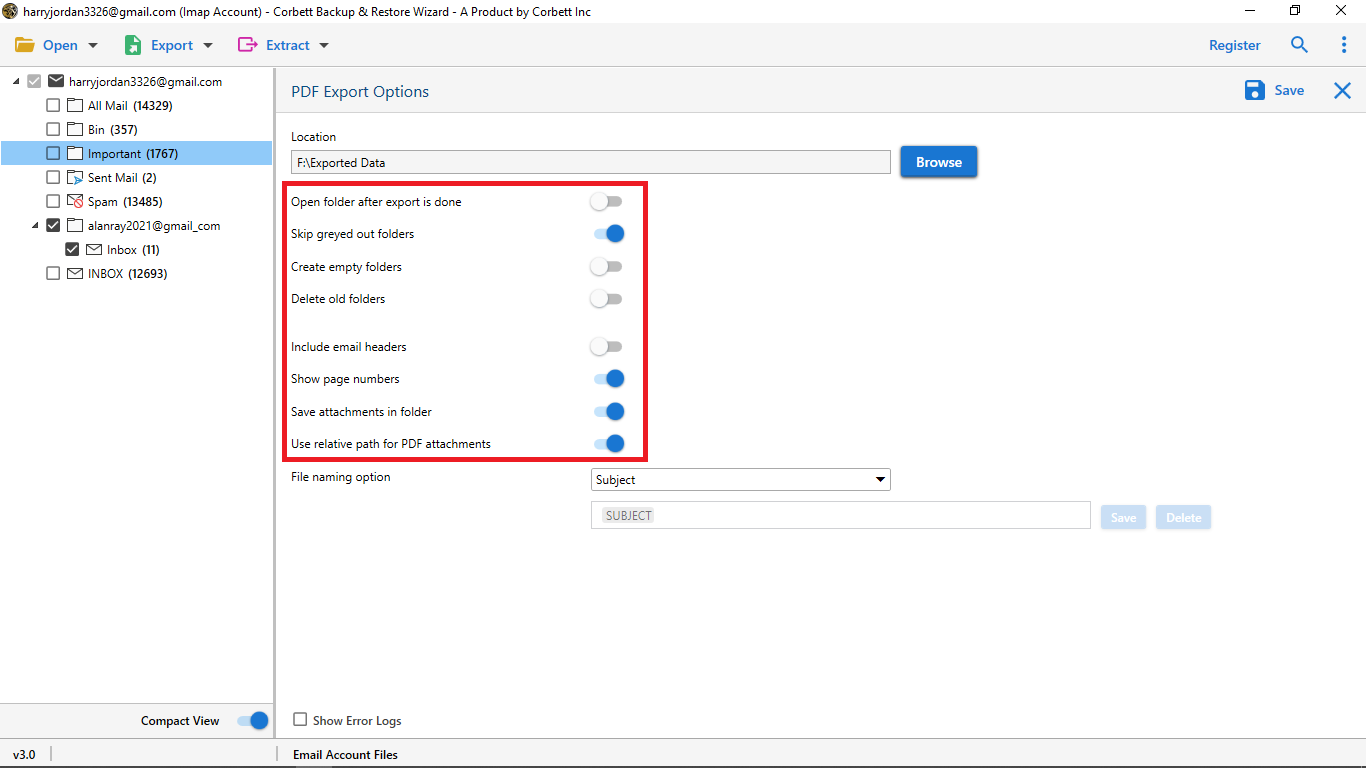
Apply advance option of the software Open folder after export is done, Skip greyed out folders, Create empty folders, Delete old folders, Include email headers, Show page numbers, Save attachments in folder, Use relative path for PDF attachments enable these option as per your requirement.
-
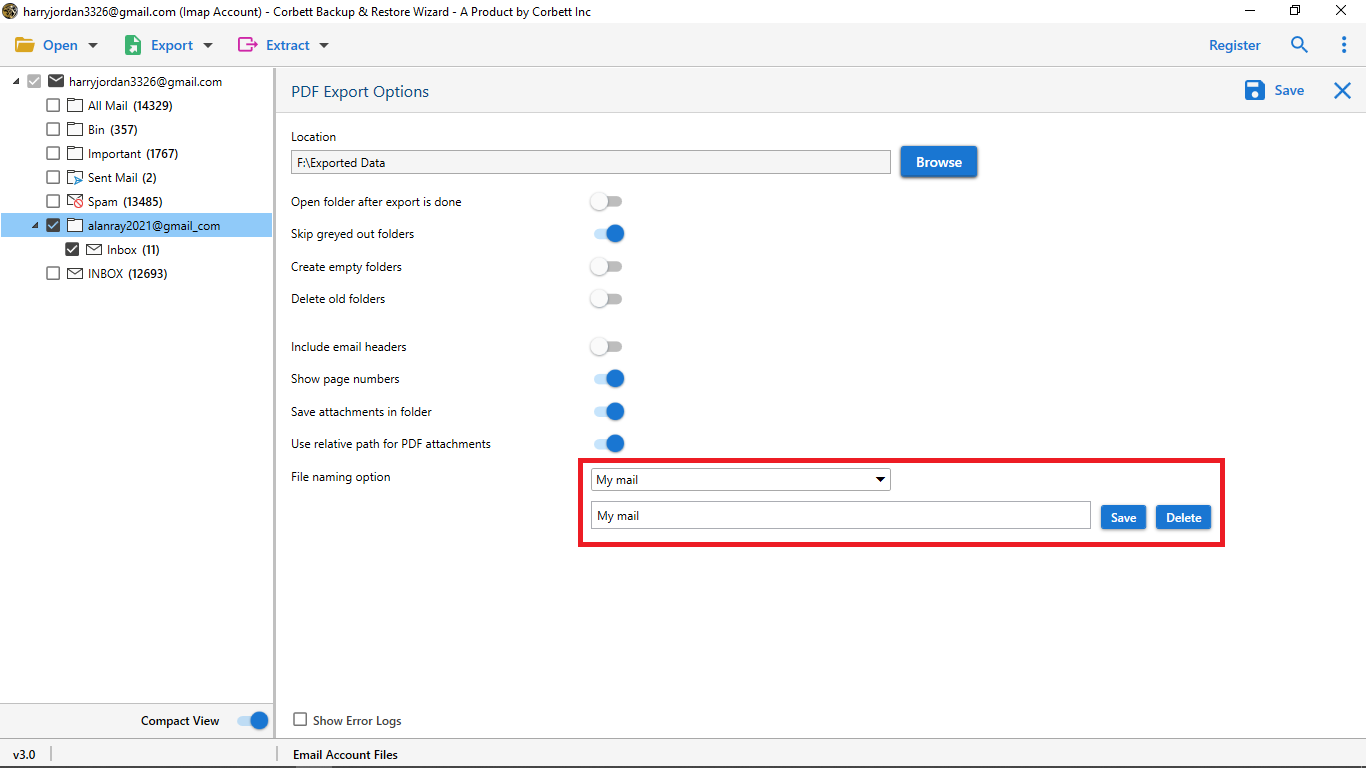
The File Naming Option to store email data after backup you can add your custom name also of your exported files.
-
Select the Save Button to start the backup process.
-
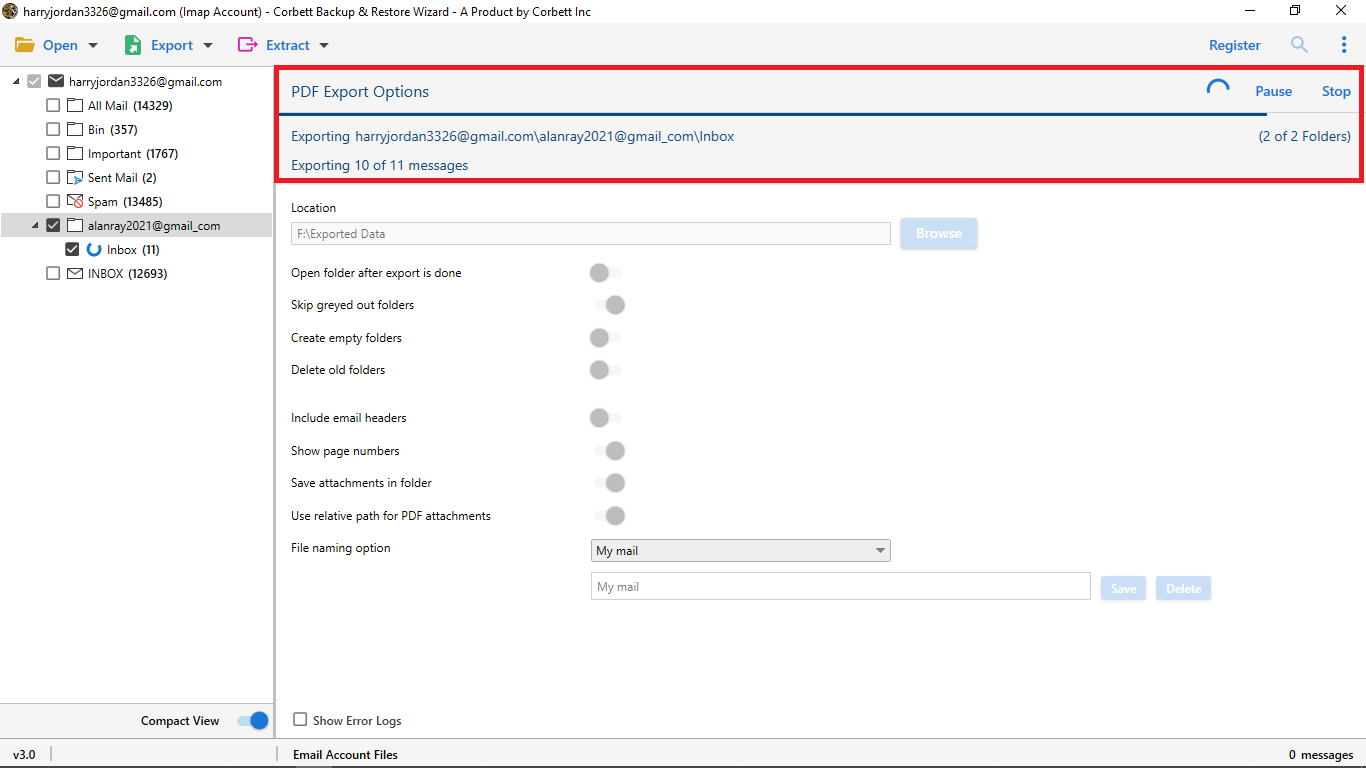
Now you can also see the live process of Email Account Backup saved in PDF Format .
-
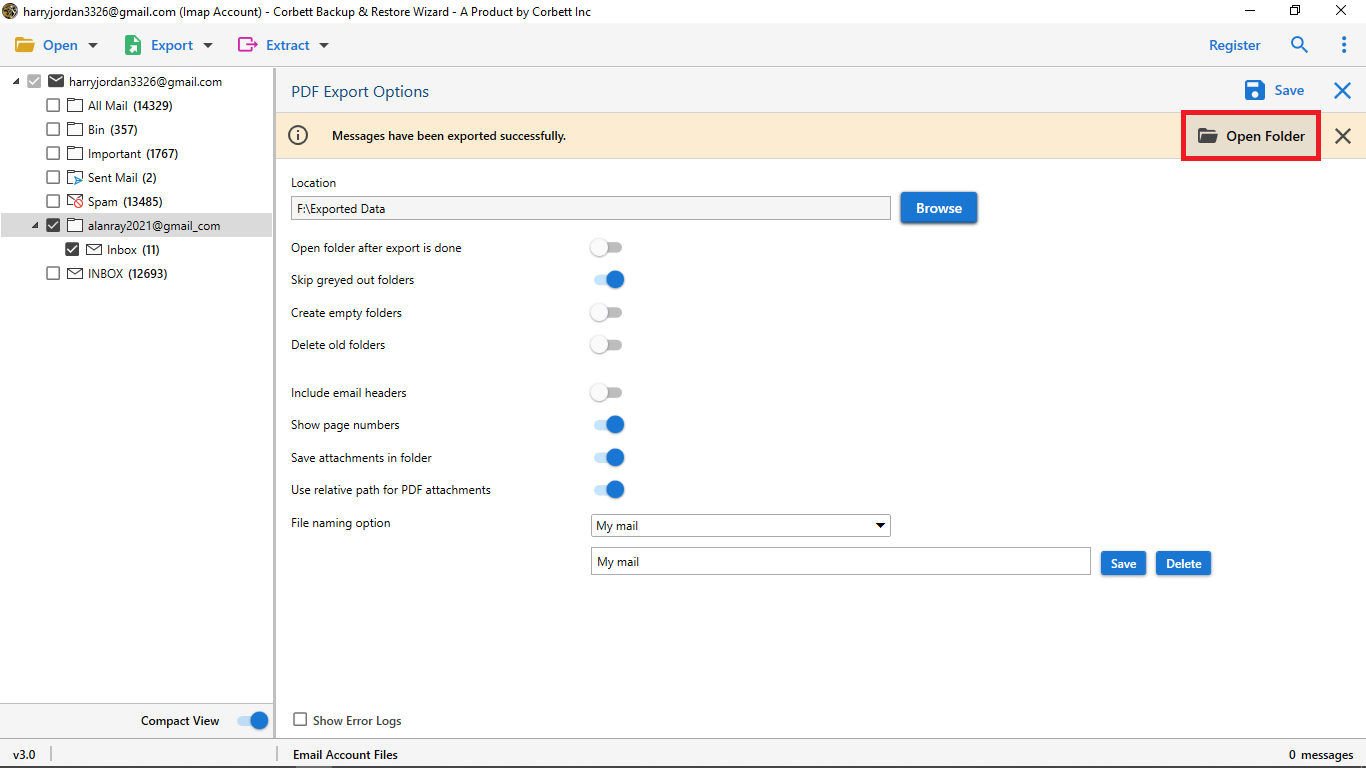
After export is done click on Open Folder option to view the output.
-
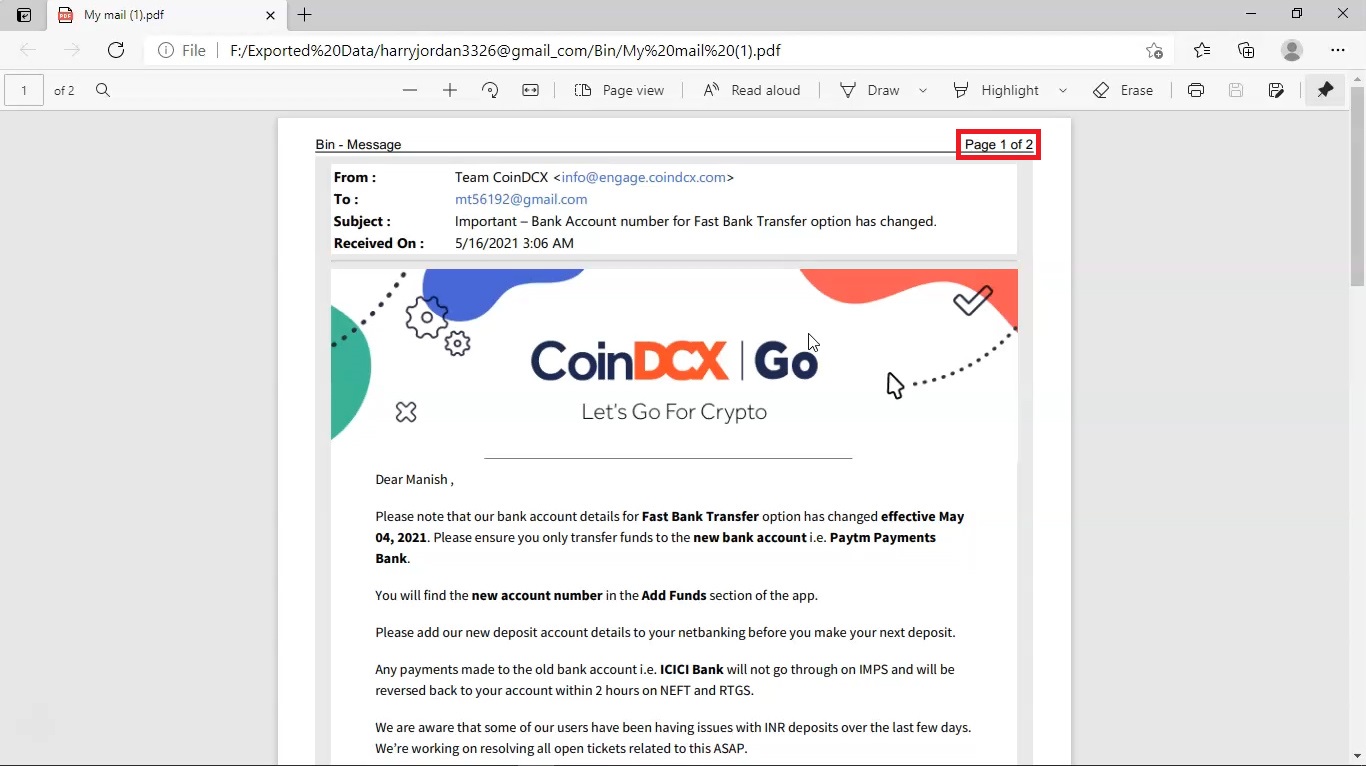
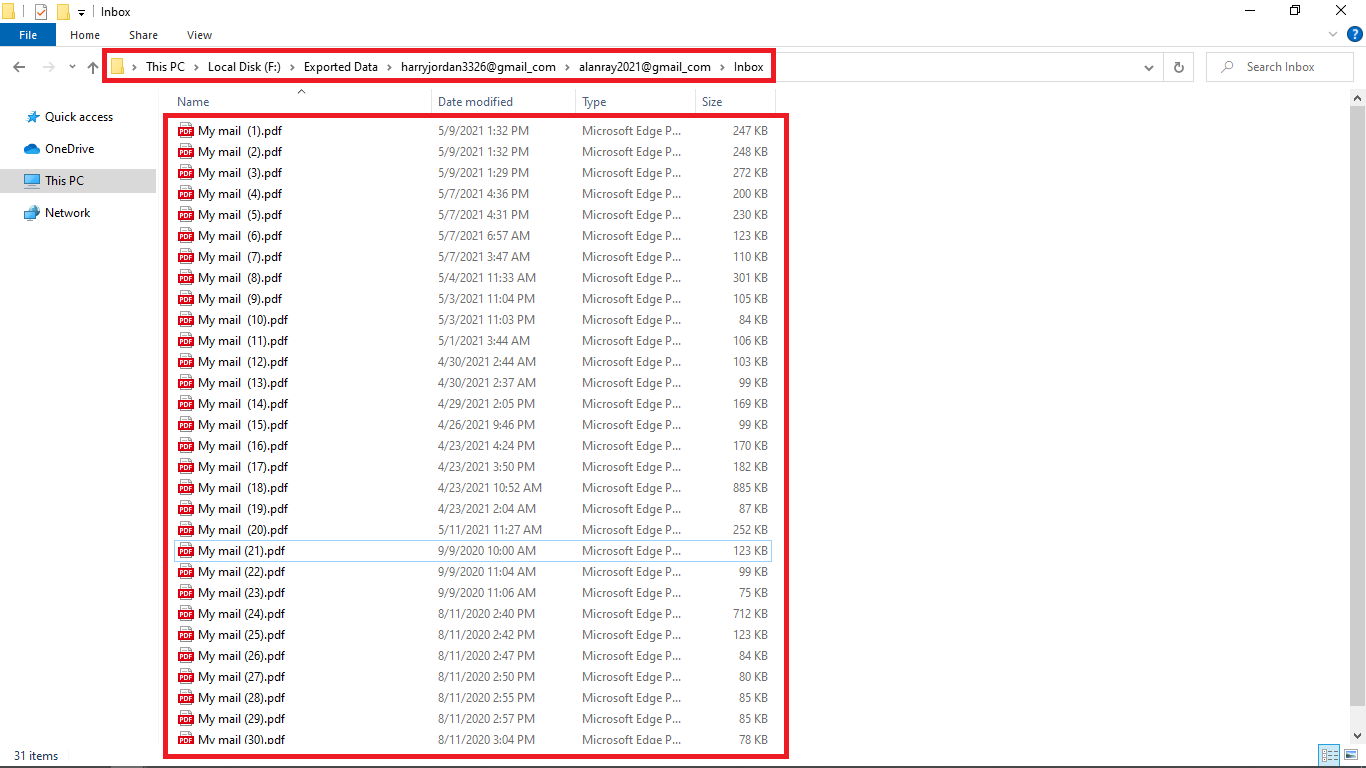
The final exported PDF files can viewed at their specific location as follows: and you can also see the files name.
-
You can see page number of the document at the top of the page .