Transfer BigRock Email to Office 365 [A Step-By-Step Guide]
There are many issues with migrating your emails, especially webmails like BigRock. Therefore, in this article, we will explain two splendid ways to transfer BigRock email to Office 365.
Know About BigRock Email
BigRock is an email hosting service provider for professionals and businesses, offering a variety of plans to suit your needs. Each plan includes anti-virus and anti-spam filters, two free email accounts with 100MB of storage space with every domain purchase and many more.
Office 365, on the other hand, is a suite that contains all the Microsoft products in Outlook, MS Word, MS Excel, Teams, etc. It uses cloud computing to make the account accessible and store your emails securely. This is why most users want to migrate their emails from BigRock to Office 365. Let’s see why that is the case.
Why Need to Transfer BigRock Emails to Office 365?
Saving your emails in Outlook 365 is helpful for many reasons. To explain this, we have listed the reasons below.
- Office 365 offers more storage space than BigRock Mail to save bulk important emails.
- Microsoft 365 has one of the best security measures such as encryption methods, two-factor authorization, etc.
- Office 365 helps you increase your productivity and collaboration. By using other Microsoft applications.
Here are the reasons to save your BigRock emails to Outlook 365. Now, before we go through the methods, there are some prerequisites that you have to follow to ensure the work is done smoothly. We have explained them below.
Preparation before Moving BigRock Emails
- Backup your BigRock emails to prevent data loss.
- Logging to your Office 365 account and checking if everything works properly.
- Update your domain records in BigRock for the migration process.
- Install the Outlook application to help you transfer the files.
This is compulsory to do so because it makes the process much easier and you can avoid any mistakes. So, let’s see how we can migrate the BigRock emails.
How Can You Transfer BigRock Email to Office 365?
For the migration process, the IMAP server is mostly used. This is because the IMAP server is an internet protocol used to move your emails from one account to another. BigRock and Office 365 both support IMAP, but to save the emails you have to first use the Outlook application as you cannot directly migrate the emails in Microsoft 365. So, below are the steps to set up your BigRock to Outlook.
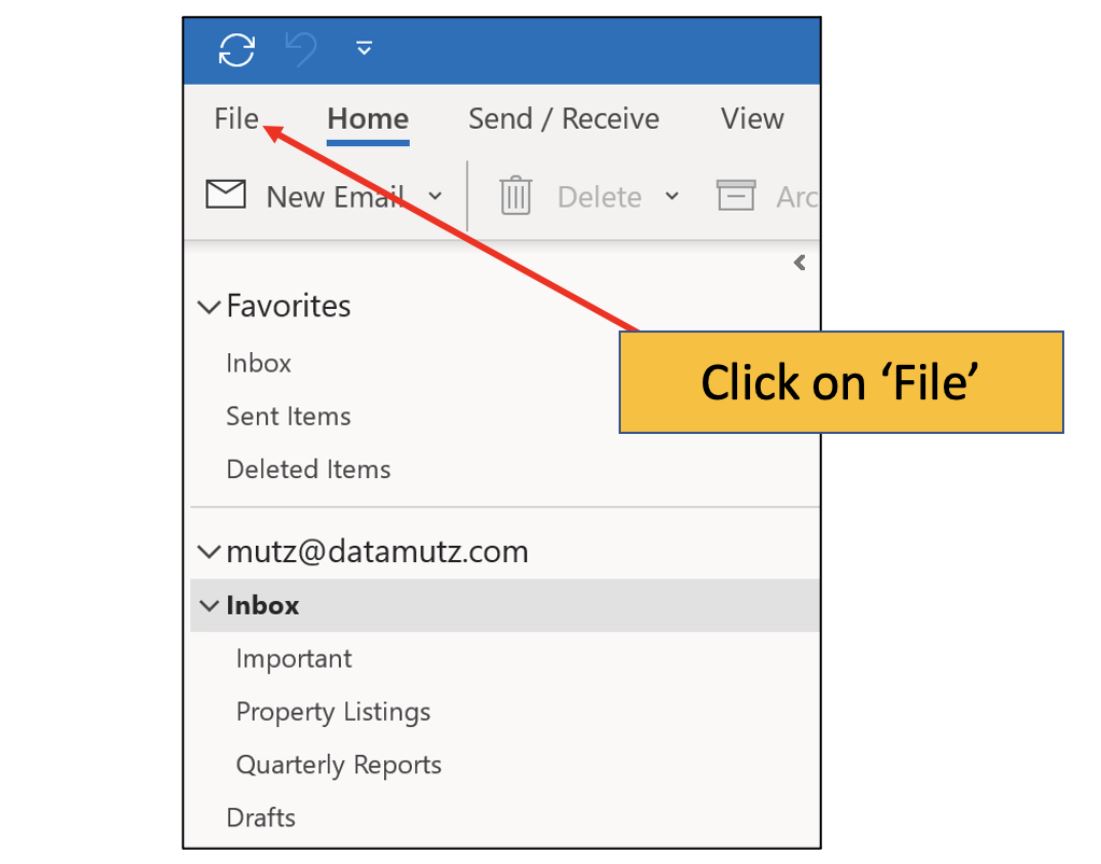
- Open the Outlook application and click on the “File” option.
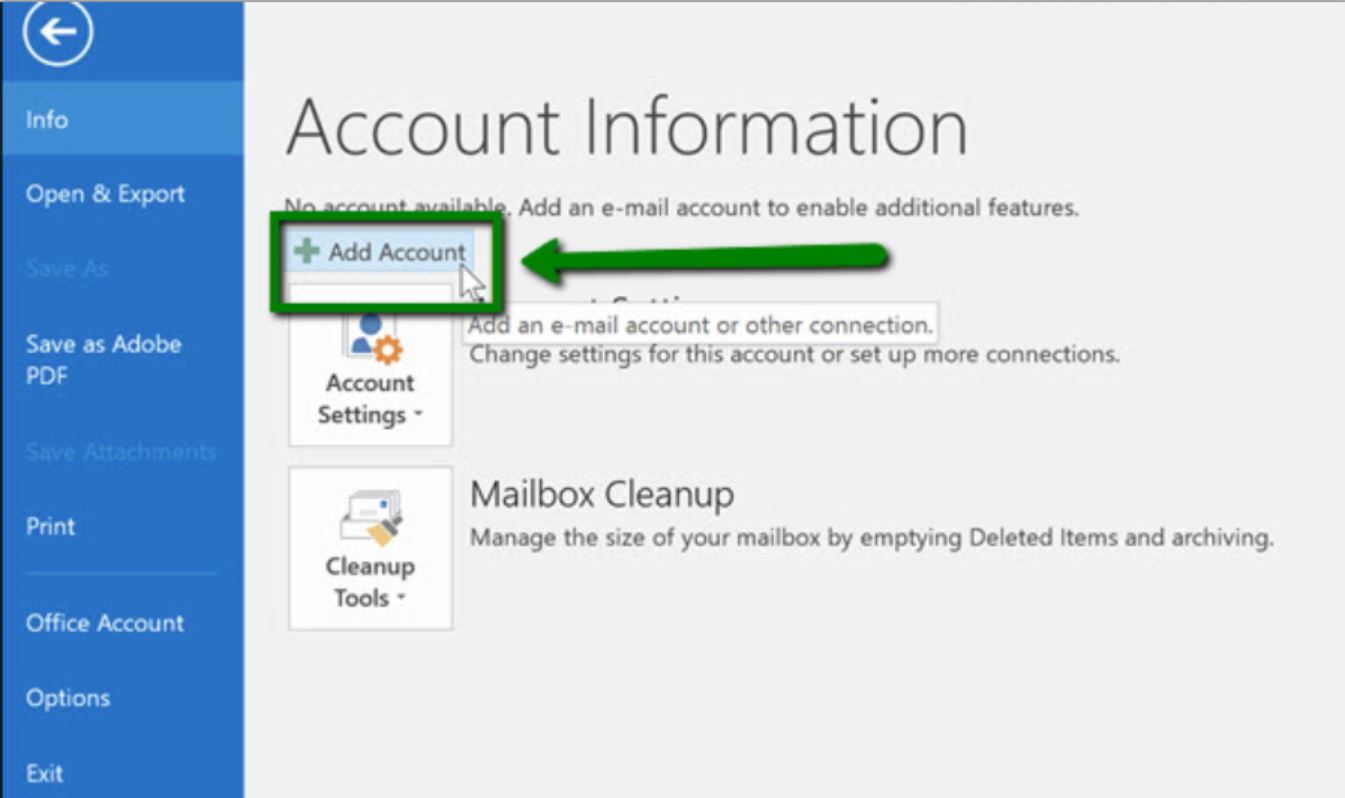
- Select the “Add Account” button, then enter your BigRock email address. Hit the “Connect” button.
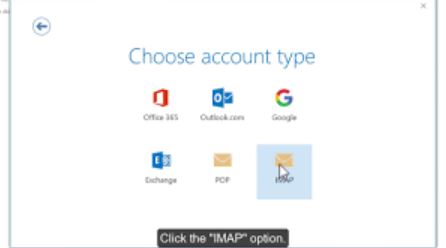
- Click on the “IMAP” option, then enter the following settings:
- Incoming Mail Server: mail.bigrock.com
- Outgoing Mail Server: smtp.bigrock.com
- Incoming Port Number: 993 (Use SSL/TLS)
- Outgoing Port Number: 465 or 587 (Use SSL/TLS or STARTLS)
- Enter your BigRock email password, then click on “Next”.
Once you enter the password, verify your account, and the BigRock account is now connected with Outlook. After that, we are going to add the same Outlook account to the Office 365 account.
Add Outlook to Office 365 Account
- In your Outlook program, go to the “File” option.
- Select the “Add Account” and enter your Office 365 email address. Hit the “Continue” button.
- After that, Outlook will automatically detect your email settings, if it doesn’t enter the following details.
- Incoming Mail Server: outlook.office365.com
- Outgoing Mail Server: smtp.office365.com
- Incoming Port Number: 993 (Use SSL/TLS)
- Outgoing Port Number: 587 (use STARTLS)
- Enter the Office 365 password, then click on the “Next” button.
Once the Outlook 365 account is connected. Now we move our emails. Go to the Outlook folder that contains the emails. One by one drag and drop the emails to your Office 365 account. So the manual solution can migrate your emails, but there are many issues using them.
Drawbacks of Manual Solution
The manual method is free, however, some issues will hinder your work. These problems are.
- The method is a lengthy process because you have to first connect your account to Outlook and then to Office 365.
- Users must have knowledge about the IMAP to follow the procedure.
- You need Outlook or any other email client, if you don’t have one, then the way is not applicable.
So, the manual method is not a reliable option to save emails from BigRock to your Outlook 365 account. However, there is a smart solution that can help you to get your data much easier than manually.
Move BigRock Email to Office 365 – An Expert Option
For smooth and efficient functions, professional software is a great option. Therefore, the Corbett IMAP Migration Tool is one such utility that can easily migrate emails from one email account to another. It uses an IMAP server as well to transfer your data from all IMAP-enabled accounts to another. To use this software you don’t need any additional program, as its backend and the user-friendly interface work together to get the job done on time. To use this software, follow the steps below.
Guide to Transfer BigRock Email to Office 365
- Download and install your tool, click on the “Open” option.
- Select the “Email Accounts” button, then the “Add Account” option.
- Enter your BigRock email account details, and click on the “Add” button.
- All your data will be displayed in front of you. Preview them.
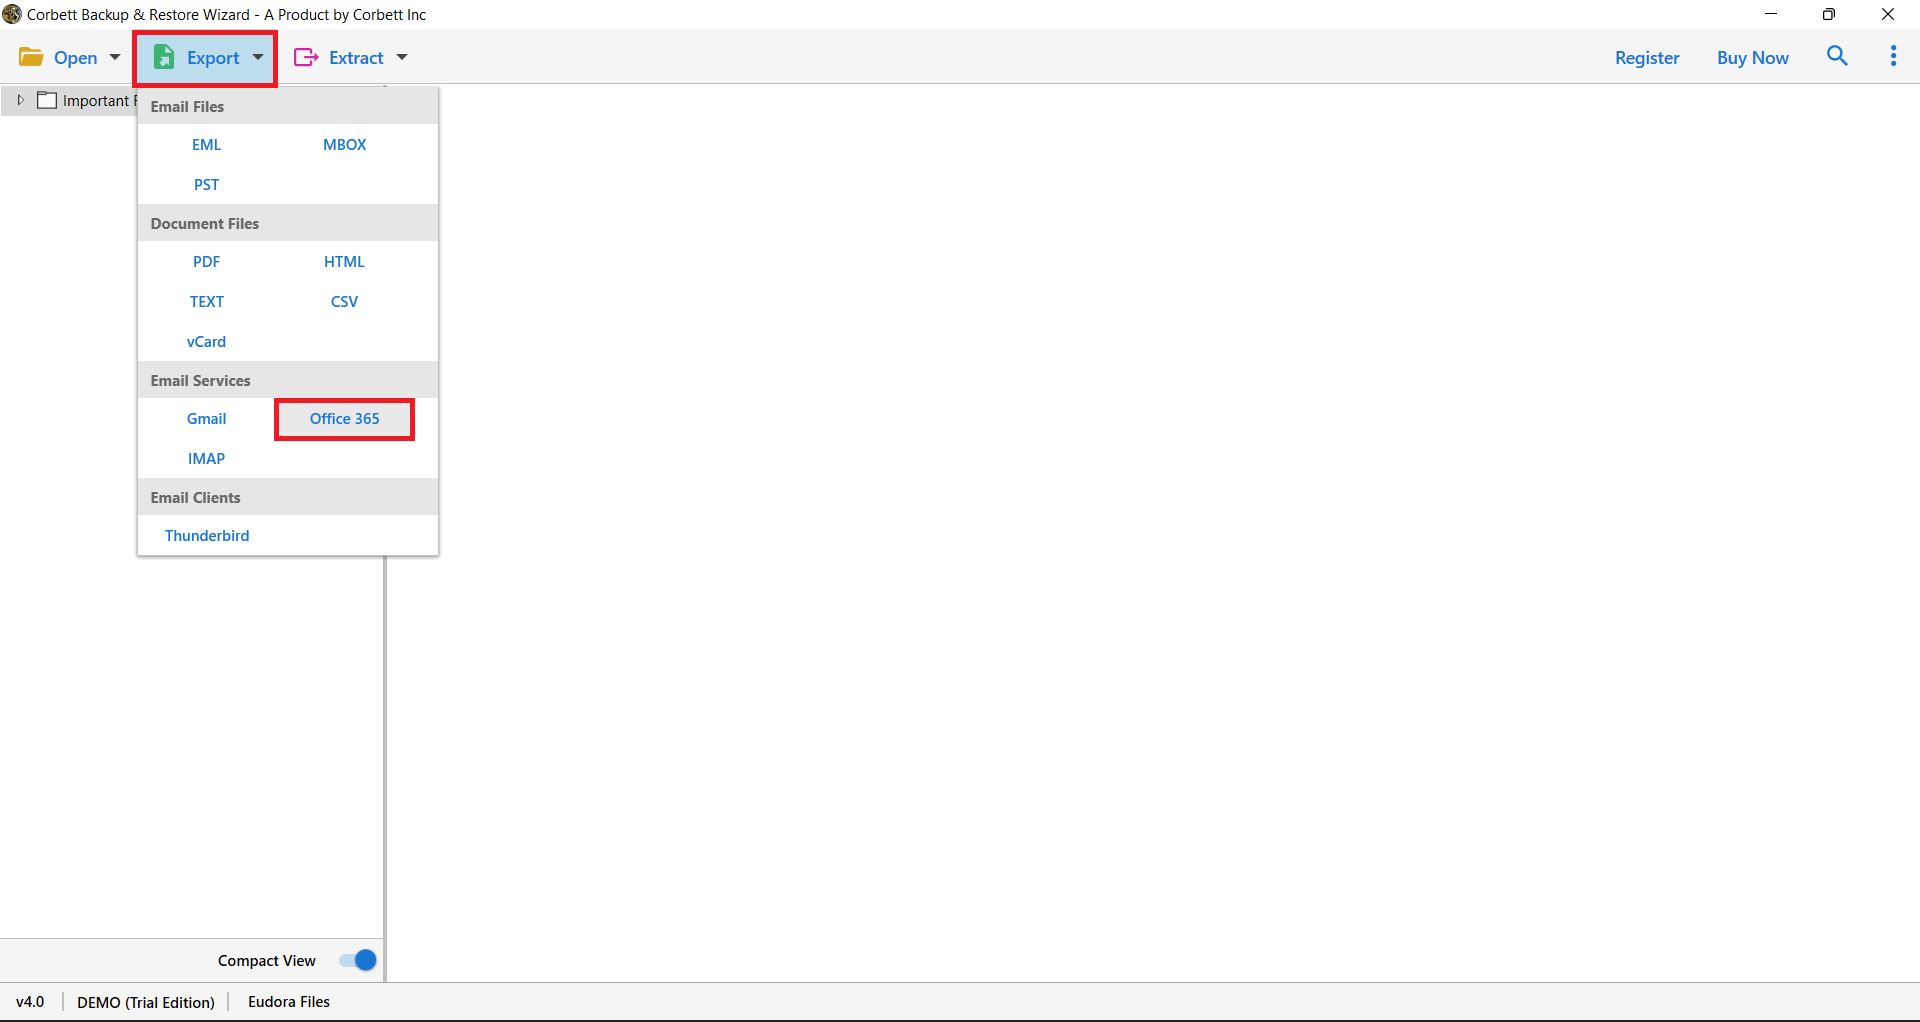
- Click on the “Export” option. Select the “Office 365” option.
- Browse the location for the files and then press the “Export” button.
The above steps will successfully move your email from BigRock to your Microsoft 365 account. So, if you have any issues with the manual this method will work.
Concluding Words
In this article, we learned how to transfer BigRock to Office 365. First, we discussed the benefits of migrating the files. Then we looked at two techniques that can move your emails. The manual method is easy but due to its lengthy process, many users have issues using them. But the professional tool is not like that as it has a better way to save your emails without any difficulty.


