Here’s How to Bulk Import Gmail Contacts to Outlook
If you are searching for how to import Gmail contacts to Outlook. Here, you will find amazing methods to move Gmail contacts easily. In this, we will explore manual and professional techniques to export the Gmail account.
Additionally, many organizations and individuals use Outlook to manage their Gmail accounts. However, Gmail is not the only email service Outlook supports. Along with Exchange/Office 365 accounts, it supports email services such as Yahoo, Outlook.com, etc. But some email services and accounts require Google contacts.
In that case, G Suite data must be imported into MS Outlook. Many companies don’t want to move all the data at once; they want to export the contacts first. As you know, they can easily be exported to Outlook PST.
In this article, we will look at how you can export Google’s contacts and then import them into Outlook with ease.
Manual Method to Import Gmail Contacts to Outlook for Free
This manual technique is further divided into two parts:
- Export Gmail contacts
- Import Gmail contacts to Outlook
These two parts further include their own steps. So, let’s move on and check out how to execute this manual technique.
Part 1: Export Gmail Contacts
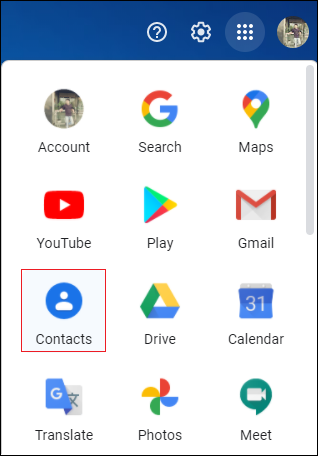
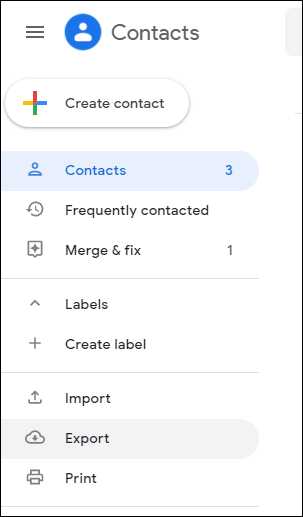
- Go to Contacts from the Menu section of your Gmail workspace.

- Click Export from the left-hand menu after opening Contacts.

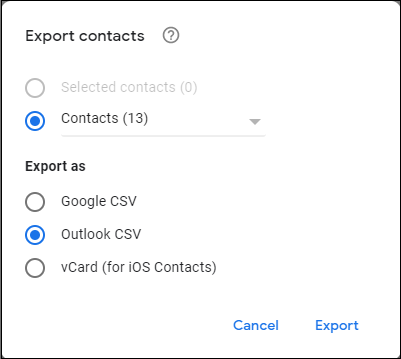
- There will be a pop-up window that appears; select the type of contacts that you want to export and select the Outlook CSV option as an export format, then click Export
- Outlook CSV format will be used to export the contacts. You can now import the exported contacts into MS Outlook.

Part 2: Import Gmail Contacts to Outlook
Make sure you have installed the specified MS Outlook on your system in order to import Google’s contacts into Outlook 2013/2016/2019. Afterward, you can follow these steps:
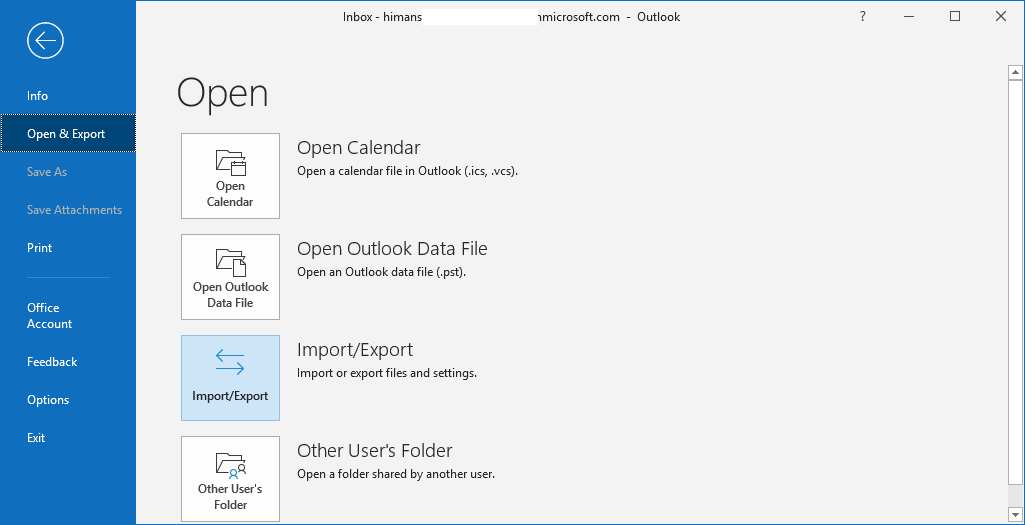
- Open MS Outlook on your computer and click on the File tab.
- Click Import/Export after choosing the Open/Export option.

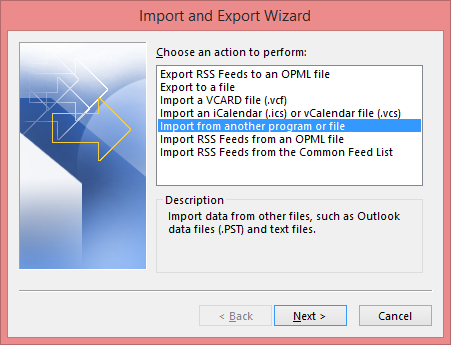
- Select Import from another program or file from the opened tab and click Next.

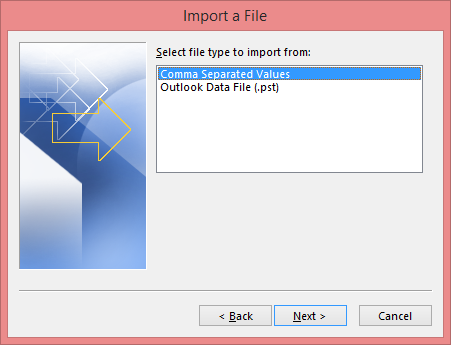
- Now, Click the Comma Separated Values option and press Next.
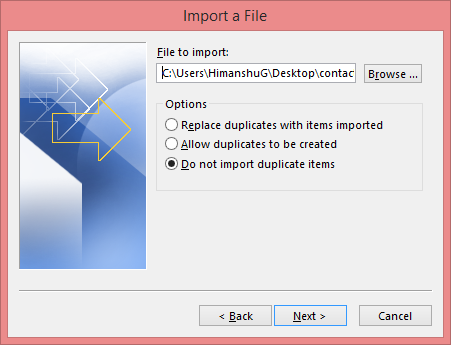
- Click Browse in the Import a File section and select the Gmail contacts CSV file.
- Select how you want duplicate contacts to be handled and click Next.
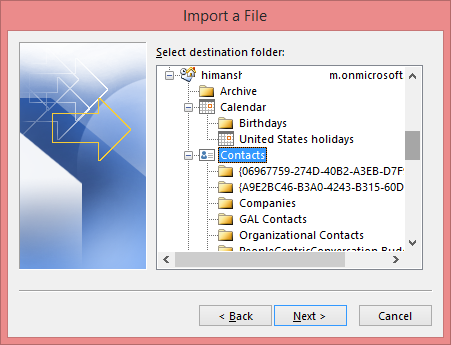
- After selecting the Contacts folder in your Outlook mailbox, click Next and then click Finish.
All of the contacts from the CSV file will be imported into Outlook, and you can view them in the inbox. Select the Address Book and then Contacts in MS Outlook to see your contacts. It will show you all of your Outlook contacts, including any you’ve just imported.
Limitations of the Manual Method
Importing contacts from Gmail isn’t difficult, but there are a few stumbling blocks to be aware of.
- If you import more than 2000 contacts, you can get an unexpected error. In this scenario, use MS Excel to split the CSV into smaller .csv files.
- After importing contacts into Outlook, they may not display. In this scenario, see if the CSV file contains contacts.
- After Import, the contact information is missing from the CSV file. In such cases, you can change information on the CSV file using MS Excel, such as names and other missing data.
Apart from the errors listed above, there is one more thing you should be aware of. You may only export/import contacts from a single Gmail account using the manner described above. However, if you have numerous Gmail accounts with various contacts, you’ll need a more powerful tool that lets you export contacts from many accounts at once.
Export Multiple Gmail Account Contacts to Outlook
The Corbett Gmail Backup Software is a robust tool that is designed to export all your Gmail Account data to Outlook with attachments, contacts, calendars, tasks, journals, and so on. Besides, its export options it provides advanced search filtering options that allow you to transfer specific items like contacts, emails, from your Gmail.
It follows a simple working process that makes it even more acceptable for all types of users. Here, we will cover how you can import Gmail Contacts to Outlook.
Steps to Export Gmail Bulk Contacts to Outlook
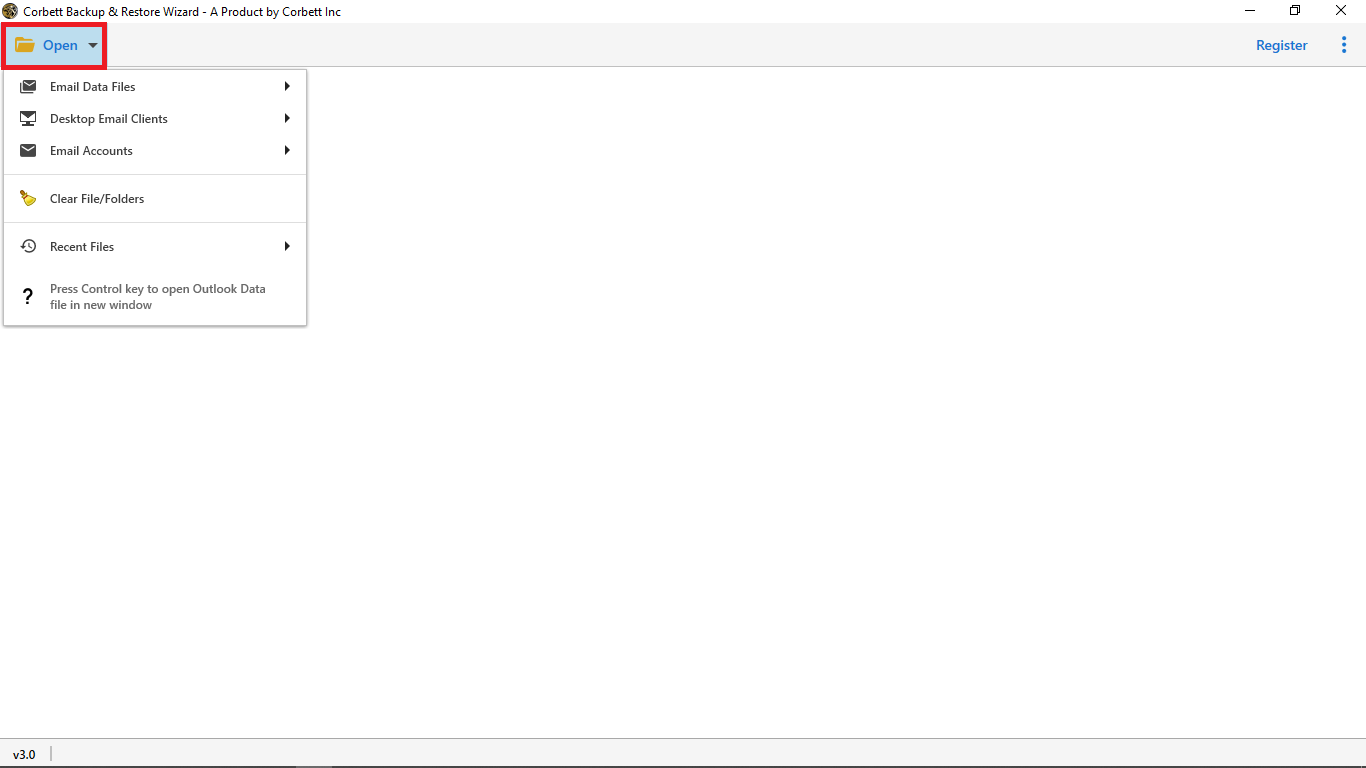
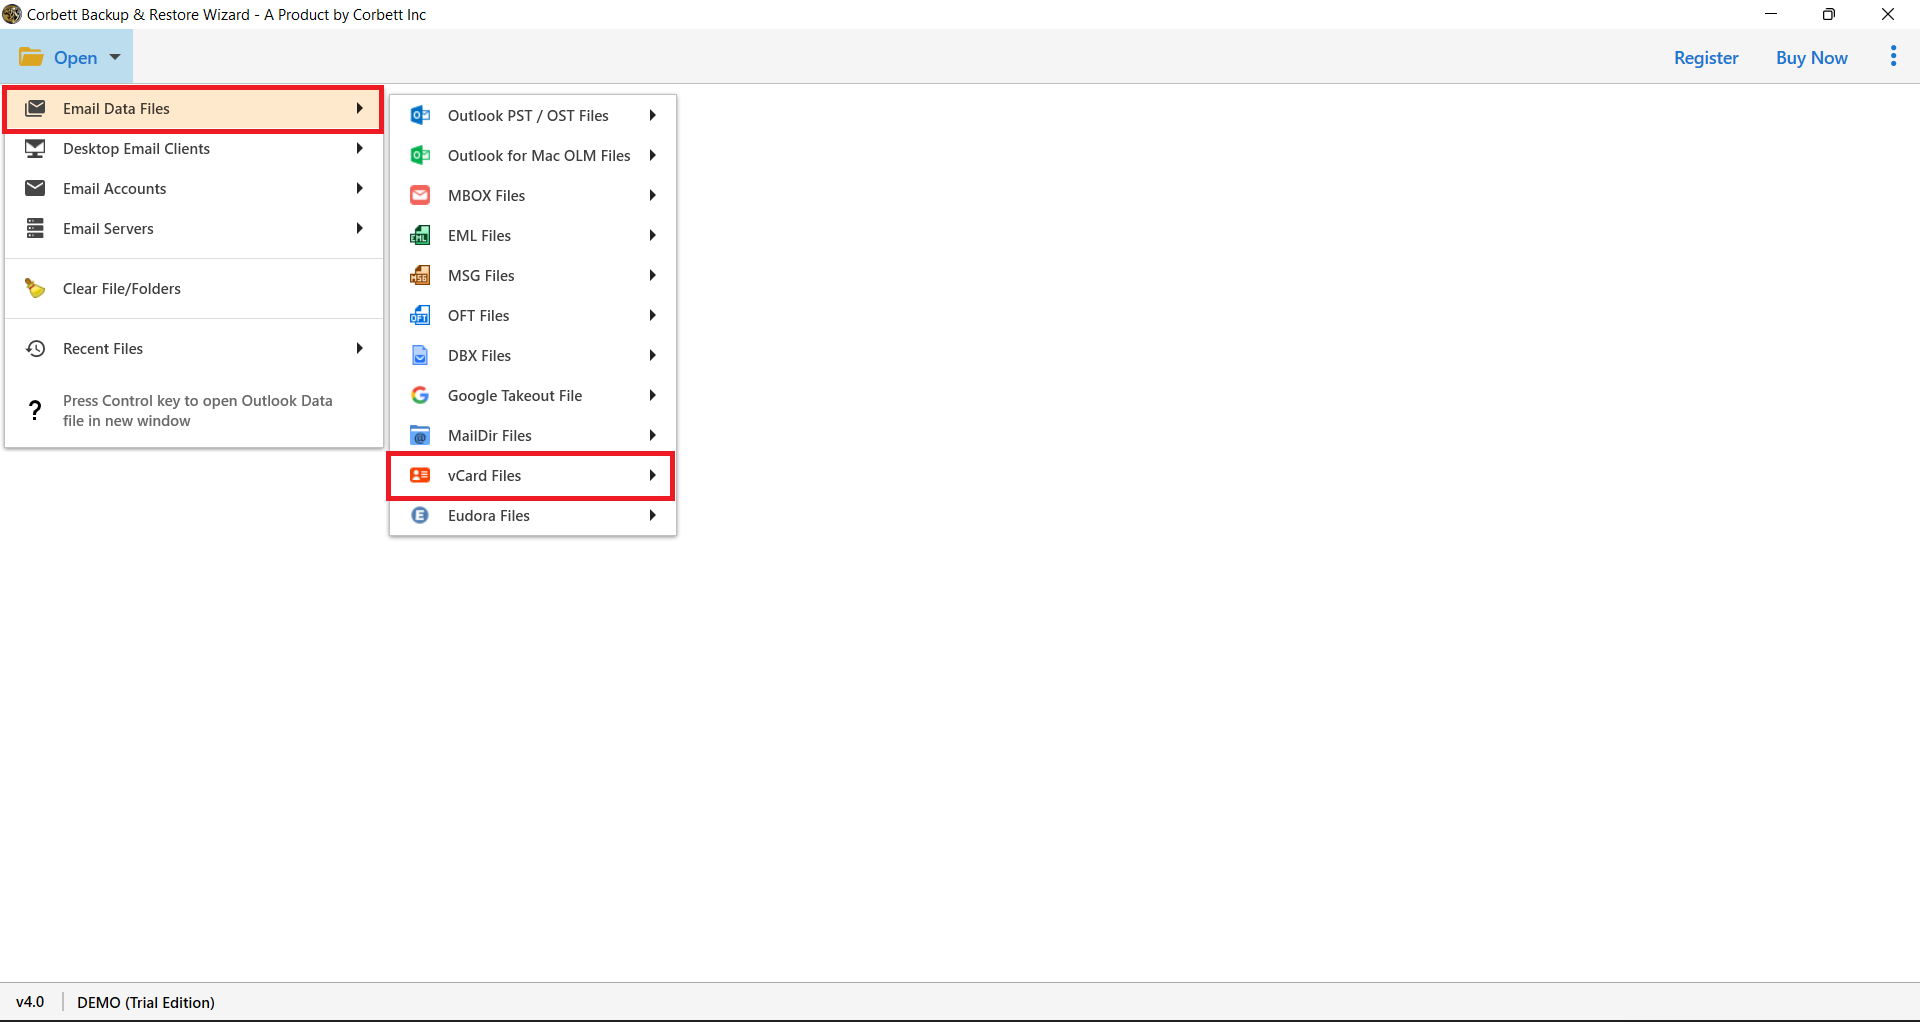
- Launch the tool and click the “Open” button provided on the upper left corner of the screen.

- Now, select “Email Data Files” from the dropdown menu and then, choose on “vCard files”.

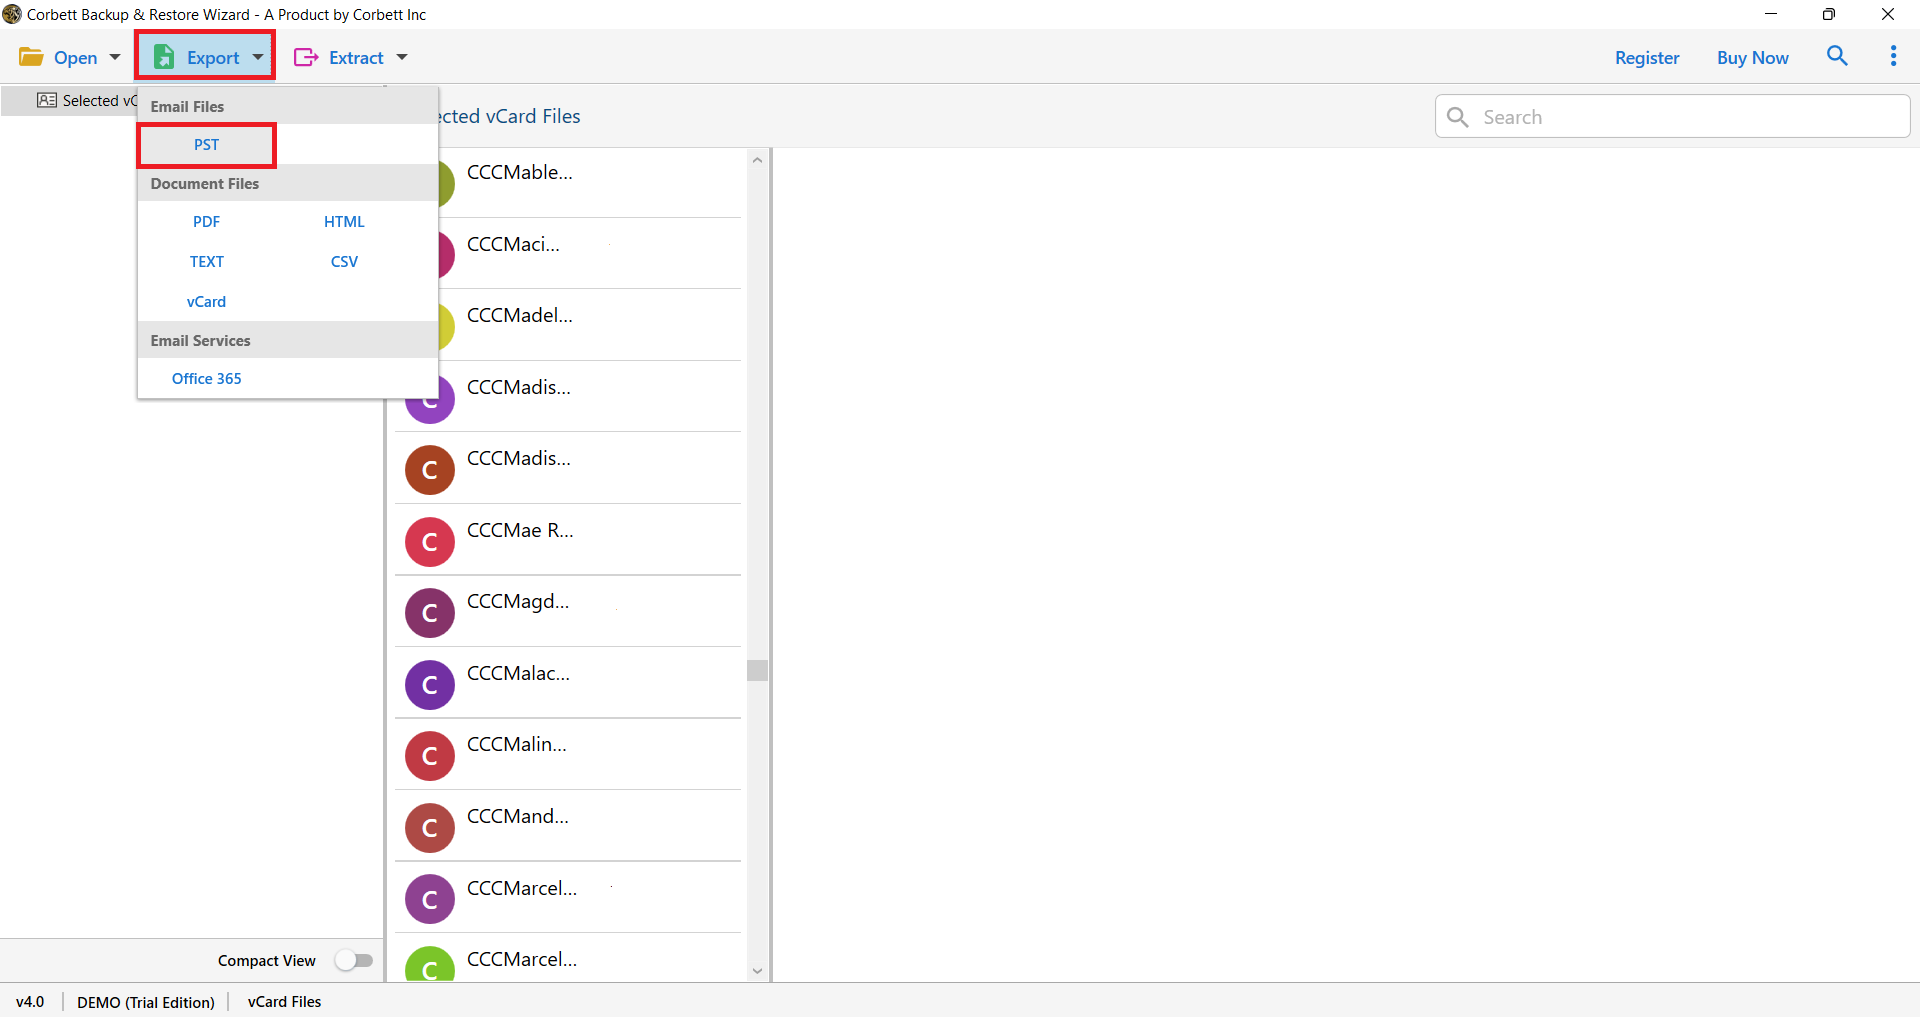
- Afterward, click on the “Export” option and select “PST” from the given options.

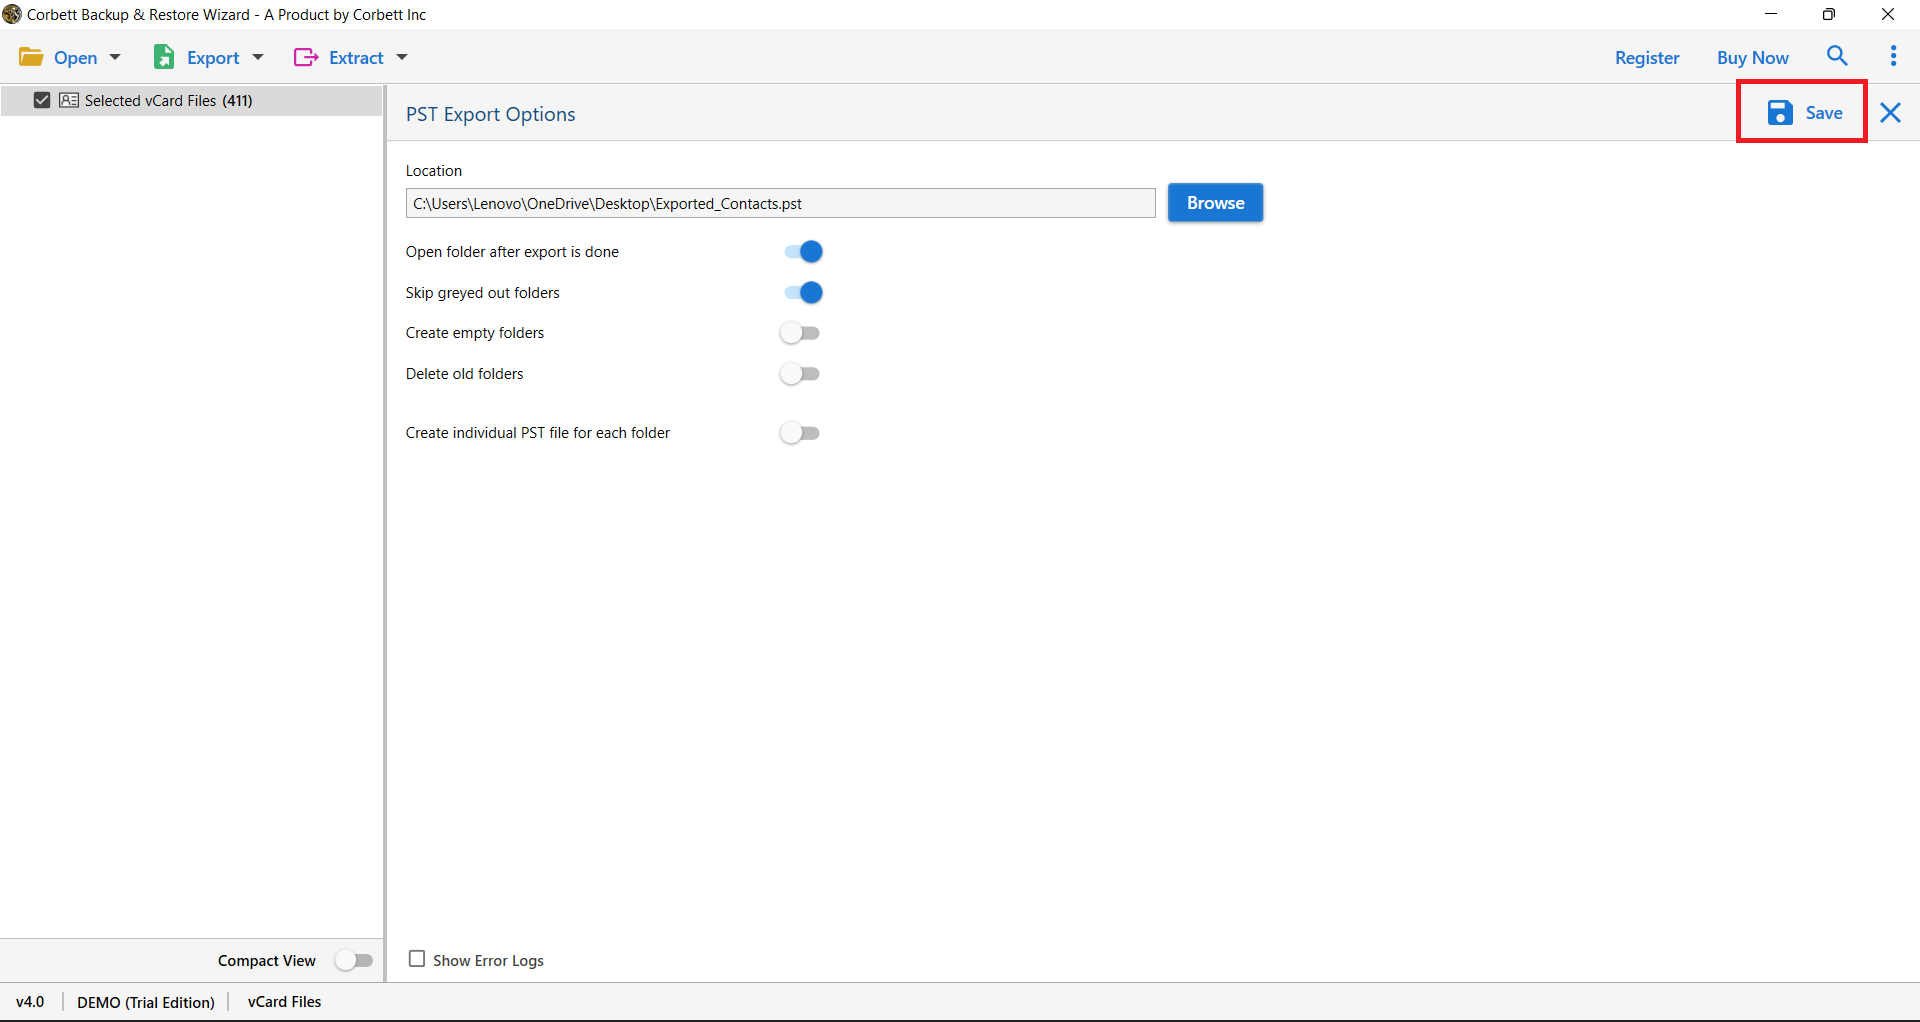
- Finally, select “Save” to start the process.
Conclusion
When you use other email services or Outlook accounts, importing contacts from Gmail becomes necessary. However, manually importing multiple contacts from multiple Gmail accounts isn’t easy. Thus, it would be beneficial if you had an alternative way to import your contacts to Outlook. Our article described a way to import contacts from G Suite mailboxes to Outlook PST using an advanced utility.
Read Similar Articles: