Migrate Email from Network Solutions to Office 365 Account – Step by Step
Network Solutions is best known as a domain registrar, and many small businesses still run their mail on its hosting. When they outgrow it, the usual goal is to move that mail into Microsoft 365 without losing folders or breaking the address. The good news is that Microsoft has a built in tool for exactly this. The catch is a prerequisite almost every guide skips, so we will start there.
First, Find Your Real Network Solutions IMAP Server
Every method below needs your incoming IMAP server name, and Network Solutions does not use a single one for every account. Depending on when and where your mailbox was provisioned, it may be something like imap.dotster.com, netsol-imap-oxcs.hostingplatform.com, or another host entirely. The port is usually 143 with STARTTLS, or 993 with SSL.
Do not assume mail.yourdomain.com. Log in to your Network Solutions email control panel, open the email or client setup section, and copy the exact incoming server and port shown there. Getting this wrong is the single most common reason an IMAP migration fails to connect.
Which Migration Route Fits You
There are three sensible paths. The right one depends on how many mailboxes you have and whether you want a local backup along the way.
| Route | Best for | Trade-off |
|---|---|---|
| Microsoft 365 admin center IMAP migration | Most users, one or several mailboxes | Mail only, no contacts or calendar |
| Manual Outlook export and import | A single mailbox, Outlook already installed | Slow, no filtering, manual per box |
| Dedicated migration tool | Many mailboxes or a kept local archive | Paid Windows application |
Method 1: IMAP Migration in the Microsoft 365 Admin Center
This is Microsoft’s official route and the one we recommend for most people. It pulls mail straight from Network Solutions into the new mailbox with no desktop software in the middle.
- Create the user and mailbox in Microsoft 365 first, so there is a destination to receive the mail.
- Sign in to the Microsoft 365 admin center, then go to Setup and choose Data migration. For larger jobs use the Exchange admin center, then Migration, then add a batch.
- Select IMAP migration as the migration type.
- Enter your Network Solutions IMAP server and port from the step above.
- Provide the list of mailboxes with their Network Solutions usernames and passwords, mapped to the matching Microsoft 365 addresses.
- Start the batch and let it run. Microsoft copies the inbox and folders in the background and reports progress per mailbox.
- Once the batch reports synced, switch your domain’s MX record to Microsoft 365 so new mail lands in the new mailbox.
For a related setup walkthrough, our guide on how to add Network Solutions email to Outlook covers the same server lookup in more detail.
Method 2: Manual Move Through Outlook
If you have a single mailbox and Outlook installed, you can move mail by hand. The old version of this guide skipped the export step, which is why people got stuck, so here is the full sequence.
- In Outlook, open File, then Add Account, and set up the Network Solutions mailbox as an IMAP account using your real server and port.
- Let it sync fully so every folder downloads.
- Export that mailbox to a PST file: File, then Open and Export, then Import/Export, then Export to a file, then Outlook Data File (.pst). This is the step most guides leave out.
- Add your Microsoft 365 account to the same Outlook profile.
- Import the PST back in: File, then Open and Export, then Import/Export, then Import from another program or file, then Outlook Data File (.pst), and choose the new account as the destination.
- Pick how to handle duplicates, then click Finish to copy everything across.
Where the Manual Route Trips Up
The manual path works, but it has real friction worth knowing before you commit to it.
- Server lookup. If the IMAP server is wrong the account never connects, and the error messages are vague.
- Throttling on large mailboxes. A multi gigabyte mailbox can take hours and may stall mid sync, forcing a restart.
- No selective filtering. You move whole folders, with no way to migrate only mail after a certain date.
- Outlook required. The whole method depends on a working desktop Outlook install.
Faster Route for Many Mailboxes
If you are moving several mailboxes, or you want a local backup of the Network Solutions account before you cut over, a dedicated tool removes the guesswork. The Corbett IMAP Migration Software connects to the source over IMAP, lets you select specific folders, and writes straight into Office 365 while keeping the folder hierarchy intact.
The honest trade-off: it is a paid Windows application, so for a single small mailbox Microsoft’s free admin center migration is enough. Its value shows when you have many mailboxes, want selective migration by folder, or need a permanent local copy.
Steps to use the tool:
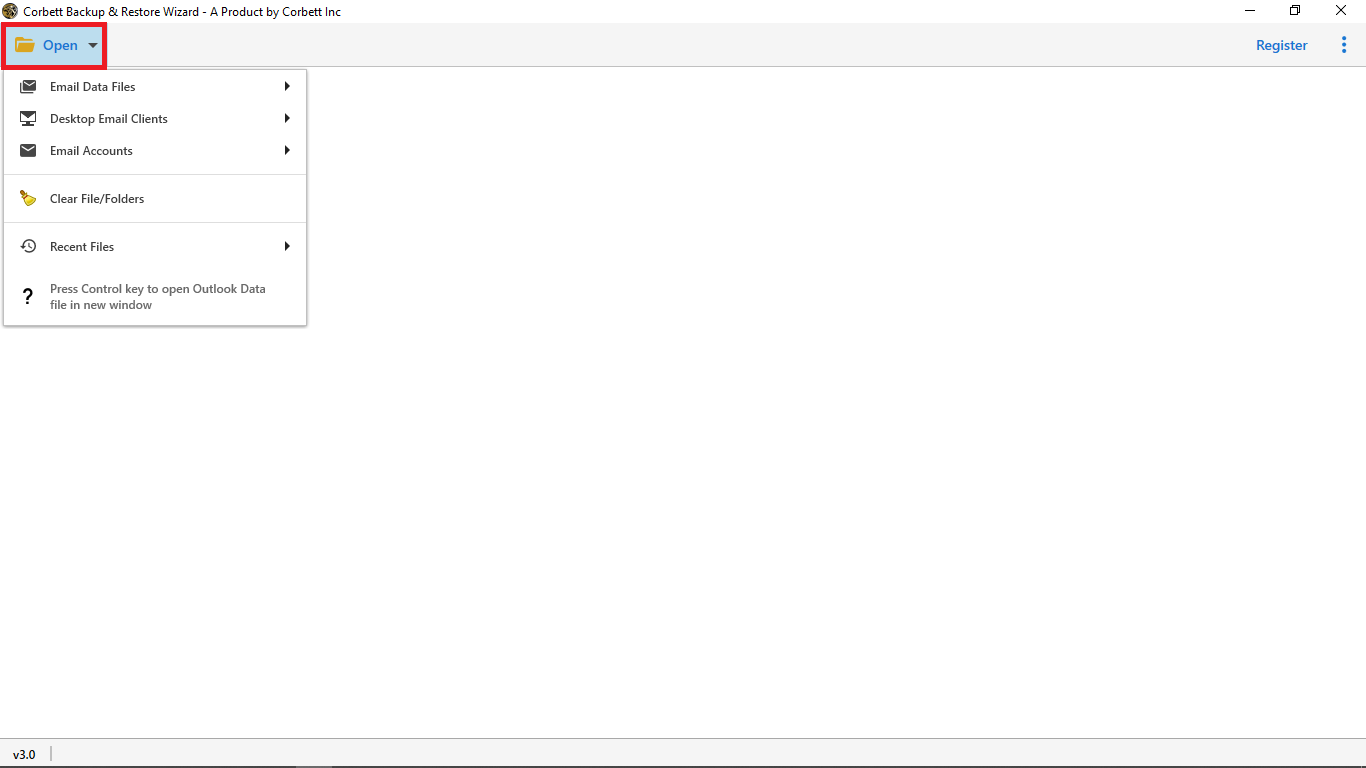
- Download and install the software on your system.
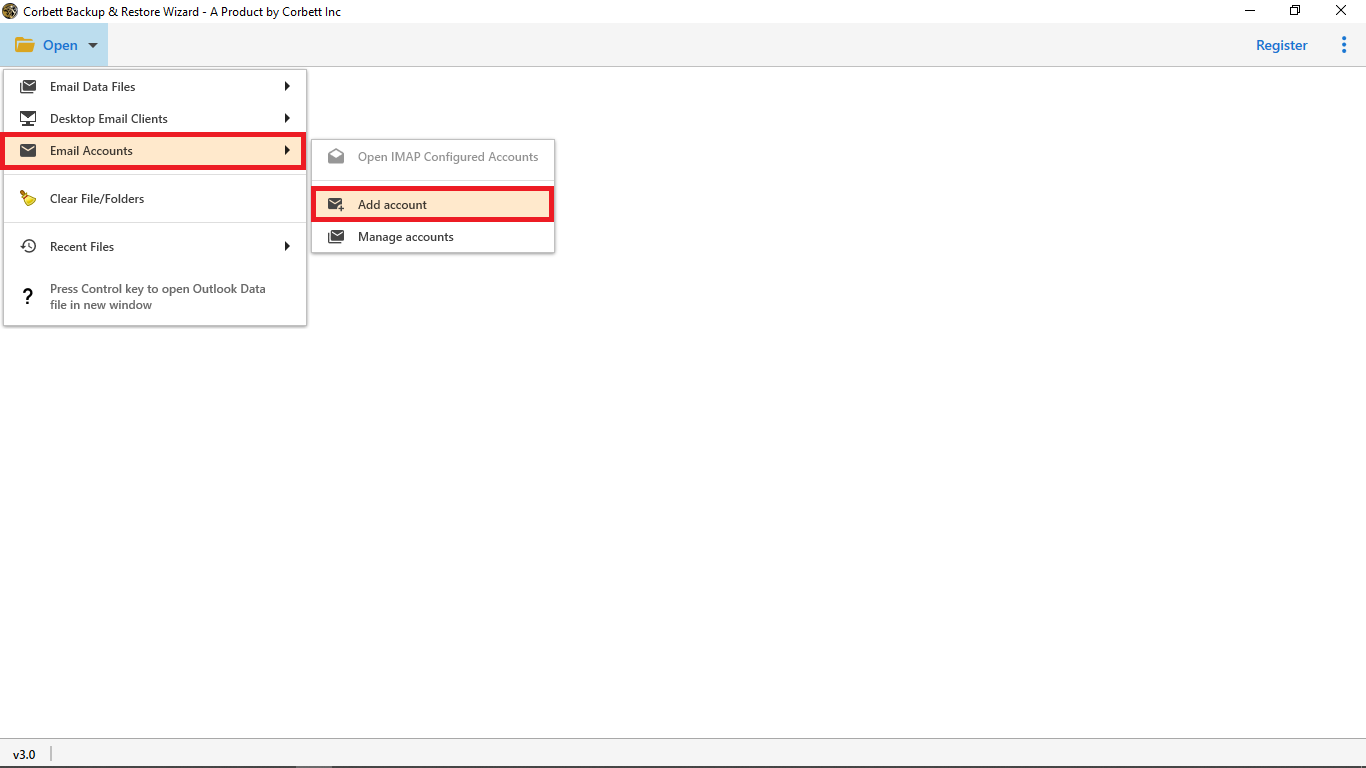
- Run it and click the Open tab, then choose Email Accounts and Add Account.
- Enter your Network Solutions email and password, then open Advanced Settings and add your IMAP server.
- Let it load your folders, then choose Export and select the Office 365 option.


Frequently Asked Questions
What is my Network Solutions IMAP server?
It varies by account. Check the client setup section of your Network Solutions email control panel for the exact incoming server, often a dotster.com or hostingplatform.com host on port 143 or 993.
Do I need Outlook to migrate?
No. The Microsoft 365 admin center IMAP migration runs entirely in the browser. Outlook is only needed for the manual export and import method.
Will my folders and subfolders survive the move?
Yes, an IMAP migration copies the folder structure. A few deeply nested folders occasionally come across flattened, so spot check after the sync.
How long does an IMAP migration take?
A small mailbox finishes in well under an hour. Multi gigabyte mailboxes can run for several hours and may need a restart if a batch stalls.
Can I migrate only some folders?
Not with the admin center route, which moves the whole mailbox. A dedicated tool is what gives you folder level selection.
Does Network Solutions itself sell Office 365?
Yes. Network Solutions resells Microsoft 365, so some accounts can be moved within its own panel rather than through a separate migration.
Migration of Network Solutions emails into Office 365 completed. You can also read Transfer Emails from Network Solutions to Gmail, Migrate Network Solutions Email to Thunderbird.
Wrapping Up
Moving email from Network Solutions to Office 365 comes down to one prerequisite and one good tool. Find your exact IMAP server first, then run the migration from the Microsoft 365 admin center for a clean, hands off copy. For a single mailbox that free route is all you need. For several mailboxes, folder level selection, or a kept local backup, a dedicated migration tool earns its place.
Which part is holding you up, tracking down the right IMAP server or deciding between the admin center and a dedicated tool?