How to Export Office 365 Distribution List Members to CSV Files?
If you are having trouble converting Office 365 distribution list members into CSV format. Then, this blog will help you. Here, you will explore the methods to export Office 365 distribution list members to CSV in detail.
For those who don’t know what a distribution list is, it is a list in your Office 365 account that contains all the email addresses. This list is created to send messages to multiple clients at once. It is also known as contact groups or distribution groups.
The distribution list will help many companies to send and auto-forward emails to all the users, organize their emails, and improve communications. In some cases, users want their Office 365 distribution list members in CSV file format due to various reasons. This can be an issue for many people. That’s why, we will share the techniques to export the distribution list. But before that let’s see the reasons to convert the contacts.
Reasons to Export Office 365 Distribution List Members to CSV
By converting distribution list members to CSV format, you will have a backup of the important contacts which will be useful in the future.
- When you are changing your system, and needing a distribution group. Exporting the list to CSV will make it much easier to migrate your contacts.
- CSV file format is an easy way to integrate your contacts with other software.
- By generating a CSV file you can create detailed reports and it will be easy to track the status of all the members.
- It will be much easier for the employees to share their contacts list in the format of the CSV.
Therefore, an Office 365 distribution list in the form of a CSV file is very beneficial. So, to save the contacts, we have found methods by searching through the internet. We will explain all the options in the later of the article. But, first there are some points that you must fulfill.
PreRequisites Before Saving Office 365 Distribution List
- The first is to get permission to access Office 365 or check the login credentials. Make sure that the account is working well or not.
- For exporting your distribution list you have to ask permission for the right to export contacts list.
- Create a backup of your contacts so if there are mistakes during the process you can still have the contact information with you.
After making sure of all the points above, you can now start the export procedure. Now, we will share all the options to convert distribution list members from Office 365 to CSV.
Methods to Download Distribution List from Office 365 to CSV
On the internet, we have found two manual techniques to export the data. Users can download their contact group using the Office 365 admin centers. Either they can use the Powershell software. The PowerShell option is lengthy as you need to enter commands to export the file. But, if you know PowerShell then you can easily work. Hence, you have got the ways.
- Export distribution list members using the Office 365 admin center.
- Downloading the contact list by the PowerShell tool.
We will explain each method in detail with their clear steps. So, follow them properly.
Export Office 365 Distribution List Members to CSV by Admin Centre Option
This method will allow you to download the entire distribution list. Here, we are going to use the Exchange Admin Center which is part of Outlook 365. Following are the steps to export the distribution list members.
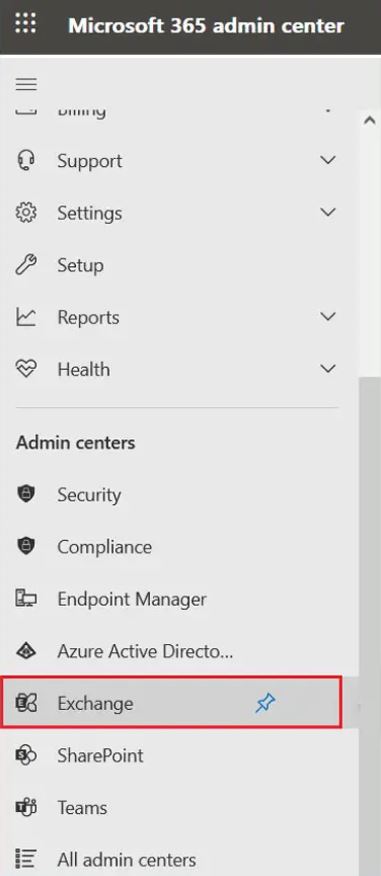
- Login to Outlook 365 and go to the “Exchange” option.

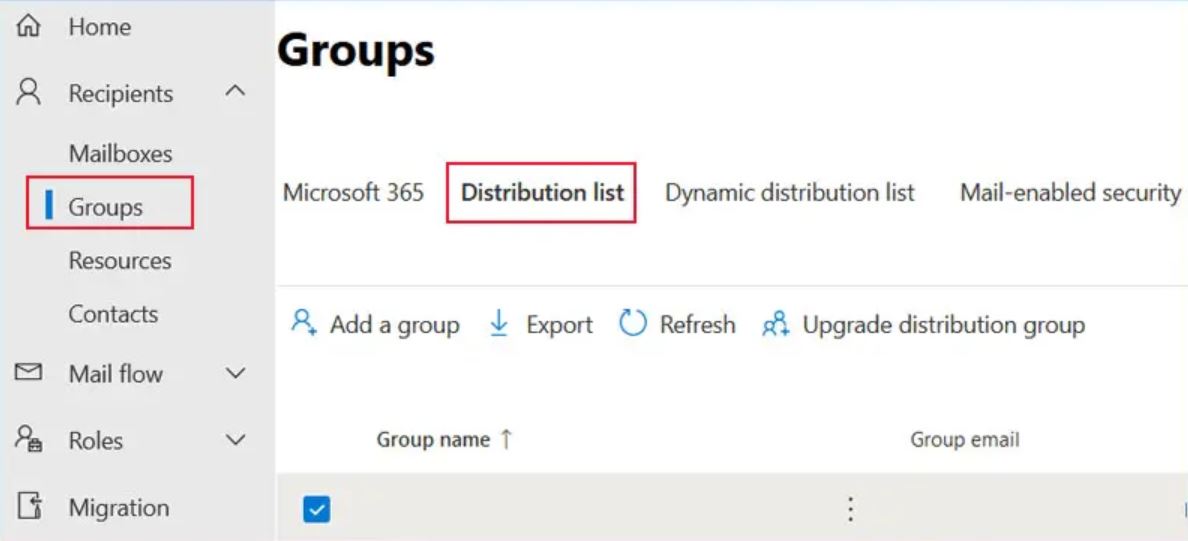
- Under the Recipients category list click on the “Groups” option and select the Distribution list.

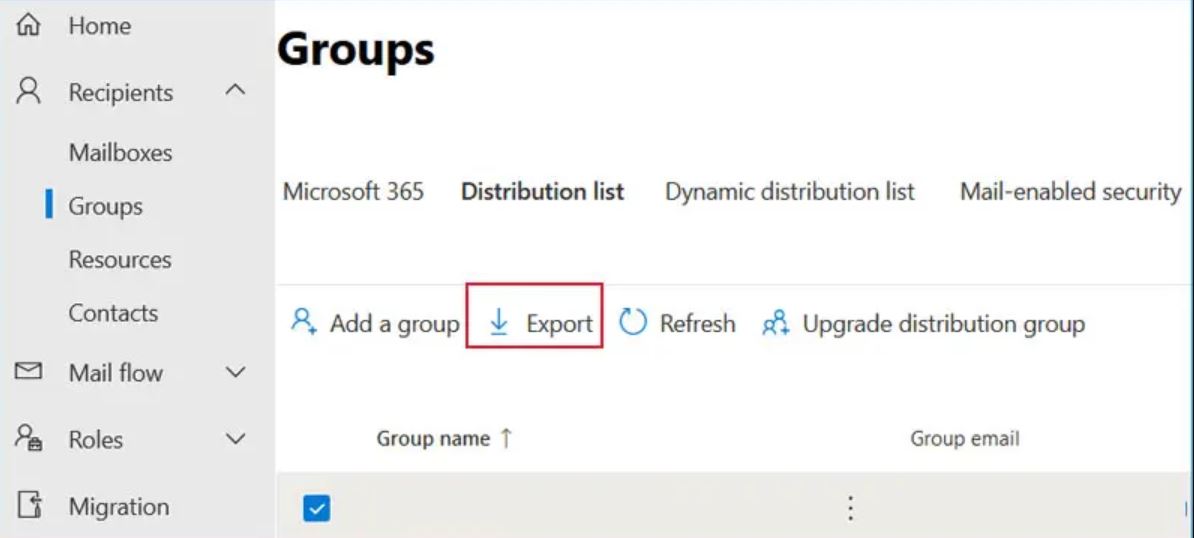
- Choose the “Export” button.

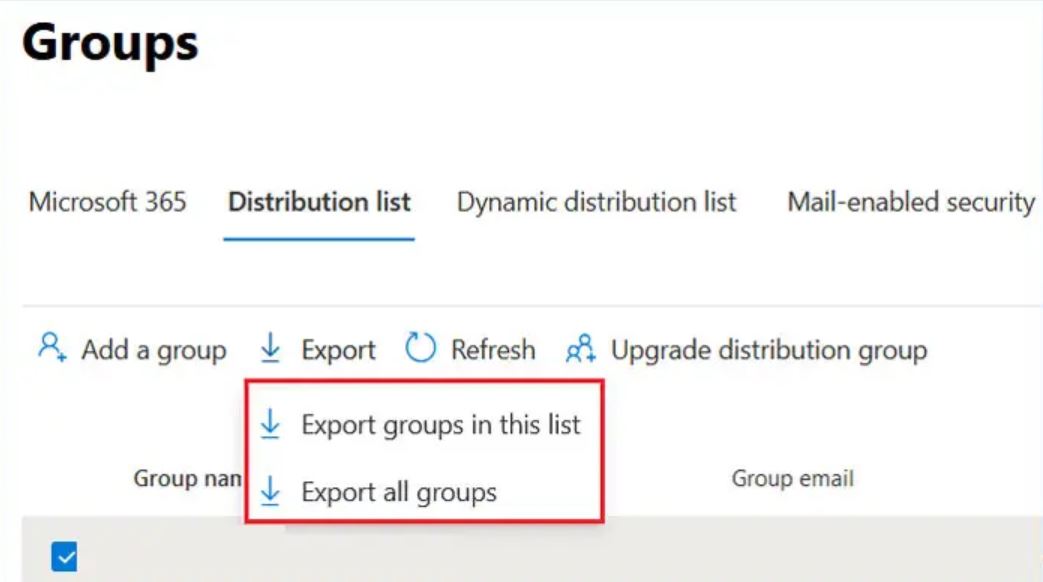
- Click on the “Export Groups in this list” or “Export all groups” options.

- After this, a dialog box will appear, press the “Continue” button.

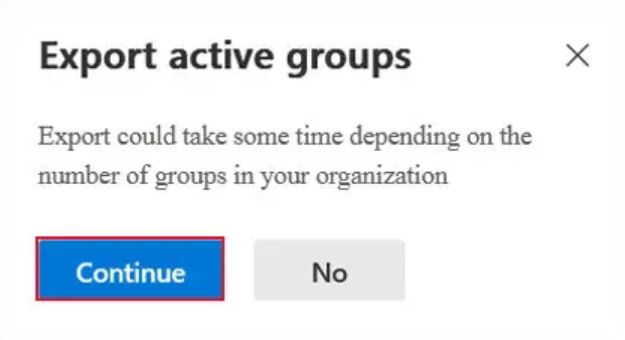
This way you can easily get your complete contact group in CSV format. There is one more way to save your distribution list is Powershell software.
Save Office 365 Distribution List to CSV File with Powershell
Powershell is a Microsoft program, used to create files to manage your tasks and management of your system. Here, users have to also follow the prerequisites such as.
- Install the MS Online or AzureAD module.
- Connect your Office 365 with the Connect-MsolService or Connect-AzureAD cmdlet.
After doing this preparation run the following set of commands to get your proper contacts list member in CSV format.
- Execute this command to connect the Office 365 Powershell module.
1. $365Logon = Get-Credential

2. $Session = New-PSSession-ConfigurationName Microsoft.Exchange-ConnectionUri https://outlook.office365.com/powershell-liveid/ -Credential $365Logon -Authentication Basic -AllowRedirection

3. Import-PSSession $Session - Now, use cmdlet command written below to list all Office 365 contact groups.
1. Get-DistributionGroup -ResultSize Unlimited - Also, run this command to get your list of group members.
1. Get-DistributionGroupMember -Identity “” -ResultSize Unlimited - By executing the following commands export one Outlook 365 distribution group members list to a CSV file.
1. $DGName = “”

2. Get-DistributionGroupMember -Identity $DGName -ResultSize Unlimited | Select Name, PrimarySMTPAddress, RecipientType |

3. Export-CSV “C:\\Distribution-Group-Members.csv” -NoTypeInformation -Encoding UTF8 - Now, we export all the distribution list members from Microsoft 365 with membership
1. $Result=@()

2. $groups = Get-DistributionGroup -ResultSize Unlimited

3. $totalmbx = $groups. Count

4. $i = 1

5. $groups | ForEach-Object {

6. Write-Progress -activity “processing $_.DisplayName” -status “$i out of $totalmbx completed”

7. $group =$_

8. Get-DistributionGroupMember -Identity $group.Name -ResultSize Unlimited | ForEach-Oject {

9. $member = $_

10. $Result += New-Object PSObject -property @{

11. GroupName = $group.DisplayName

12. Member = $member. Name

13. EmailAddress = $member.primarySMTPAddress

14. RecipientType= $member.RecipientType

15. }}

16. $i++

17. }

18. $Result | Export-CSV “C:\\All-Distribution-Group-Members.csv” -NoTypeInformation -Encoding UTF8
Once you run all these commands your distribution group members will be in the format of the CSV. Both of the above methods are free but doing them will get you many issues which we will explain below.
Issues When using the Manual Methods
- Manual solutions are a time-consuming process, as there are many commands you have to execute.
- You need prior knowledge before going through the steps.
- There are chances of human error while performing the process.
Therefore, the manual methods have issues to export Office 365 distribution list members to CSV. But, don’t worry there is another method that will be able to help you without any issues.
How to Convert Distribution List from Office 365 to CSV?
The Corbett Office 365 Data Backup Software easily saves all data items from your Outlook 365 account. Users can connect their account with the program using the IMAP/POP account. It has advanced search options that help you to search your data like emails, contacts, distribution lists, etc. The interference of the software is also user friendly which makes it easier for non-technical people to export their files. You can also use it to convert your data into CSV, EML, PST, and other email accounts. To convert the contacts group follow the steps below.
Guide to Export Office 365 Distribution List Members to CSV
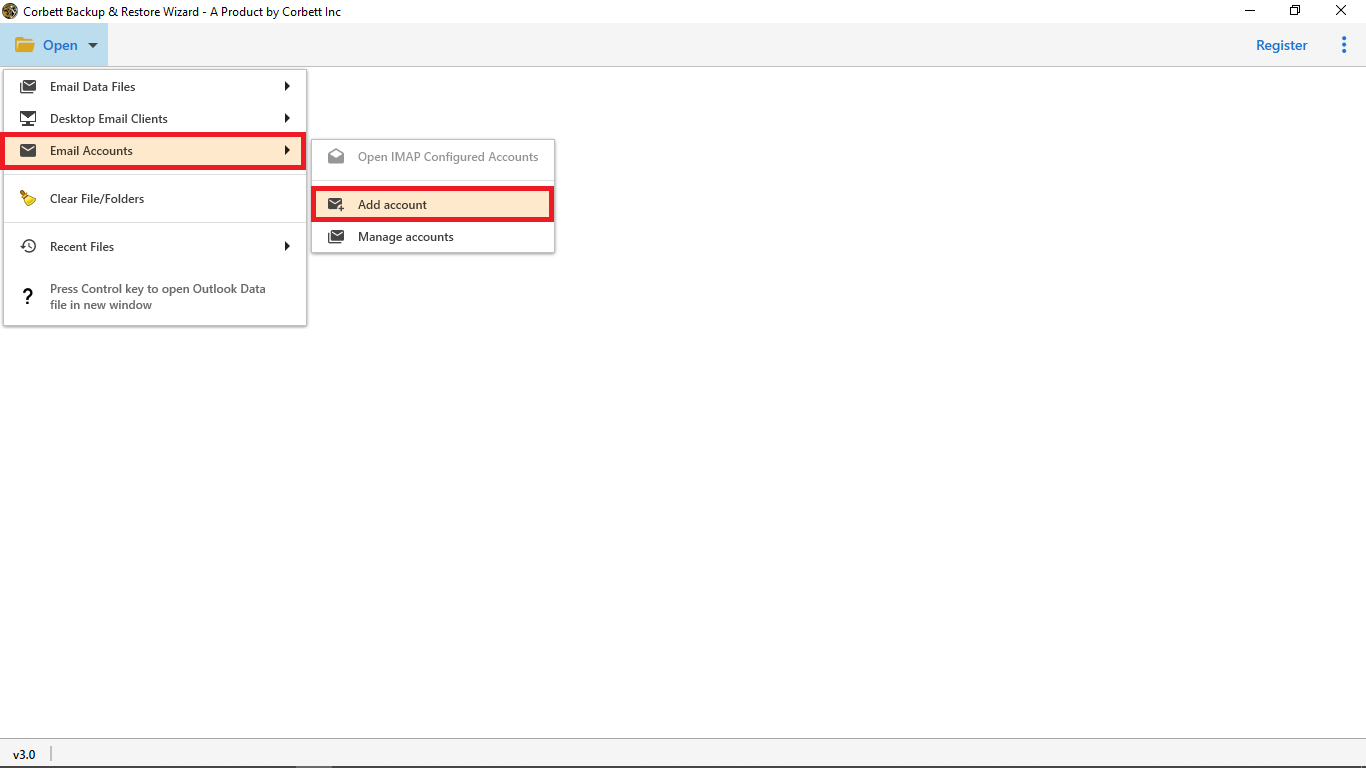
- Install the tool, click on the “Open” option >> “Email Accounts” and “Add Account” button.

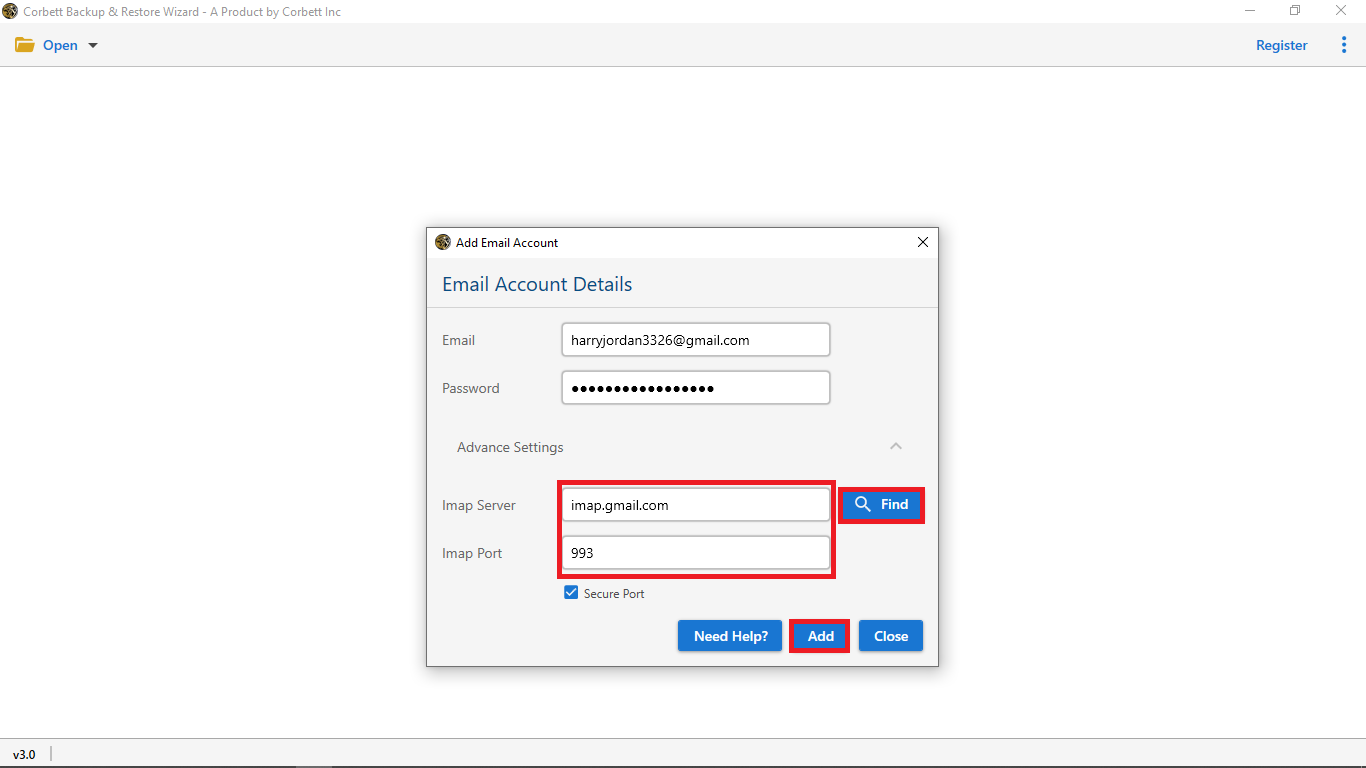
- Enter the Office 365 account details and then press the “Add” button.
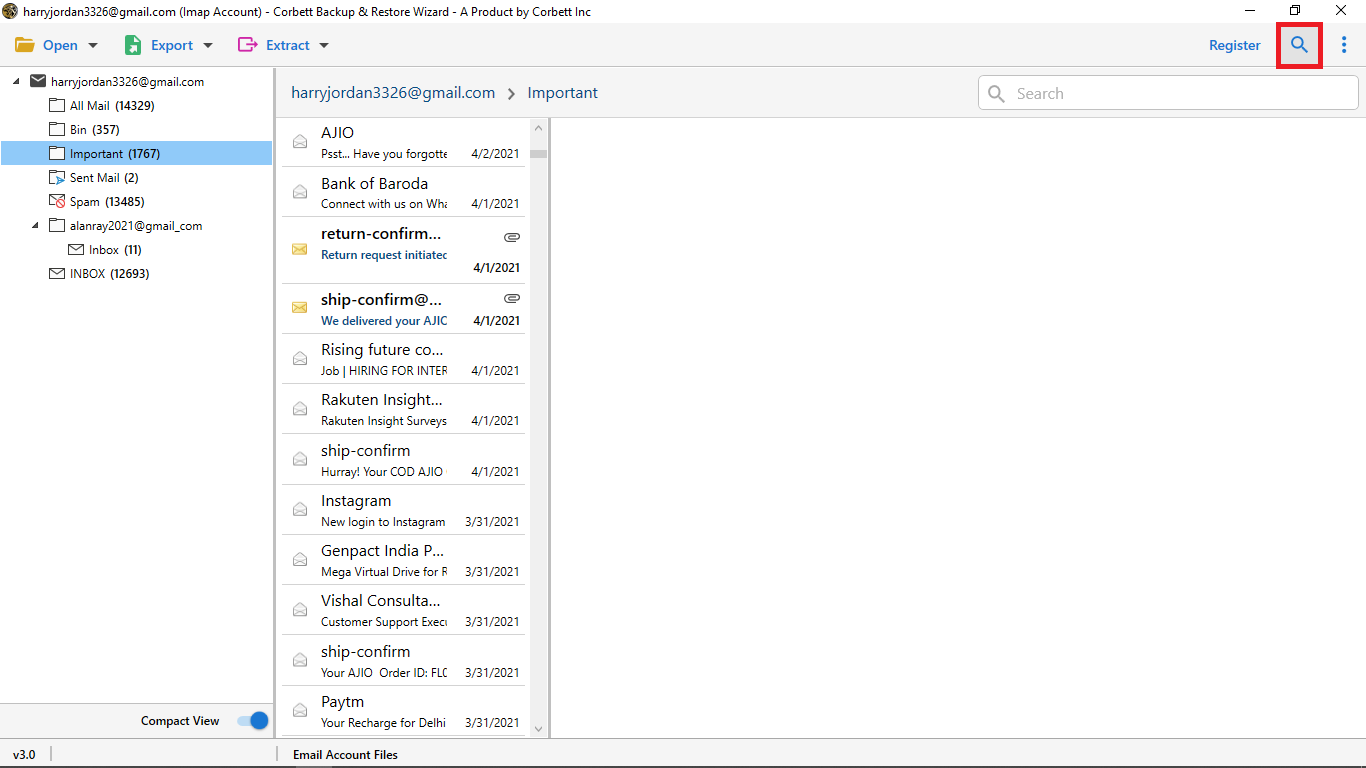
- At the top of the screen, go to the Search option and find your distribution list.
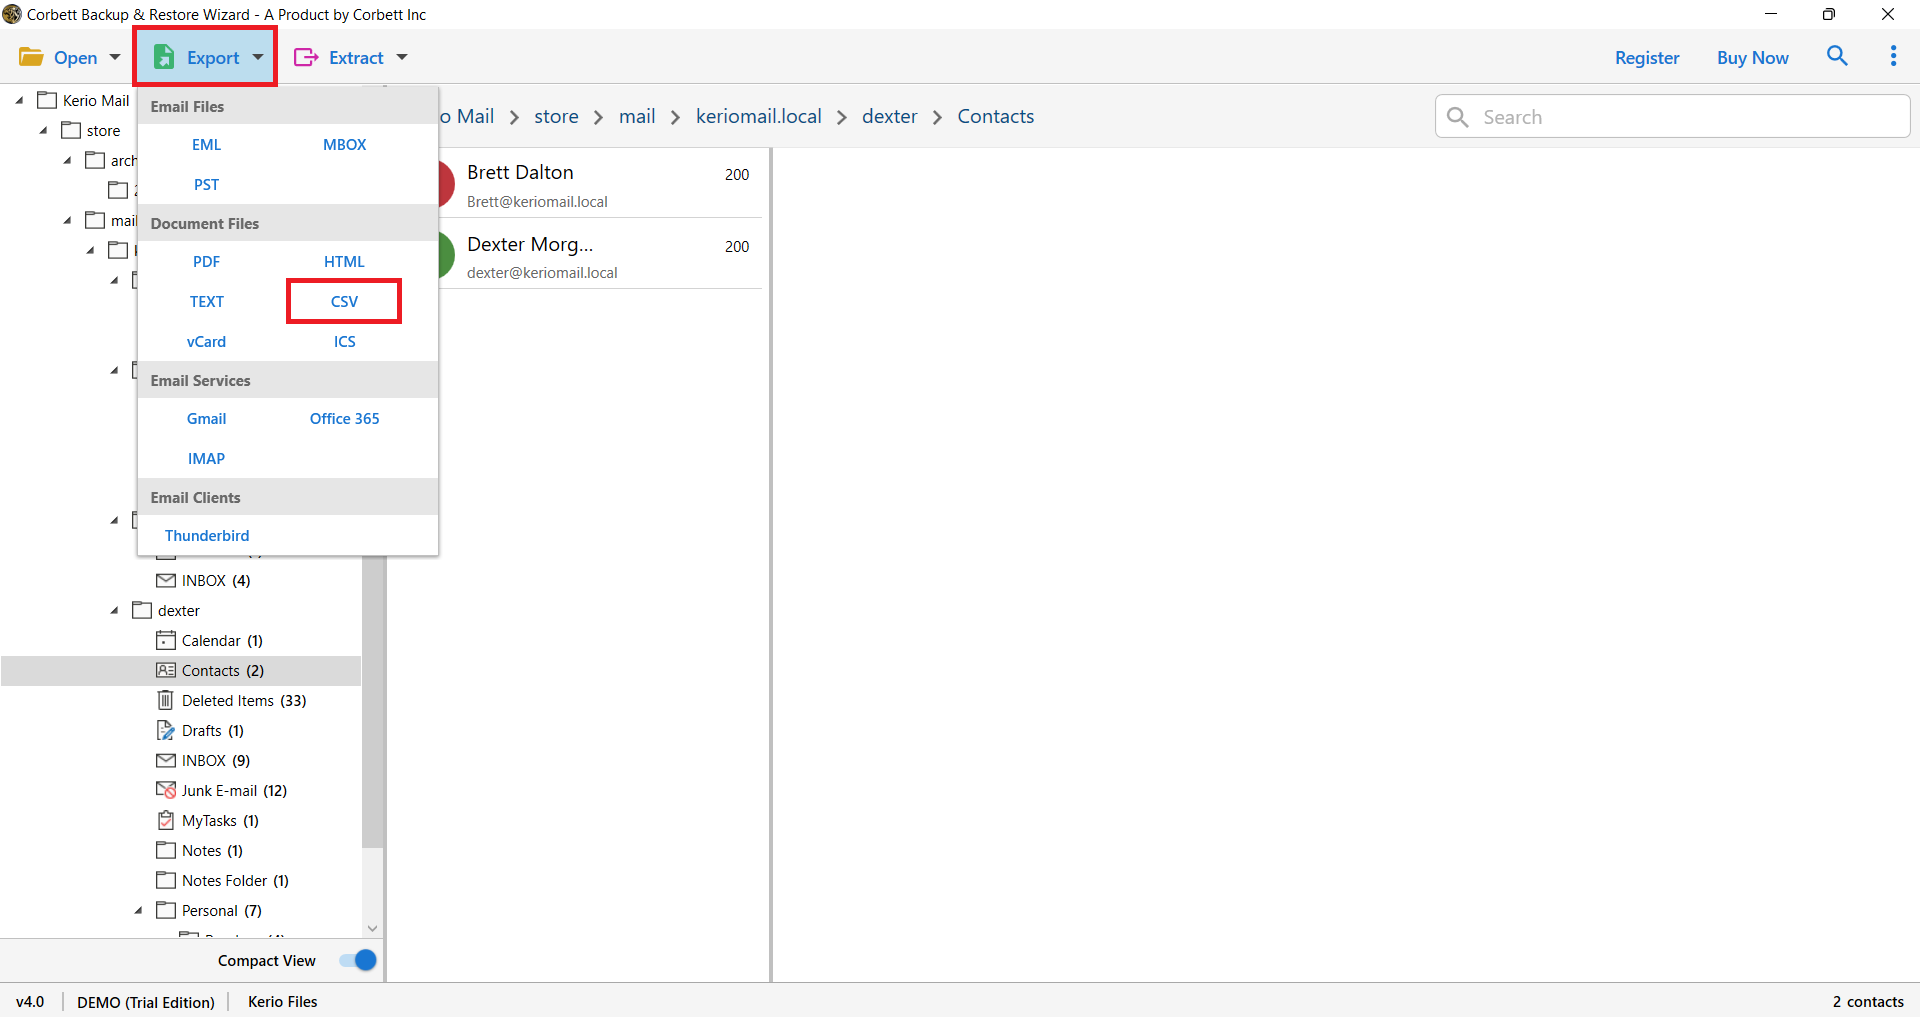
- Click on the “Export” option and then the “CSV” button.

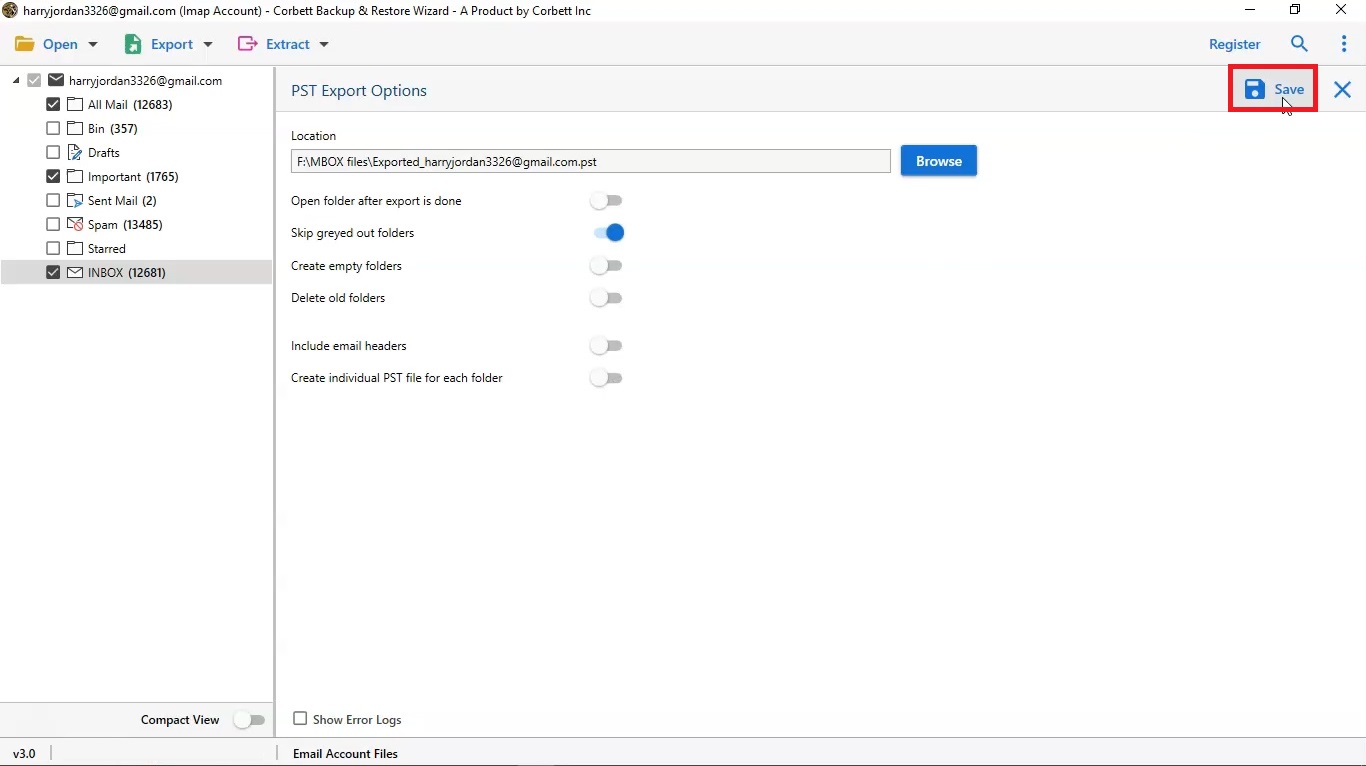
- Browse the location you desire and then click on the “Save” button.

From the above steps, your contact group will be converted into the CSV file format and now you can open it in any place you want.
To Conclude
There are many reasons a user wants to export Office 365 distribution list members to CSV. Therefore, this article explained three options to convert them. We used two ways, first is to use the Exchange Admin Center from the Office 365 account.
The second manual method is using the PowerShell. Both are easy but have many problems doing it. But, the automated method is a better option than the manual one because of how efficiently it works. So, these are the ways you can use when you want to download the Microsoft 365 contact group.