How to Import EML Files into Office 365 Step-by-Step?

If you need to import EML to Office 365, the good news is that the free manual route actually works once you understand why. EML files come from clients like Thunderbird, Windows Live Mail, and eM Client, and Office 365 does not read them on its own. You bridge that gap through desktop Outlook signed into your Microsoft 365 mailbox. You can also import EML to IMAP accounts using the same idea.
Advantages of Moving EML to Office 365
- Access anywhere: Office 365 is cloud based, so your mail follows you across devices.
- Security and compliance: Microsoft 365 adds protection and retention controls around your messages.
- One place for everything: Pulling scattered EML files into one mailbox keeps your history together and intact.
Free Manual Method: Drag EML Into Synced Outlook
This is where the usual guide goes wrong. You do not export to a PST and you do not need an import wizard. The trick is that desktop Outlook, once signed into your Microsoft 365 account, mirrors a folder to the cloud. Drop EML files into that folder and they sync up. One caveat I have to flag: this drag and drop is reliable in classic Outlook. The newer Outlook app has restricted dragging files in, so if nothing happens when you drag, you are likely on new Outlook.
- Open classic Outlook and confirm your Microsoft 365 account is added and synced.
- Create a new folder under that mailbox to hold the imported mail.
- Open the Windows folder that holds your EML files next to Outlook.
- Select the EML files and drag them into the new Outlook folder.
- Wait for the sync to finish so the messages appear in Outlook on the web too.
Limitations of the Manual Method
The free route is fine for a small batch, but it has honest limits. Dragging hundreds of files at once tends to stall or skip messages. It does not rebuild your original folder tree, so you sort that by hand. And it leans on classic Outlook, which not everyone has. For a one off move of a few dozen emails it is great, for a real migration it gets painful.
When a Converter Tool Is Worth It
Once the count climbs into the hundreds or you need the folder structure kept, a converter earns its place. That is the honest trade off here: the manual drag wins for small jobs, a tool wins for bulk and accuracy. The Corbett EML converter imports EML into Office 365 in bulk, with preview and filters so you move only what you want.
How to Use the Tool
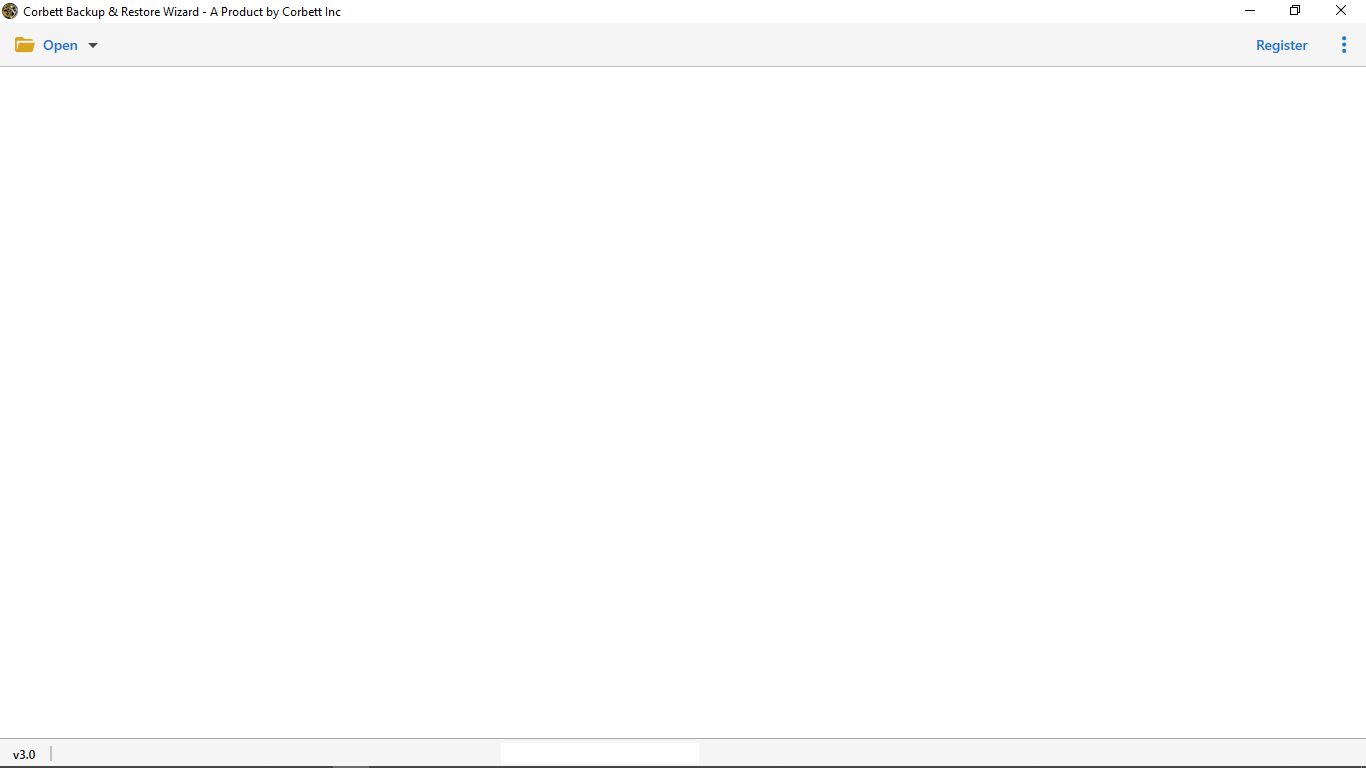
- Download and install the tool on your system.

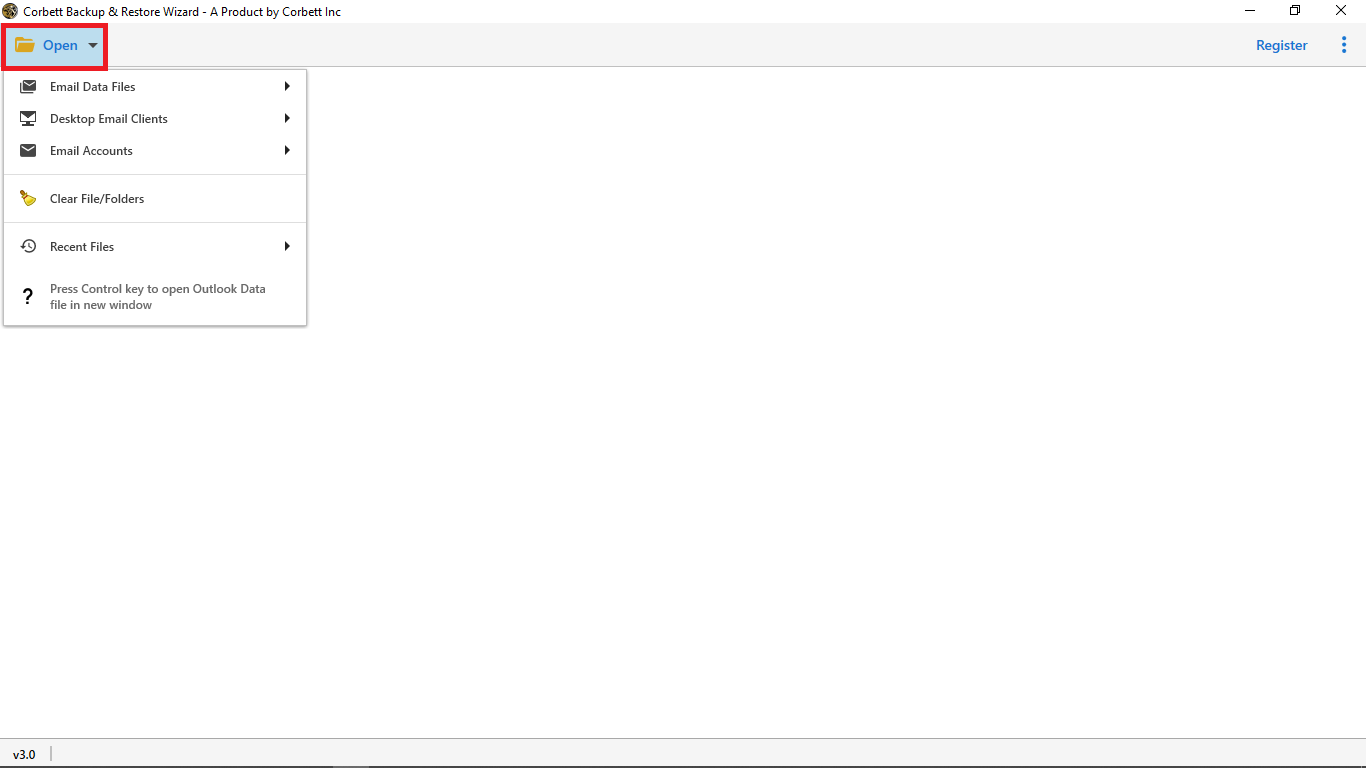
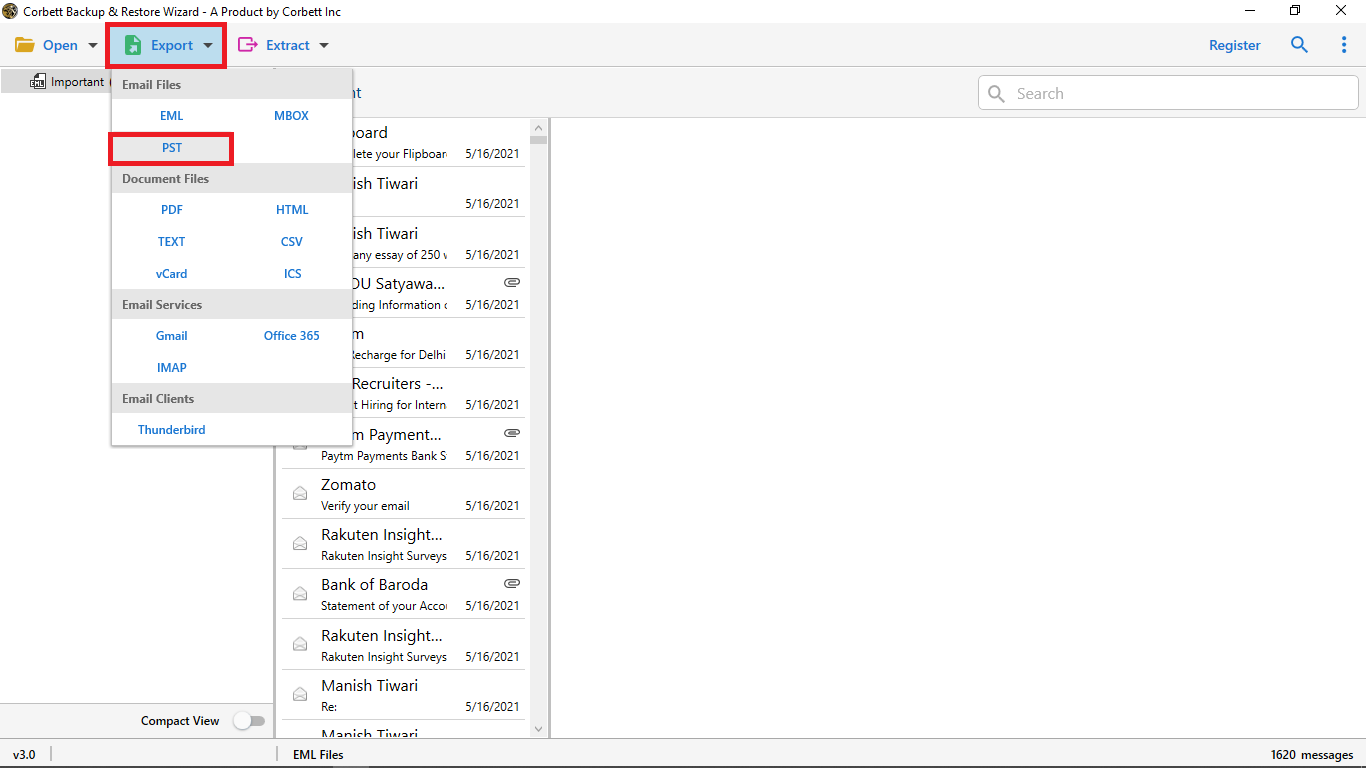
- Click the Open button at the top left.
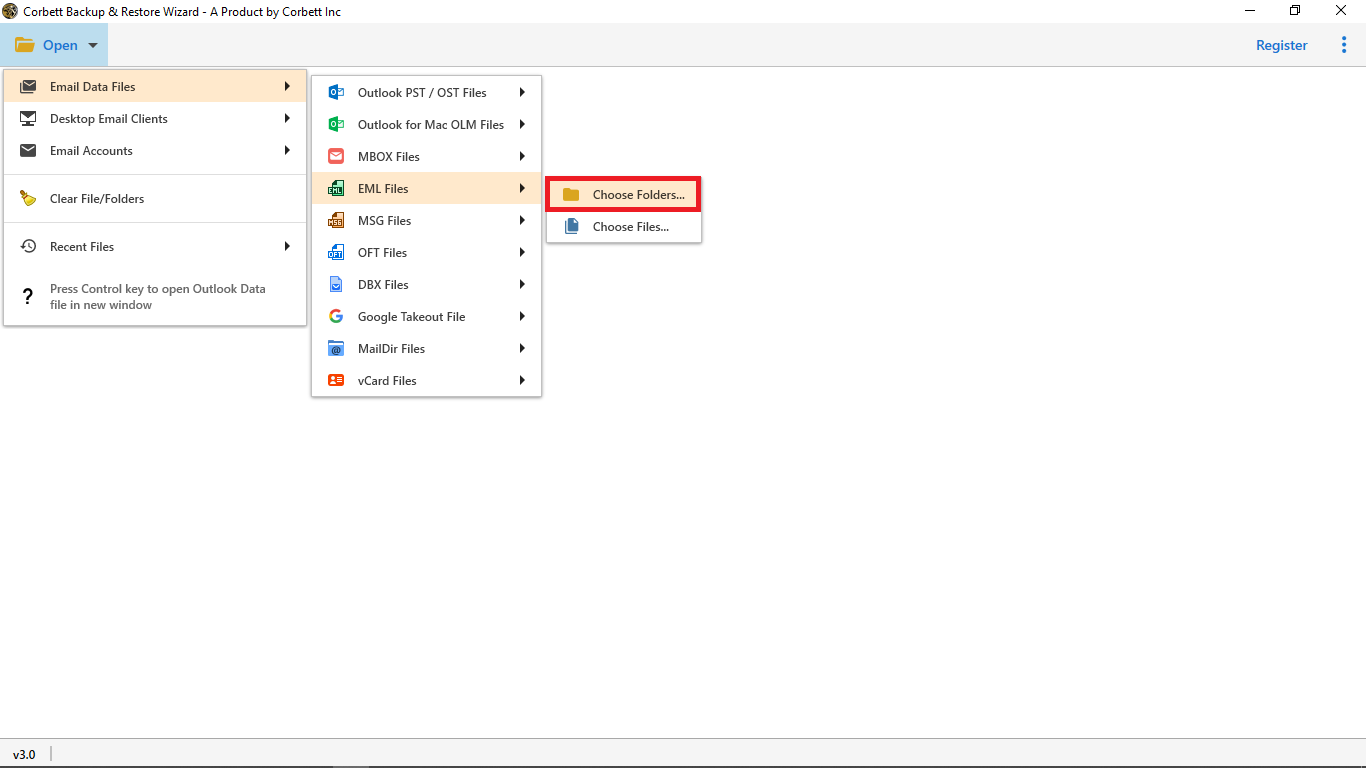
- Select the Email Data Files tab, then EML Files.
- Pick Choose Files or Choose Folders to load your data.
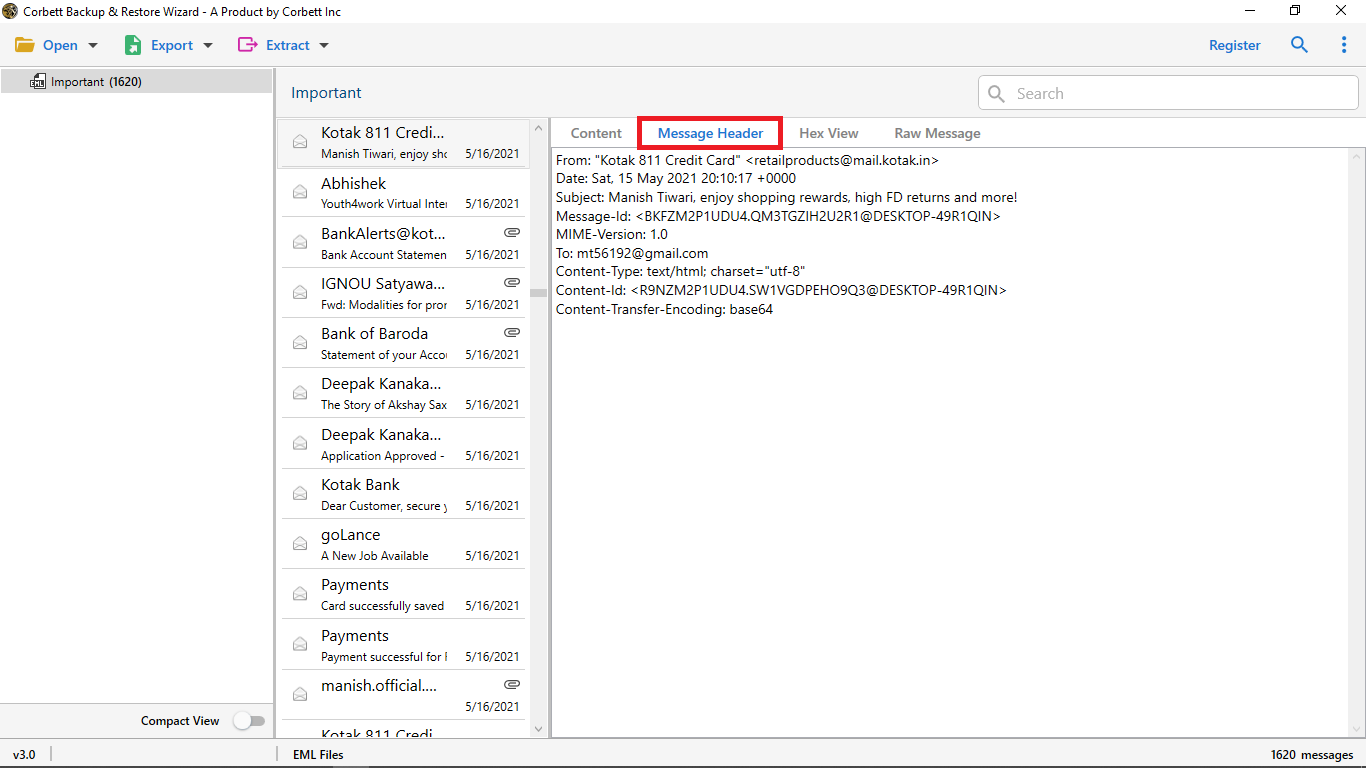
- Preview the loaded emails to confirm the right data.
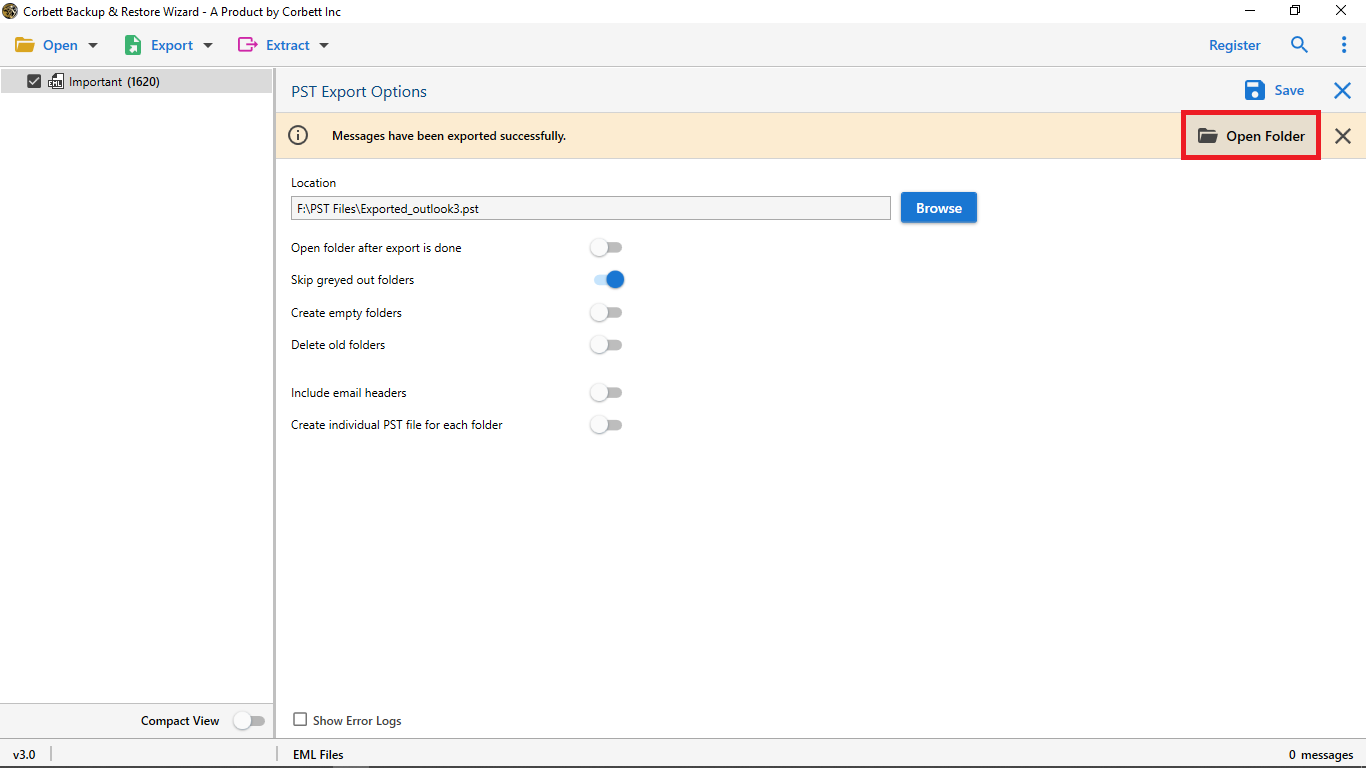
- Click Export and select Office 365.
- Sign in, set any filters, and save to start the import.

Why Professionals Recommend This Solution
- Keeps message integrity and the original folder structure during the move.
- Preview mode confirms you loaded the correct files before exporting.
- Filters and search let you migrate selected mail rather than everything.
- Handles bulk EML imports in one run instead of dragging files by hand.
- Extracts emails with their attachments and associated data.
Common Issues When Importing EML
A few snags come up often, and they are easy to fix once you know them. If your dragged files land as attachments inside a single message rather than separate emails, you dropped them onto a message instead of into a folder, so drop them into the folder list on the left. If the EML files will not open at all, set classic Outlook as the default app for the EML type in Windows so the system hands them off correctly. And if a large drag stops part way, move the files in smaller groups of fifty or so, which keeps the sync from timing out.
Manual vs Converter
| Factor | Manual drag and drop | Converter tool |
|---|---|---|
| Cost | Free | Paid |
| Best volume | A few dozen emails | Hundreds or more |
| Keeps folder structure | No, you sort by hand | Yes |
| Needs classic Outlook | Yes | No |
| Selective filtering | No | Yes |
Frequently Asked Questions
Q1. Does Office 365 open EML files on its own?
No. Office 365 does not read EML natively, so you bring them in through desktop Outlook or a converter.
Q2. Why does drag and drop do nothing in my Outlook?
You are probably on the new Outlook app, which restricts dragging files in. Use classic Outlook for this method.
Q3. Do I need to export to a PST first?
No. That step is unnecessary. A synced Microsoft 365 folder uploads the dropped EML files to the cloud directly.
Q4. Will the manual method keep attachments and folders?
Attachments come across with each message, but the original folder tree is not rebuilt, so you arrange folders yourself.
Q5. How many EML files can I drag at once?
A small batch is fine. Large batches tend to stall or skip messages, which is where a converter helps.
Q6. Is a converter safer for a large migration?
Yes. For bulk moves and selective filtering with the folder structure kept, a converter is the more reliable choice.
Conclusion
Importing EML to Office 365 does not require buying software for small jobs. Sign classic Outlook into your Microsoft 365 mailbox, drag the EML files into a synced folder, and they upload on their own. For hundreds of files or when the folder structure has to stay intact, a converter does the heavy lifting cleanly. So which describes you: a quick free drag of a few emails, or a full migration that needs structure preserved?