Here’s How to Migrate Namecheap Email to MS Outlook in 2026
Migrating your Namecheap email to Outlook or Office 365 can feel like a daunting task. But with the right approach, it’s a smooth transition. In this guide, we’ll walk you through the steps, whether you’re moving manually or using automated tools. We’ll cover everything from preparation to FAQs, so you’ll feel confident every step of the way.
An email hosting service provided by Namecheap Private Email is an American company. It offers you domain name services, webmail and VPS hosting. Many big businesses use Namecheap for professional communication. However, it is not as good as the Microsoft Outlook. A world famous email client that provides advanced features and functions. having your Namecheap data in the Outlook would give you many benefits which we elaborate below.
Why Migrate Namecheap Email to Outlook 365?
- Professional Features: Office 365 offers you various applications like Word, Excel, OneNote, Team, etc. Outlook is also a part of the program, by moving your data in the program. you will take the advantage of these tools.
- Better Security: Advanced spam filters, encryption, password protection, and compliance support helps you to secure your data from stealing.
- Cloud Storage: Outlook is a free email application which you can easily use and manage your data.
- Offline Access: To get your data in offline mode, Outlook allows you to view or edit the file when you are not connected to the internet.
- Prevent Data Loss: There are chances that you will not access your Namecheap emails or the data is accidentally deleted.
So, we will get many benefits from importing Namecheap emails to Outlook. But, many face problems in transferring the data. We have some methods that will work, below we explained them in clear steps.
Add Namecheap Email to Outlook through IMAP
To add Namecheap emails to Outlook.com you have to configure your account in Outlook webmail. and to help you IMAP account is used.
- 1. Log into your Outlook. com account.
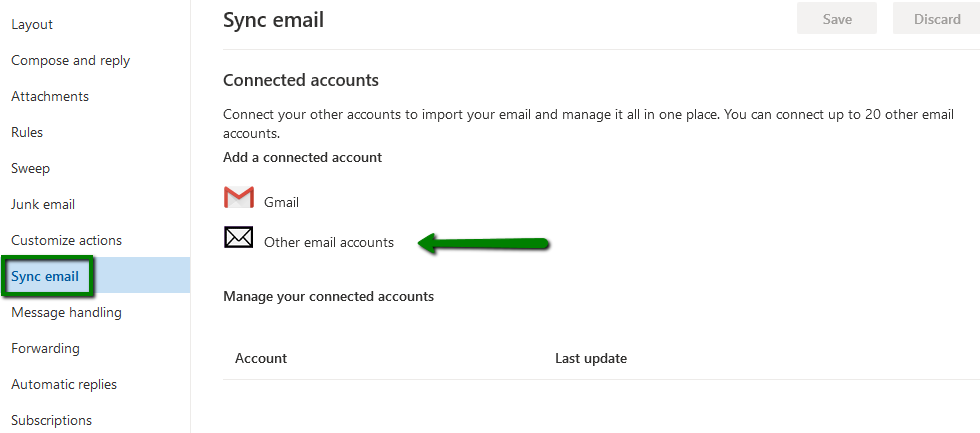
- 2. Hit on the gear icon on the upper right part of the page. And choose View all Outlook settings.

- 3. Select the Sync email option, and Select Other email accounts option.

- 4. Prefer Manually configure account settings and Hit OK.

- 5. Choose a type of the account IMAP/SMTP or POP3/SMTP and select OK.


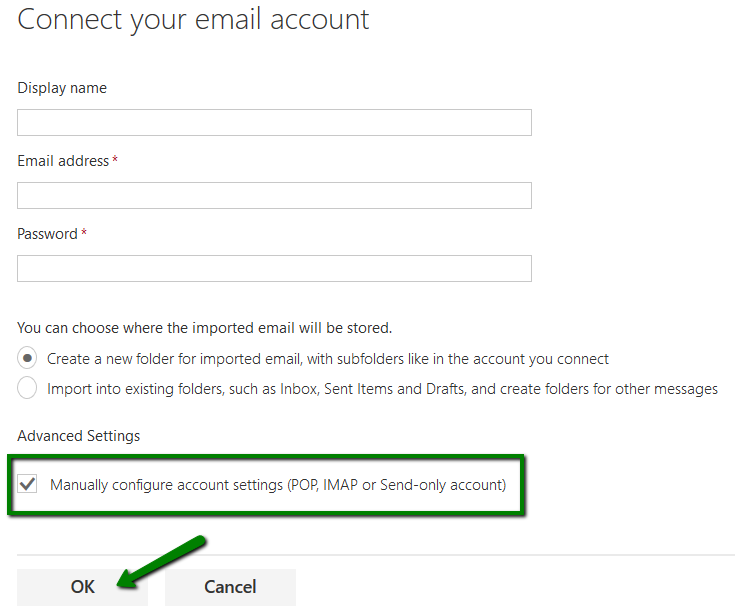
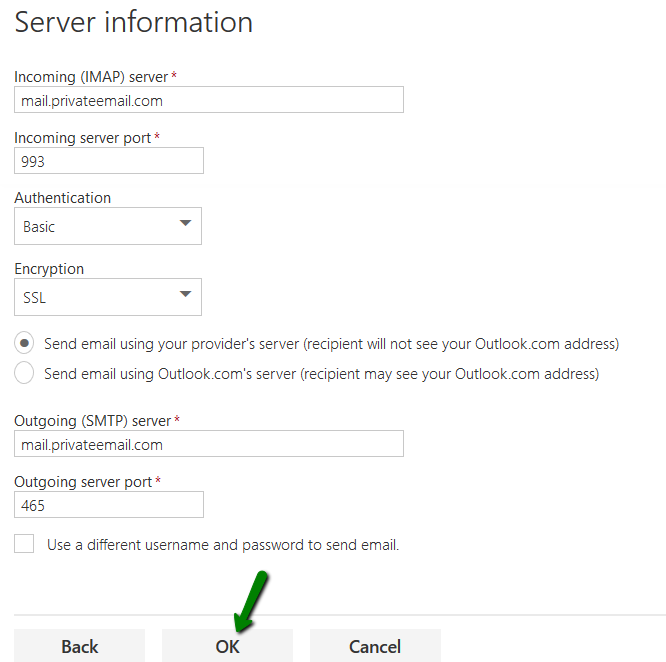
On the next page configure the account settings as follows:
For IMAP account setting:
- Display name: enter the name
- Email address: full Private Email mailbox name
- Username: full Private Email mailbox name
- Password: password for your email mailbox
Why only IMAP account data will transfer not POP?
Many users have questioned why my POP data was not transferred to the Outlook.com account. There are multiple reasons, But I am going to discuss one of the reasons why your POP account data was not transferred.
- The first reason is that a POP configured account stores data in your computer system and IMAP stores data in the server.
- Users can easily assess their data from the server but can’t access data from a computer system.
- IMAP helps you to easily assess your data from any place, location, device. But POP needs your computer system where the data is stored.
Limitations of the Manual Method
- The manual method takes too much time to understand and to perform
- Users need to be technical or have the technical knowledge
- The users can’t understand the graphical interface of the manual way
- Knowledge of account settings and server information
- There is no guarantee of data security and safety
- The data may loose during the export process
- File hierarchy and folder structure not maintained
Move Namecheap Email to Outlook – 100% Secure Solution by Experts
With the Corbett IMAP Email Migration Utility, you can perform the export process without any worry. This tool is specially designed for users to simplify their hectic work. The graphical interface of this tool helps the users the most. Easy to use and user-friendly interface helps non-technical users to perform the migration.
The utility is compatible well with any Windows operating system. It enables you to directly transfer data to any email services account or any desktop-based account.
Steps to Export Emails from Namecheap Email to MS Outlook
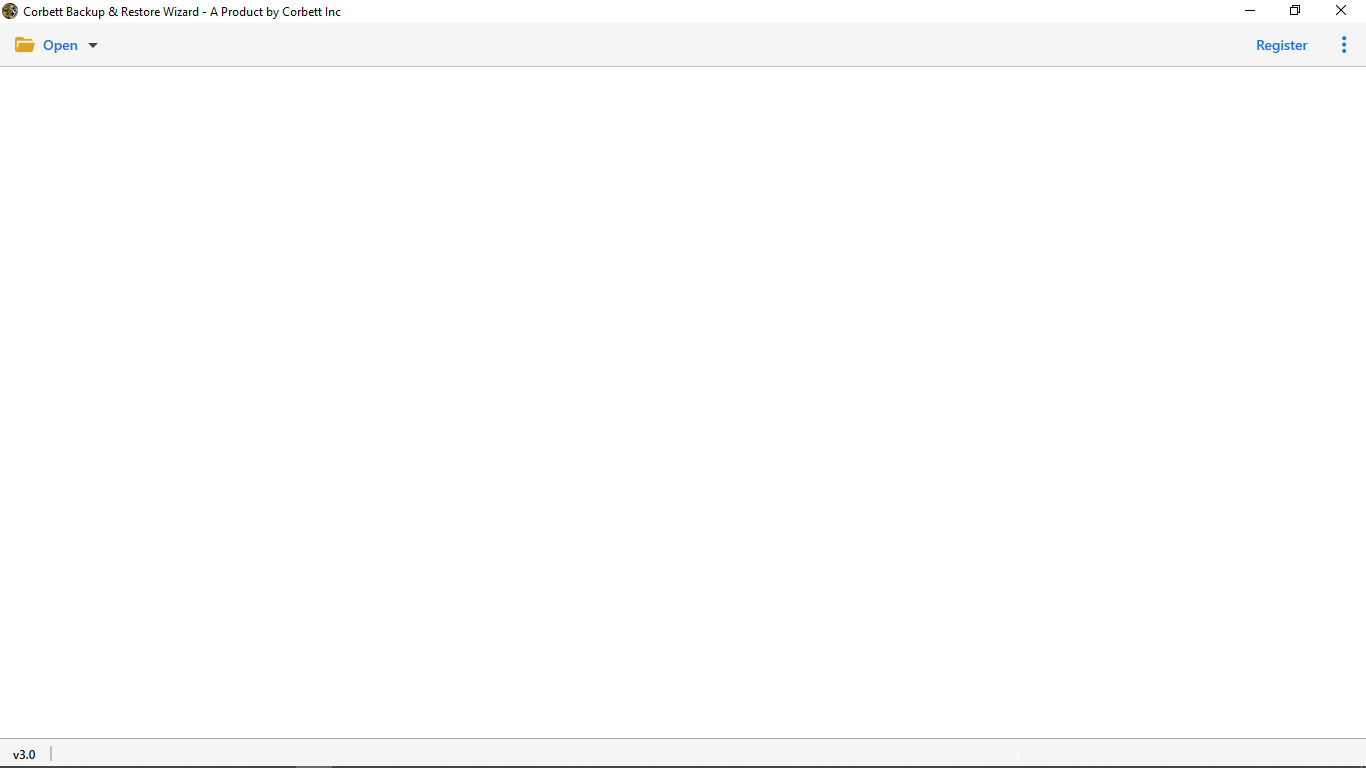
- 1. Install and run the utility on your computer.

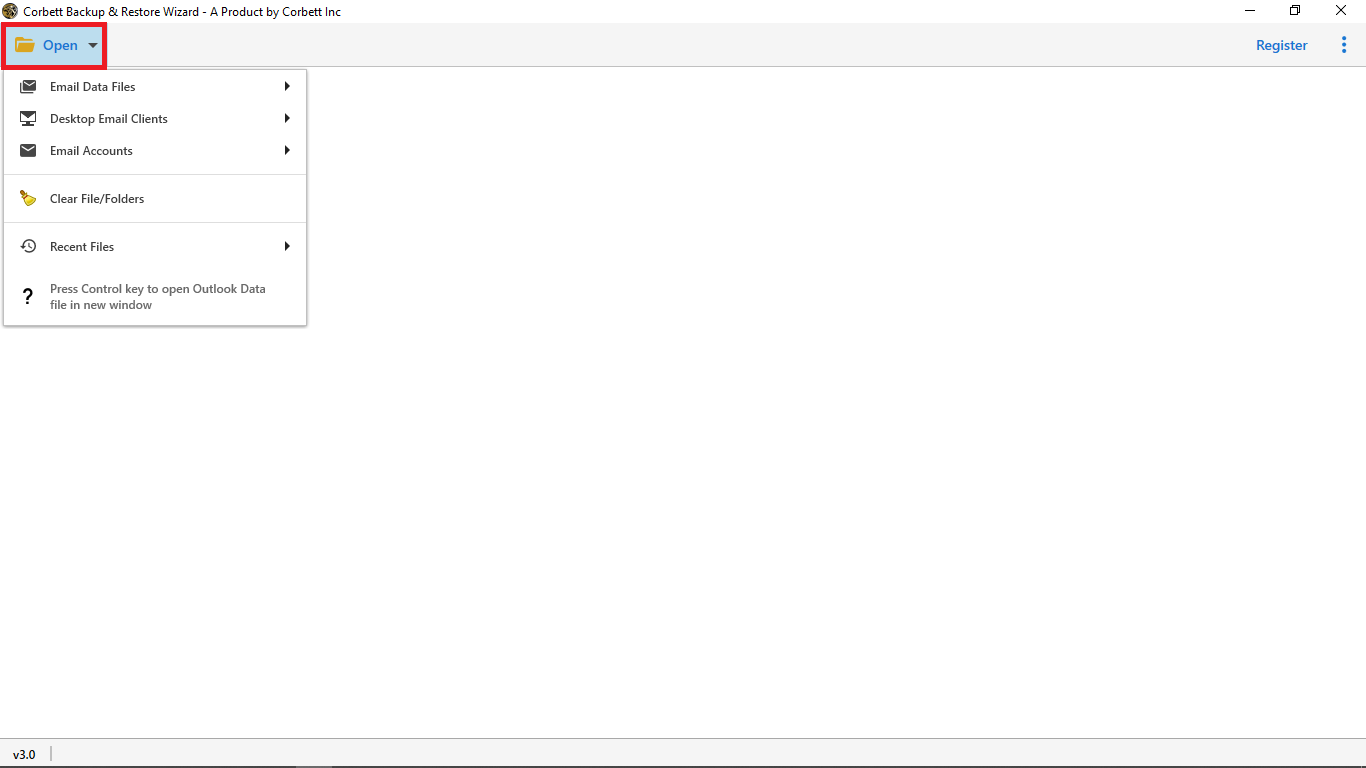
- 2. Select the Open option in the top left corner of your screen.
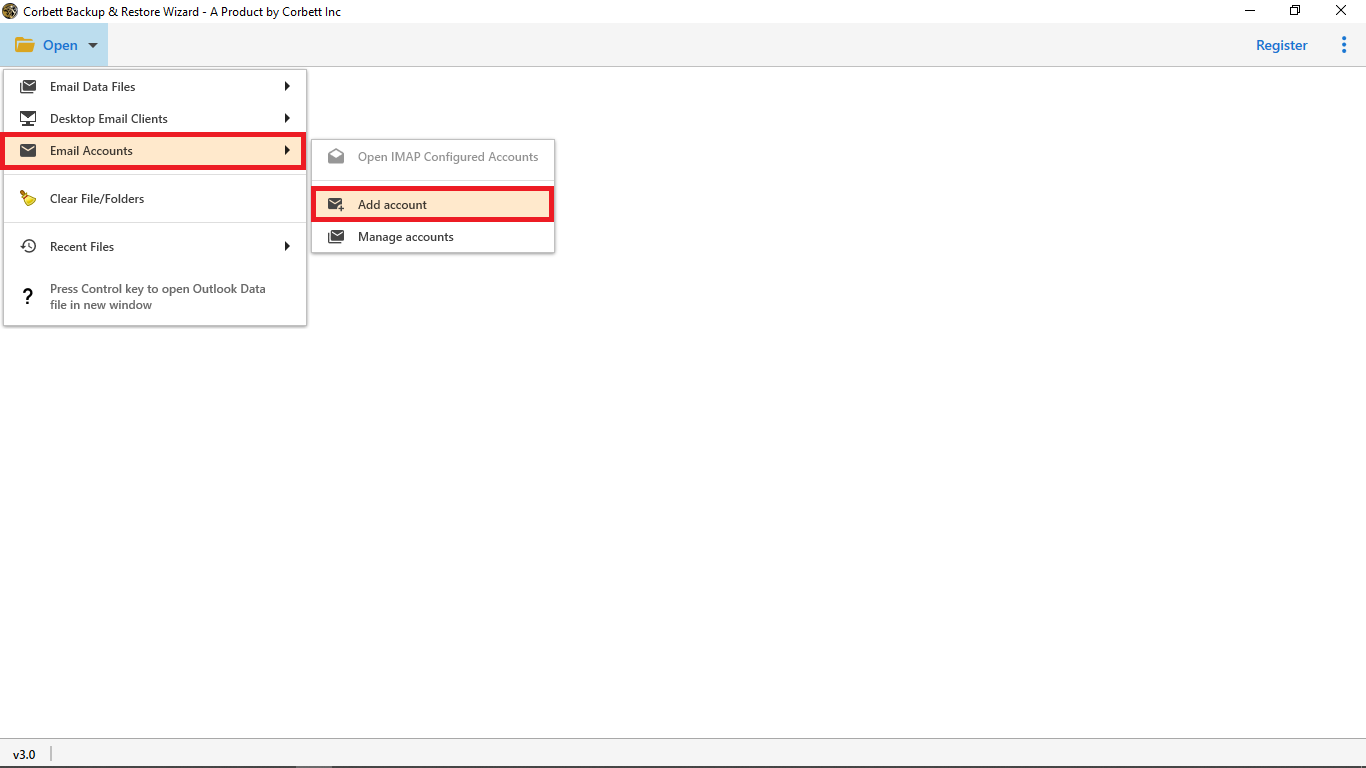
- 3. Choose Email Accounts and Add Account.
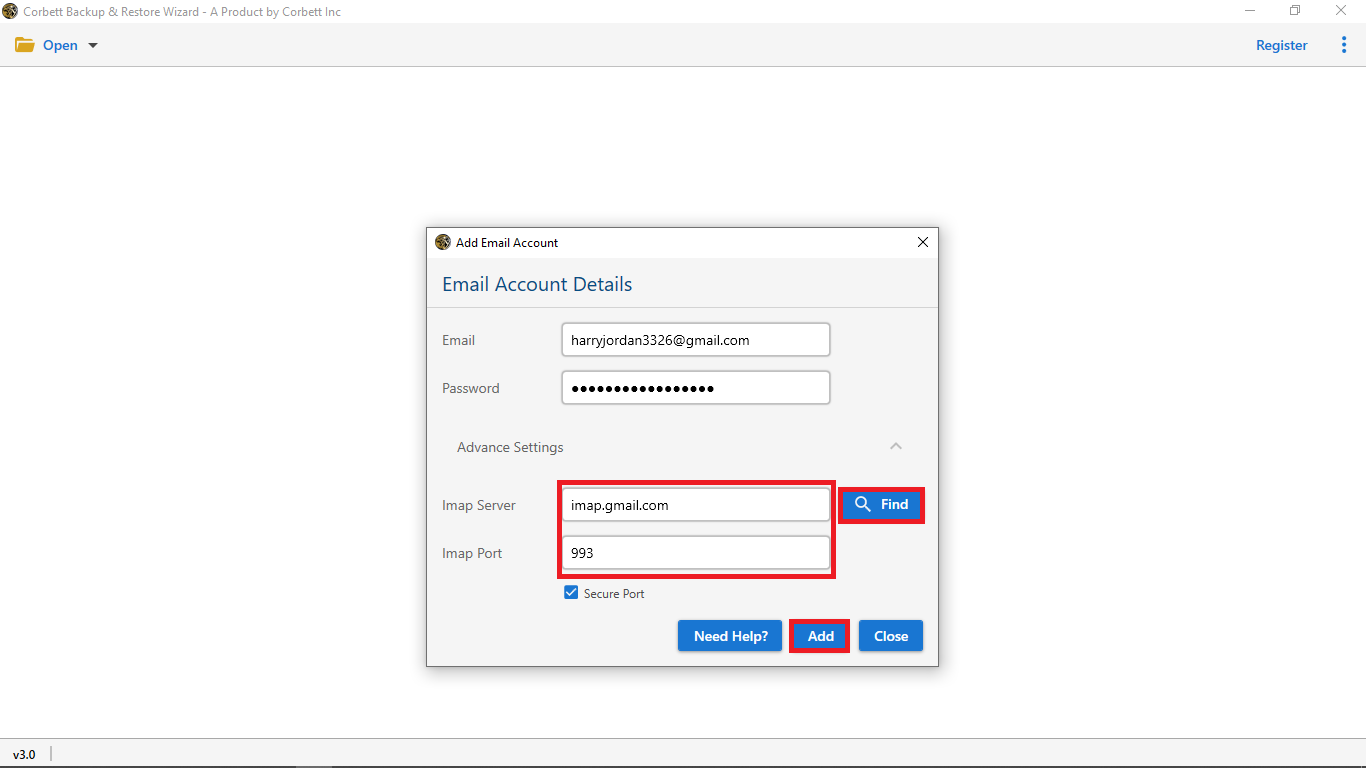
- 4. Fill out the email account details such as email id and password. Then hit Advanced Settings.
- 5. Hit Find to auto-detect Imap Server and IMAP Port. After that press the Add option.
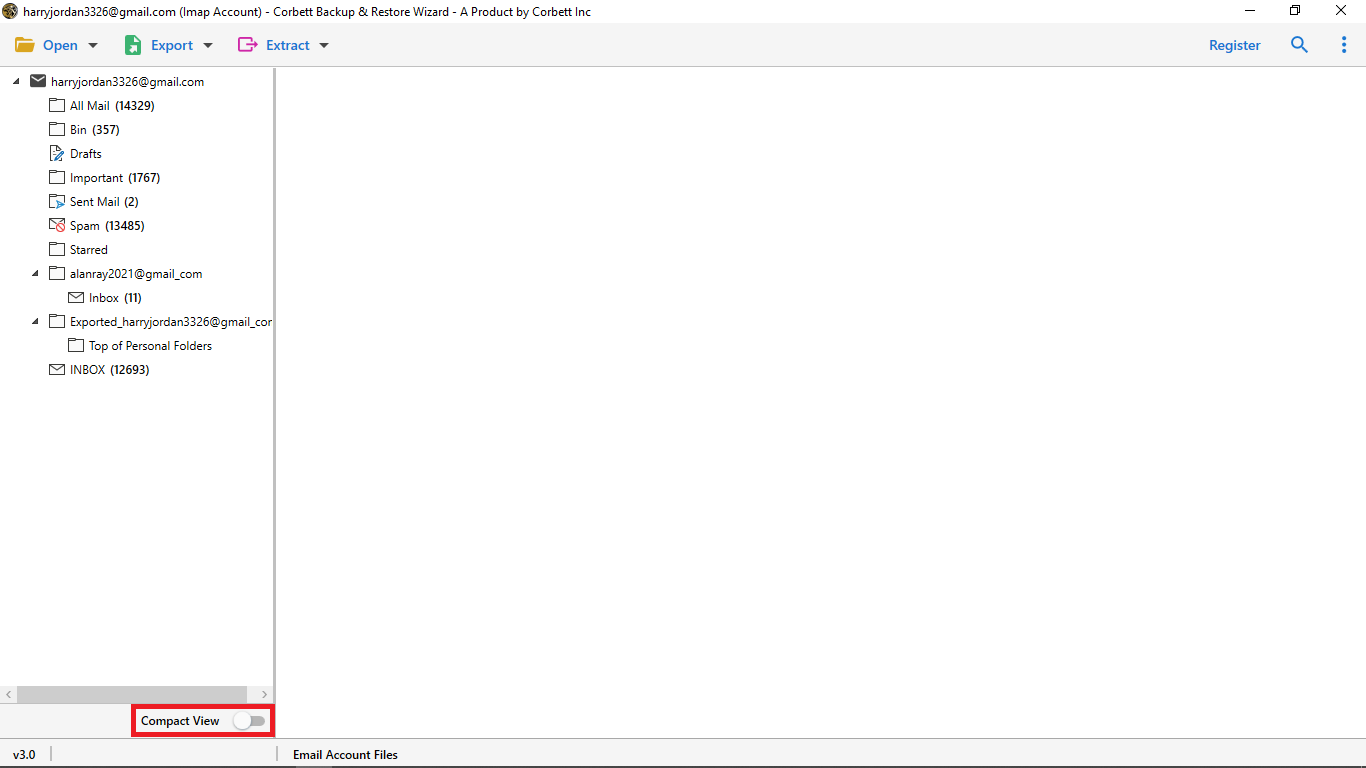
- 6. The tool starts browsing the files and folders from the account.
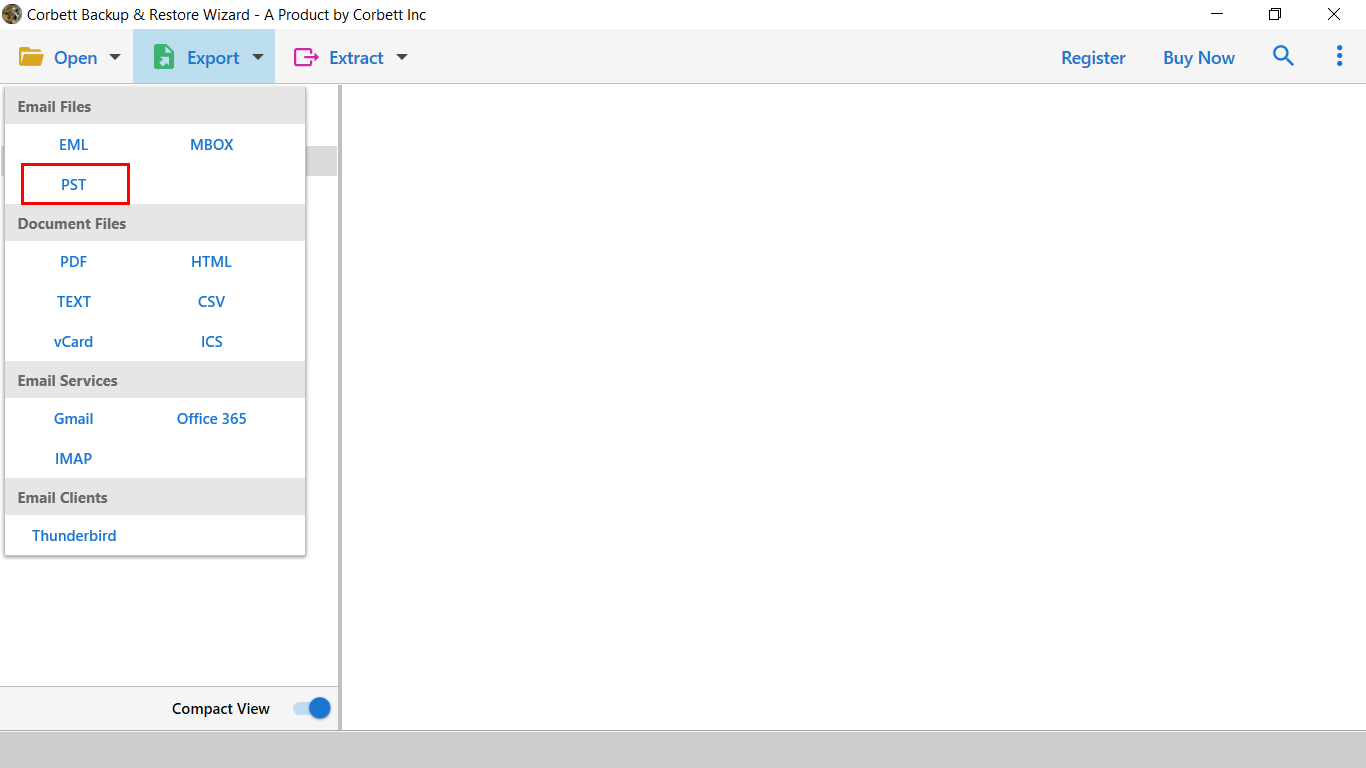
- 7. Select the Export option and choose PST.
- 8. Next apply the “Data Filters” as per requirement, and click on the “Save” button.

Astonishing Features of the Application
Most Importantly, this software provides you boundless features along with migration such as:
- Export Namecheap emails into different Email Platforms
- Save Namecheap emails into Computer hard drive into PDF Format
- Transfer emails from Namecheap to various IMAP Accounts
- Save Email Addresses, Phone Numbers, from Namecheap Emails
- Download Namecheap email contact & calendars into vCard and ICS Format
- Backup bulk Namecheap emails along with attachments
- File Naming Option helps you to change the name of your exported file.
- No file limitations in the migration process of Namecheap to Outlook.com
Final Words
In this blog, we discuss both the methods to export Namecheap email to Outlook in a manual way and automatic way. Both the methods have their own positive points and negative points. But, We highly recommend you should go with the automatic solution and experience the functionalities of the tool.
This tool provides you with a free demo version to understand the tool’s functions and interface. Try the utility and purchase the full edition and activate the license key to export bulk Namecheap emails to Outlook.com.
Frequently Asked Questions
Q. Can I use my professional Namecheap account in Outlook?
Ans. Yes, you can easily use your Namecheap account in Outlook. Just Connect your Namecheap account with the Outlook.
Q. Which email system does Namecheap use?
Ans. The program mostly uses the Namecheap Private Email system powered by Open-Xchange.
Q. Does Namecheap offer free email?
Ans. If you purchase the domain hosting packages, Namecheap offers you a free account. But, you cannot use the account for free standalone.
Similar Read: